Come along and learn the easiest way to get smooth chalkboard lids on canning jars. Open shelving is undeniably popular, but with it comes a need to display everyday items in a pretty way. No one wants to see your box of baking soda sitting out on a shelf and a bag of brown sugar just isn’t quite the design element I had in mind!
When we built this house I knew I wanted a baking/coffee station. I didn’t want to have to go three different places to find what I needed, but with the open shelves I had to make all those necessities cute. The large glass jars work great for the bulk items, but I couldn’t find what I wanted for the smaller quantity items. My husband happened to be canning some apple butter and I borrowed a few of his jars for a staging project.
I loved the simple look of them and being able to see what I had at a glance, but I had not devised a way to differentiate between similar looking ingredients…I mean baking soda, baking powder and cream of tartar all look the exact same with very different end results!
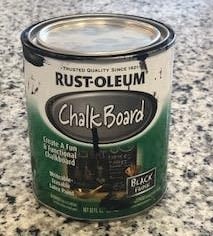
I knew I did not want labels on them, because I liked the clean look of just the jars. I had a pint of chalkboard paint from another project and decided to paint the lids and see how that went.
My first attempt did not go well, I did not sand the lids at all and I brushed the paint on. The paint wouldn’t stick to certain areas and the writing surface was really rough. The second time I tried it I used a sponge to dab the paint on and it still took three or more coats to get the coverage right and the finish wasn’t as smooth as I would like.
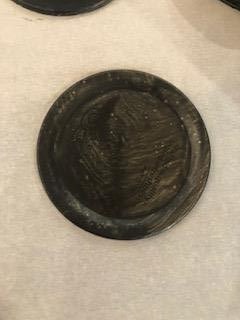
Finally I stumbled upon this method after watching my husband use a magnet to determine metal types in some scrap metal. Luckily for me, canning lids are tin which are magnetic! Dipping the lid in the paint was the magic key to perfectly smooth chalkboard paint. I had to try several ways that failed before I found one that worked which is true about almost every project I have taken on.
So here is my best method for cute canning jar chalkboard lids.
How to get the smoothest chalkboard lids
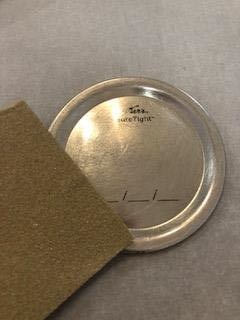
Step 1: Sand the lids, just a little bit. It gives the paint something to hold on to. I always had trouble with the paint not adhering at the edge if I didn’t do this step. Sand lightly-I used 80 grit, but I think any bit of roughing up would do.
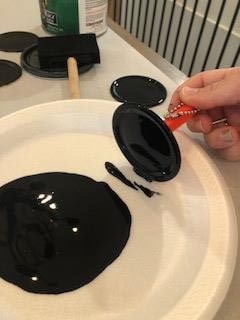
Step 2: Stir chalkboard paint and pour onto a plate. You won’t need much, so start with a little bit.
Step 3: Flip lid over and pick up with the magnet. Dip and smoosh around the paint until the entire front surface is covered.
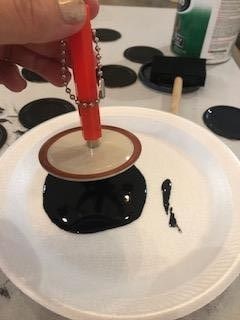
Step 4: Push lid into paint on plate and smoosh around, making sure to evenly coat the front surface.
Step 5: Let the excess drip off and then wipe that edge on the plate.
Step 6: This is the most challenging part of the whole dealio!!! Removing the lid from the magnet can be a real pain, but I finally got it figured out after letting a half dozen fling back to the magnet and get paint all over me. I made a video to show this part. You wouldn’t think this would require a video, and maybe it was just me, but I hate getting paint everywhere!!!
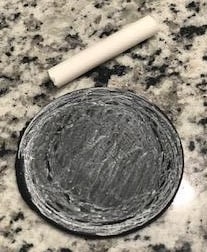
Step 7: Let them fully dry before trying to write on them. As with any chalkboard product, it’s best to season it first with some chalk by rubbing the side of a piece of chalk all over the surface before writing on it.
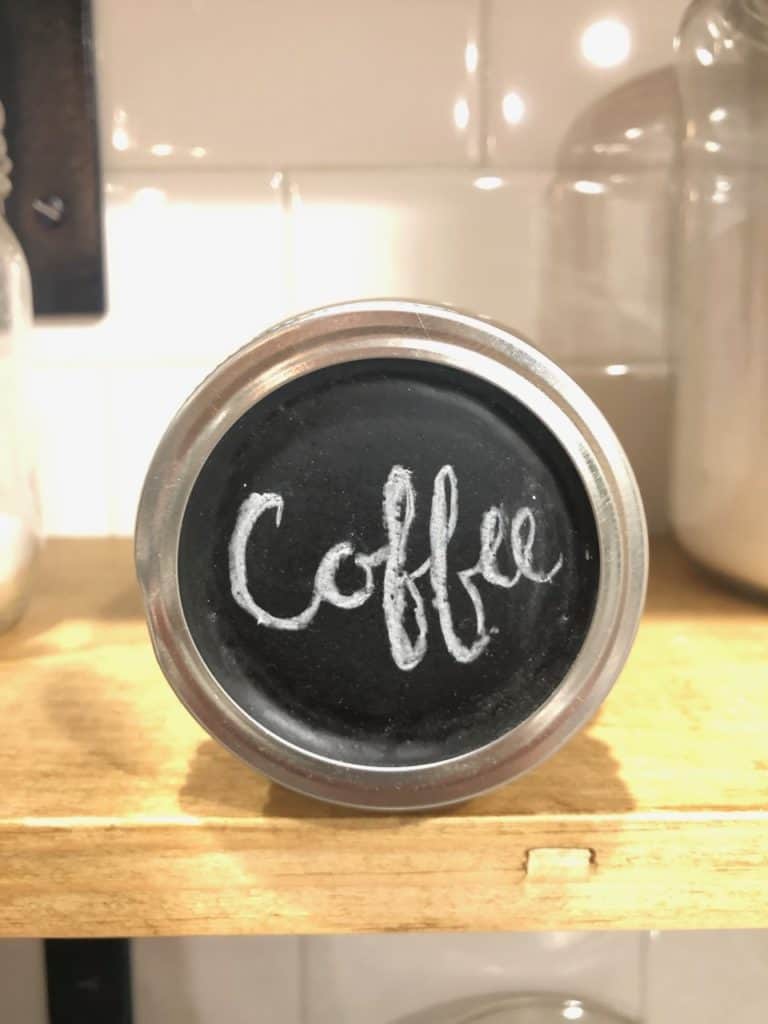
Step 8: Add your dry goods to the jars and display! That’s the fun part.
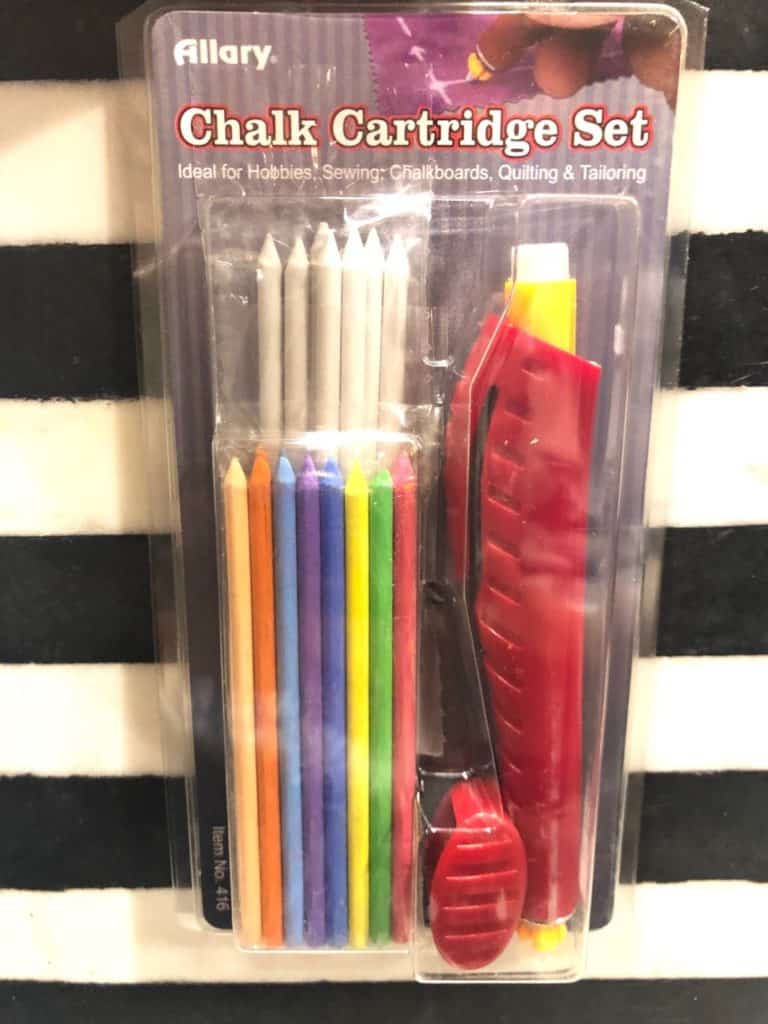
If you have ever tried to write something small in chalk, you may have discovered that it’s really hard to make it look nice and be legible. This chalk holder comes with several colors of chalk and several pieces of white chalk. The chalk writes very smooth and the fine point makes it so much easier. This one came from Amazon, but I am sure they sell them other places as well.
Hope this helps someone keep the paint from getting out of hand and gets the smoothest lid top ever! Emily 🙂