Learn how to add a DIY Shiplap Wall anywhere in your house on a budget. This project can be completed from buying the lumber to hanging pictures up on the wall in one weekend for around $50!
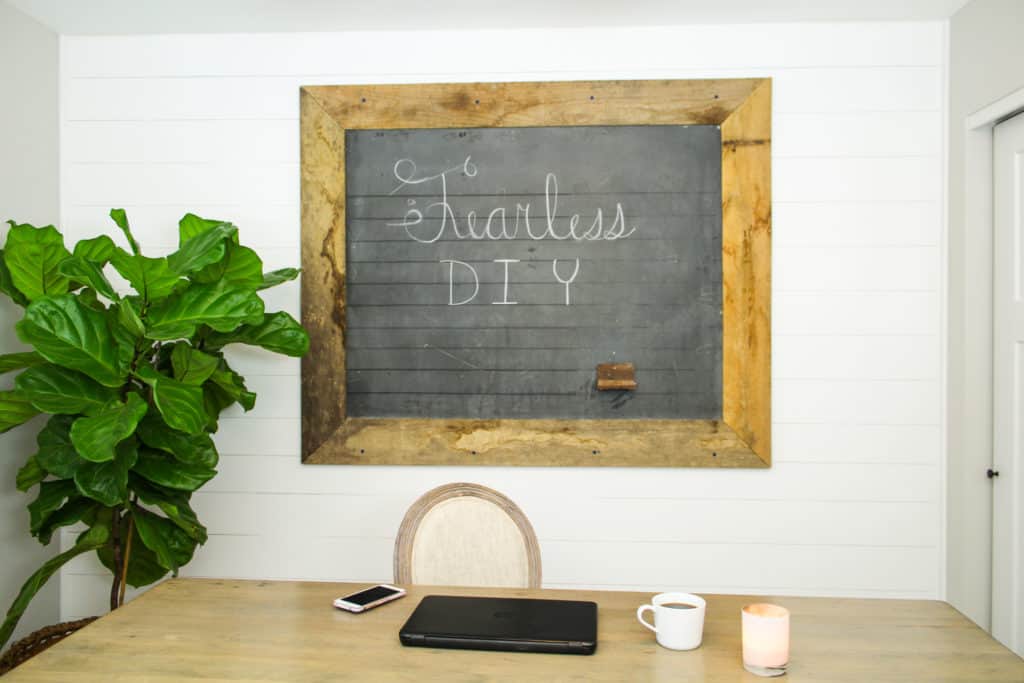
Shiplap has exploded in the design market place thanks to the popularity of Joanna Gaines and Fixer Upper. I would be lying if I didn’t tell you that I love almost everything she does! It may be a trend and go out of style soon but I love the look. After I hung up my DIY Shiplap Key Holder, I knew that I would continue to add this element into my home.
We recently built the house we now live in. I absolutely love it and cannot believe that we are grown up enough to live in such a beautiful house! The only downside to new construction is that it does not come with the inherent charm of an older house. Therefore I really wanted to add some character to the office of this house by adding a Shiplap accent wall behind the desk.
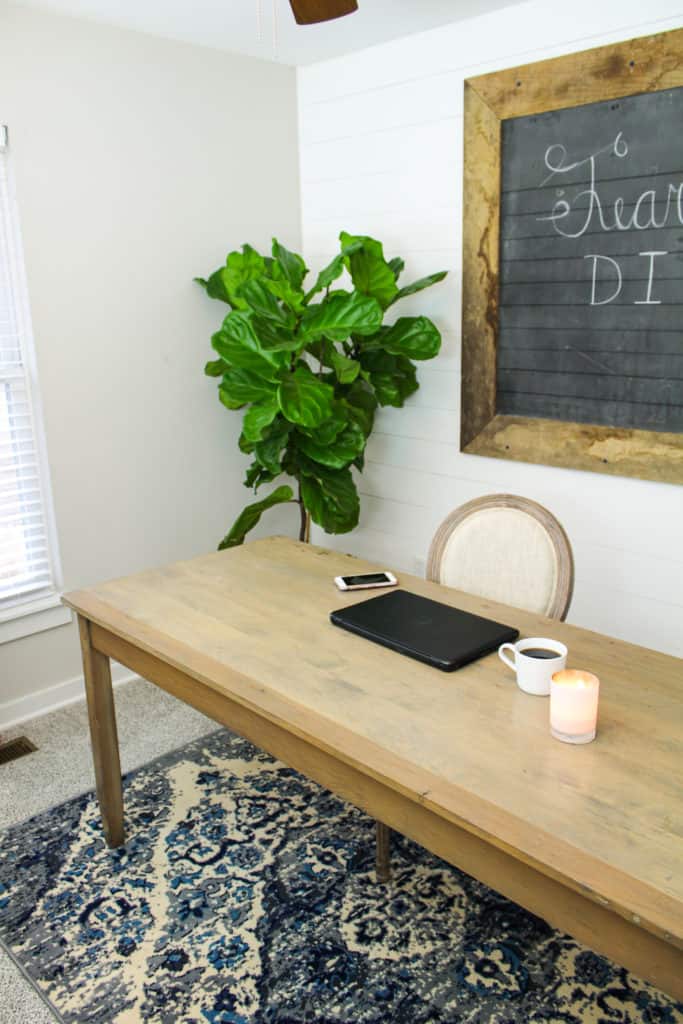
Shiplap comes in so many varieties. You can get skinny lap, tongue-in-groove hardwood, 1×6’s or have plywood cut down to size if you are on a budget. We like to do projects as economically as possible and this project is very affordable! We bought three sheets of plywood and spent less than $50 total for the wall makeover. I used paint we had left over from another project and staples we already had.
How to DIY a Shiplap Wall
- Measure the wall you are going to attach the shiplap to and determine the amount of coverage you are going to need.
- Decide if you are going to paint or stain the wood. This will help you determine which type of wood will be needed for the project. I knew I was going to paint it, so the cheapest material would be fine. If you are looking to have a more natural/stained look, then the higher end products would be better.
- Choose your wood at your lumber yard. If you are using the plywood like we did, then ask if the lumberyard can rip it down to 6 inch strips, or however wide you would like them. They can charge for each cut, but I have never had them charge me and I have used them multiple times!
- Sand down the edges to get rid of any splinters from cutting.
- Lay the strips together so you can put matching sizes together. In a perfect world, the strips would all be the same size, but this isn’t that world! I promise you that your strips will be slightly different widths. This is not a big deal. The only place it matters is the boards that meet end-to-end on the same line.
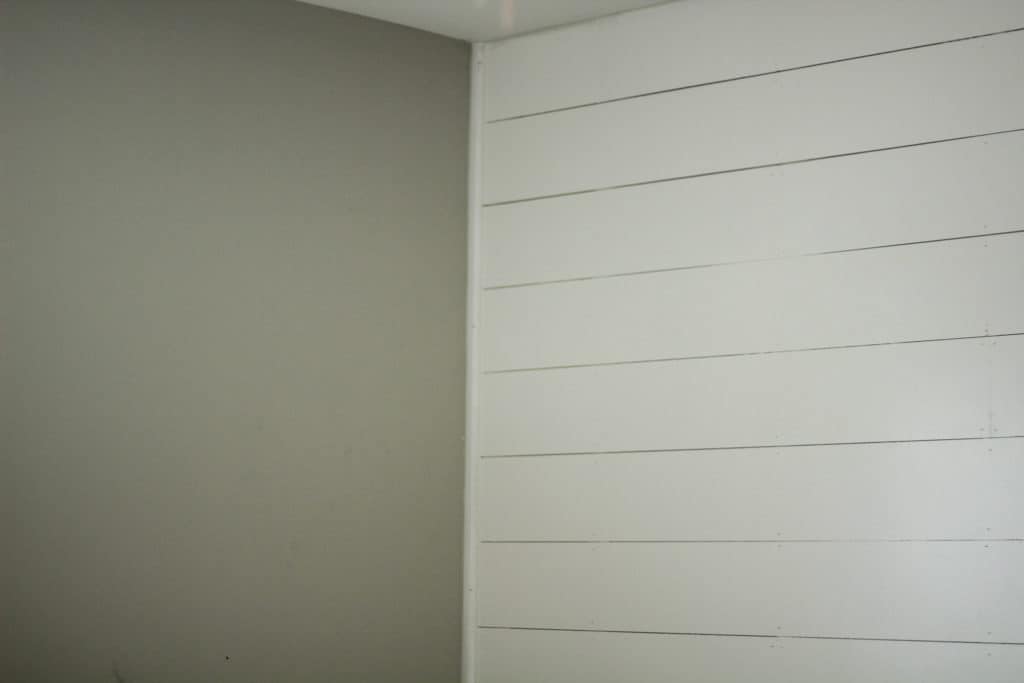
- Paint the wall a similar color to the shiplap because you will be able to see a little bit of the wall behind if the gap is big enough.
- Use a stud finder to mark the studs on the wall. This is not always needed, but we were planning on hanging something very heavy over the shiplap and attaching the plywood to the studs seemed the best idea.
- Position the first board on the wall. Make sure this first board is level! Ceilings are almost never perfectly level, so it’s ok if there is an uneven gap at the top. We will fix that later.
- Stagger the seams so it looks like hardwood if your wall is longer than your boards. This is where you want to make sure the boards you meet end-to-end are the same width.
- Attach with nails, with staples, with a brad nailer, whatever you have handy.
- Use a spacer between the boards for the next row down. Use a nickel, a nail, whatever works. We happened to only have dimes and that did not end up being enough space between the boards.
- Cut around the outlets or windows as needed. Make sure to allow enough room for the outlets to move freely as you will need to bring the outlet out a little so it will be flush with the new wood on the wall.
- Fill the nail holes with spackle or wood putty if you desire. I didn’t mind the nail holes so I left them.
- Prime the boards. Paint with a roller, but make sure to do light coats so as little paint as possible ends up between the boards!
- Take a knife or a nail and run between the boards to remove any excess paint. Do this as soon as possible to get it all off.
- Repeat with your paint color of choice.
- Add trim to the edges if you choose. I have seen several different ways to finish off the edges, but I just used quarter round I had lying around. I did not add trim to the top and bottom because I knew the caulk would fix it satisfactorily, but it wouldn’t hurt if you had an extra bit lying around.
- Caulk around the perimeter. This is such an important step because it finishes off the project and gives a professional appearance.
Cost of DIY Shiplap Wall
- 3 sheets of plywood from Home Depot=$45
- Paint- used leftover=free
- Staples-already had=free
- Total cost= <$50!!!
This method of using a lower grade plywood to create the shiplap makes it an affordable option. I did like the look of the natural shiplap before I painted it and now I may have to add that somewhere else in the house!
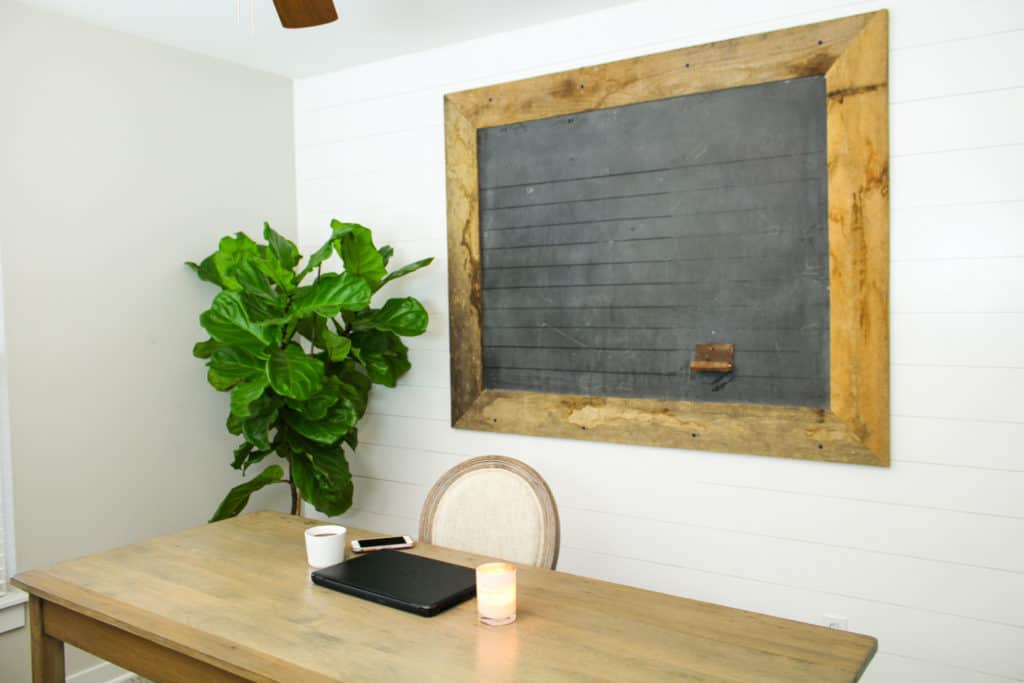
Don’t be afraid to try out the latest fad that catches your eye. It may be out of style soon but if it brings you joy, then go for it! I have some amazing pics of hairstyles from the 80’s and 90’s that I wouldn’t rock today, but back then I loved it. Shiplap is not a structural change, just a cosmetic one. If you decide in two years to take it down, then all you will have is a little bit of drywall repair and paint!
Watch the Video:
Show me your shiplap! I love seeing other’s work.
Pin it for later:
Go out and try something new today!
Emily 🙂
How cool is this! I’ve been wanting to add shiplap to my kitchen. Thanks for the inspiration.
I love the look of shiplap walls, but my husband and I are so inept when it comes to handiwork. Knowing my husband, he’d probably try to cheat with gorilla glue! Maybe I’ll start small somewhere to see how we do…
I have been wanting a shiplap wall in the master bedroom for awhile. Thanks for the easy tutorial. And it costs way less than I thought it would doing it that way.
Great post! I’m thinking of doing some shiplap in our office nook area. This looks great!