Learn how to do a countertop makeover on a budget with no artistic ability needed. Next to cabinets, countertops can be the most expensive part of a kitchen makeover and they aren’t always in the budget. There is a way to get a fantastic finish on countertops that will last for years or for however long until you get the material you really desire.
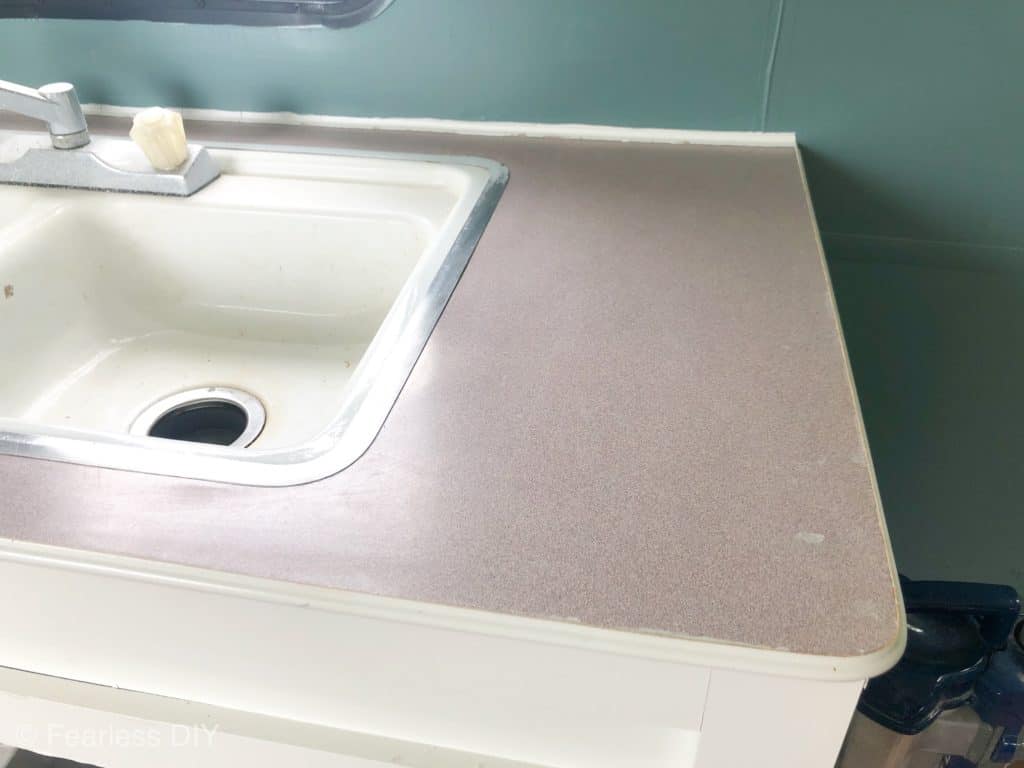
Before 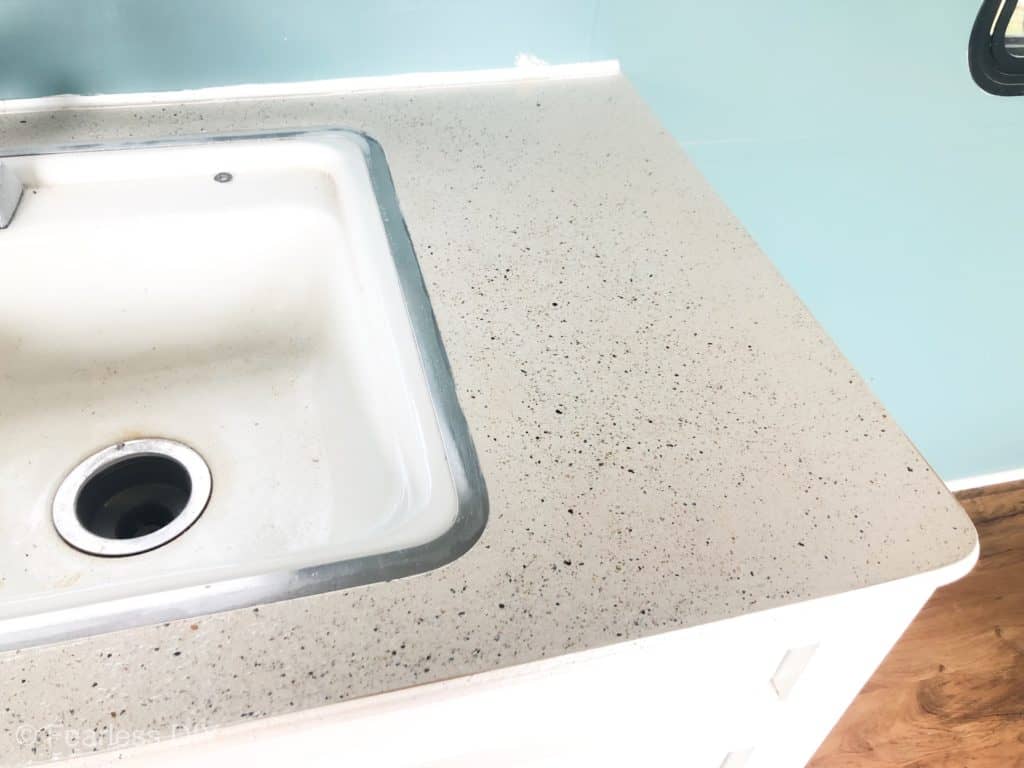
After
I have no artistic ability so those kits where you have to “dab” paint all over to make a faux granite would definitely end up a giant mess for me!
If I had the option, then I would always choose marble or granite countertops, but who can afford that?!
I have found a way to refinish countertops with aDaich DCT-MNS-NW Quart Spreadstone Mineral Select Countertop Refinishing Kit, Natural White” rel=”noopener noreferrer”> stone product that looks beautiful and is durable. At this time, I have done four kitchens and a camper with Daich DCT-MNS-NW Quart Spreadstone Mineral Select Countertop Refinishing Kit, Natural White
” rel=”noopener noreferrer”>Daitch Spreadstone Mineral Select Countertop Refinishing Kit and have been pleased with the results every time.
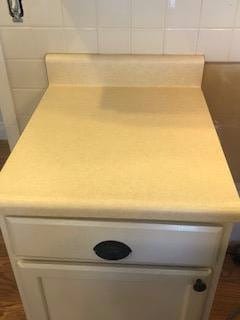
Before 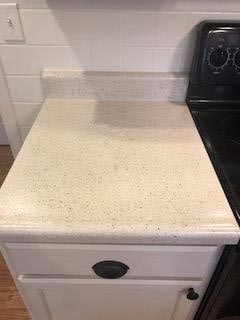
After
The application is simple, but can be time consuming, depending on the type of finish you like. Basically the products all roll on and go on very easily.
The time consuming part comes when you are sanding it to bring out the stone chips. I prefer my countertops to be as smooth as possible, so I take my time on that step and always use a random orbit sander to get that part done as quickly as possible. Vacuuming as I go to cuts down on the dust getting all over the kitchen.
after
These countertops were not in bad shape, but had a few gouges, burn marks and a loose piece of side trim. I glued the loose side piece with super glue and then followed the directions.
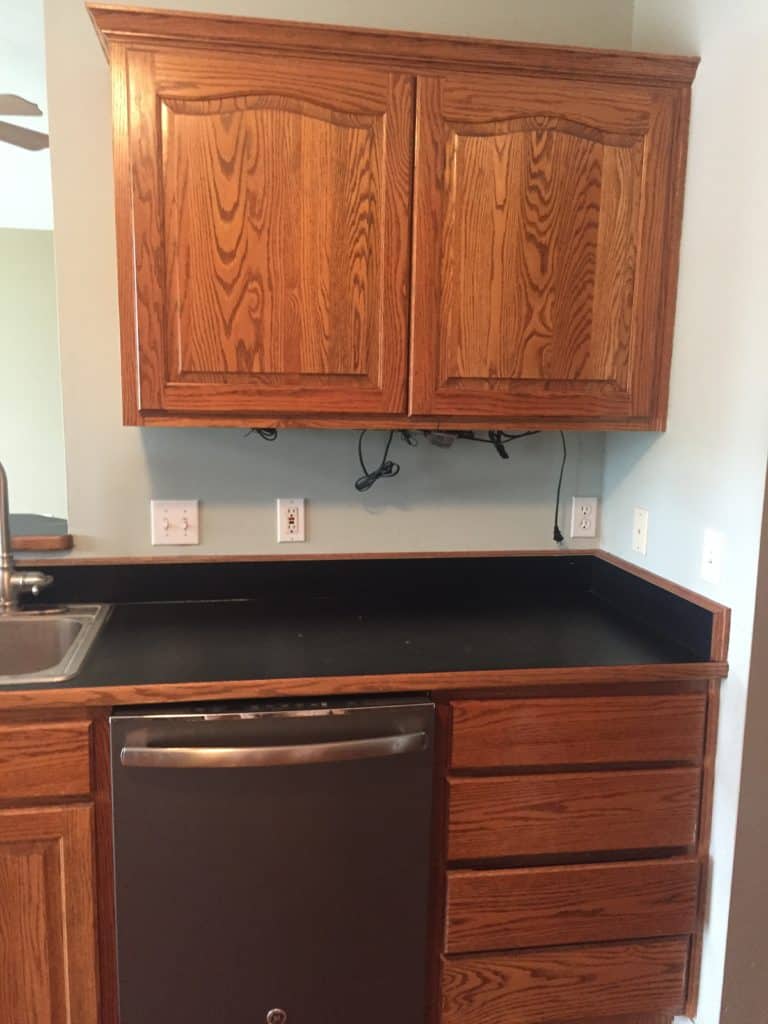
before 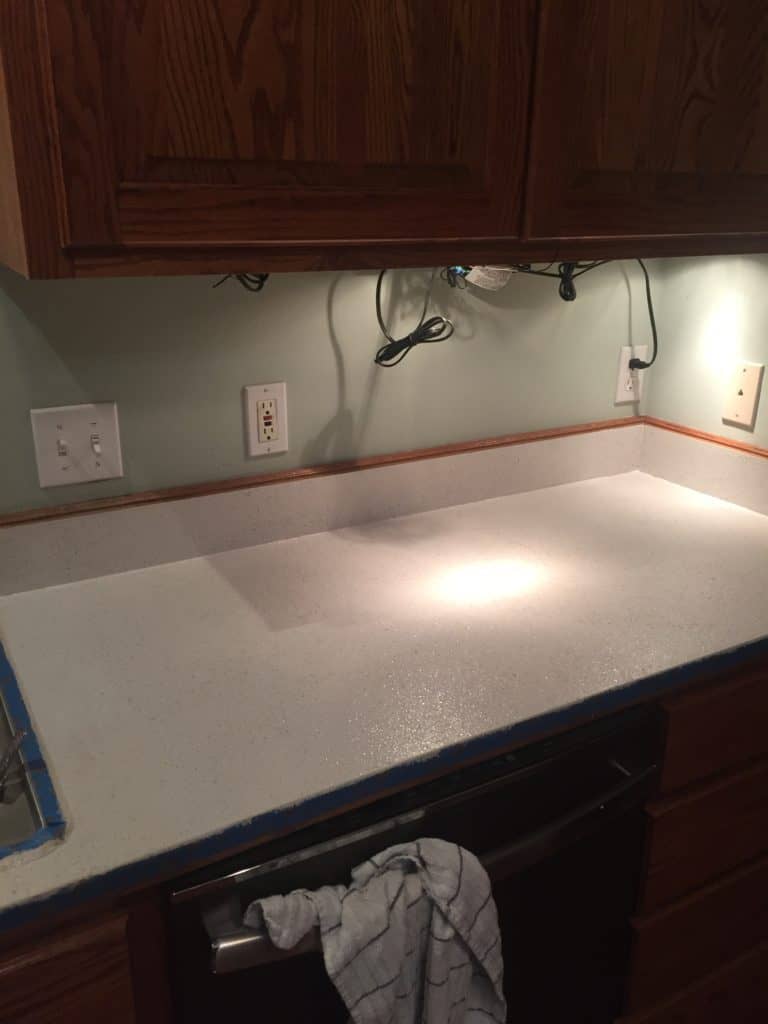
after
Out of the four kitchens I have used this product on, none of them have needed a touch up anywhere and it’s been almost four years for the first one I completed.

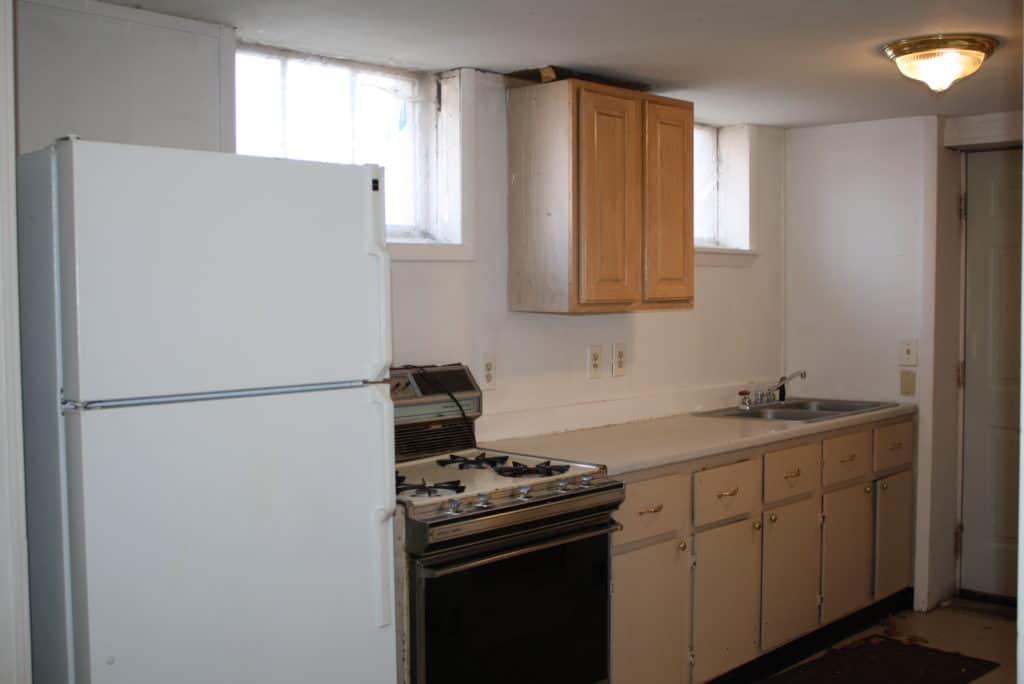
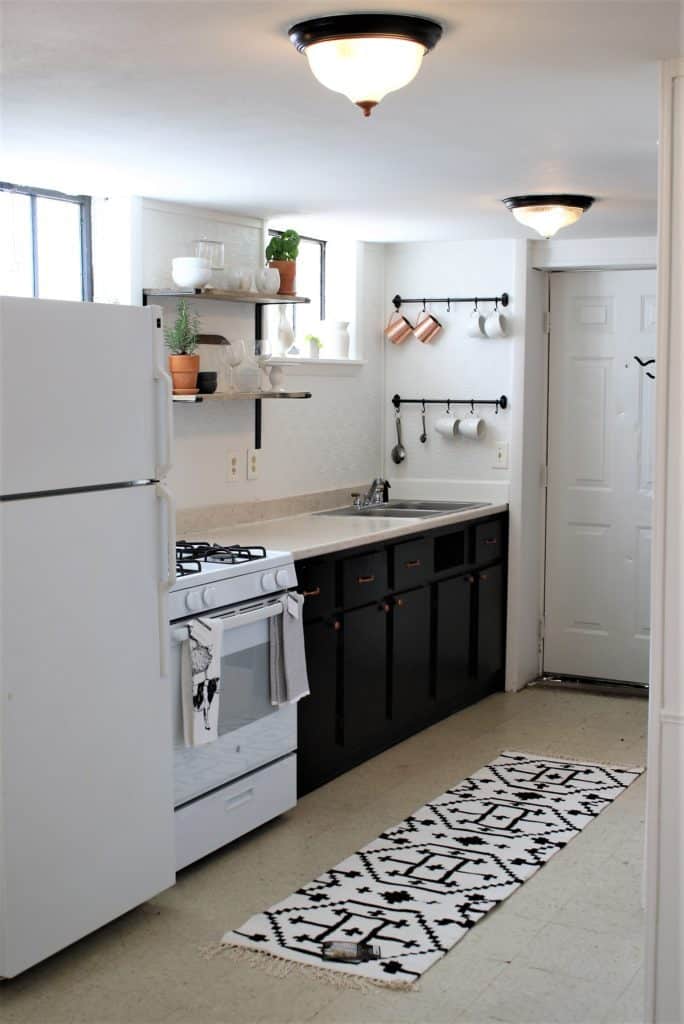
Before 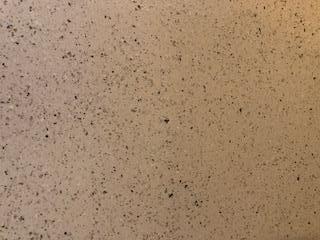
After
It gives a granite-type look to the countertops and it wears really well!! It comes in several different colors, but I’ve only ever used the Natural White color.
I used around half the product sent to finish this kitchen.
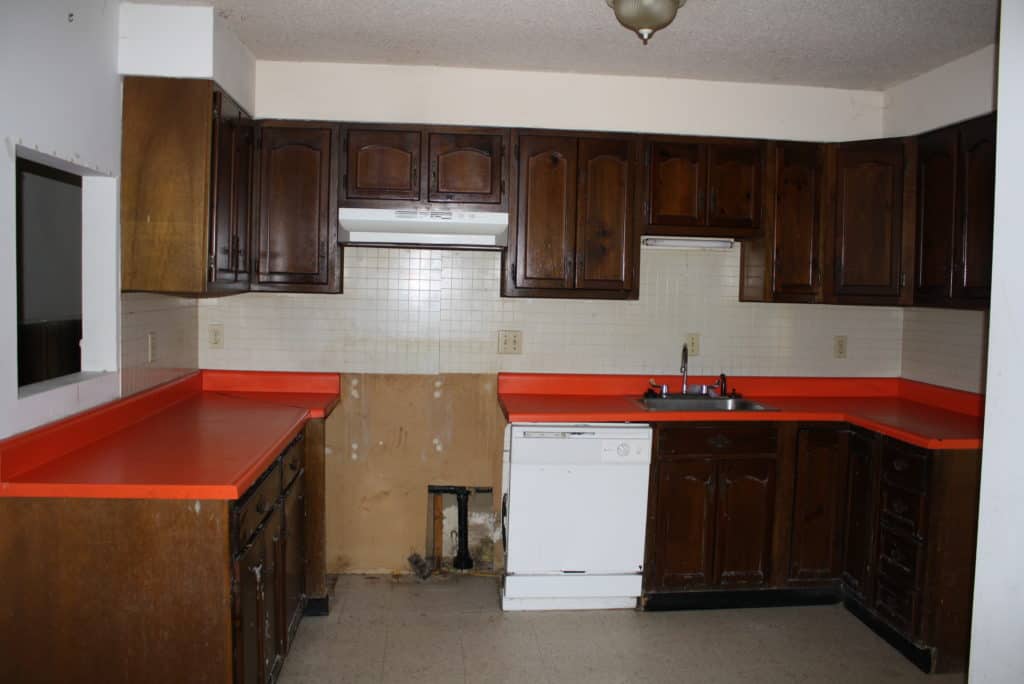
before 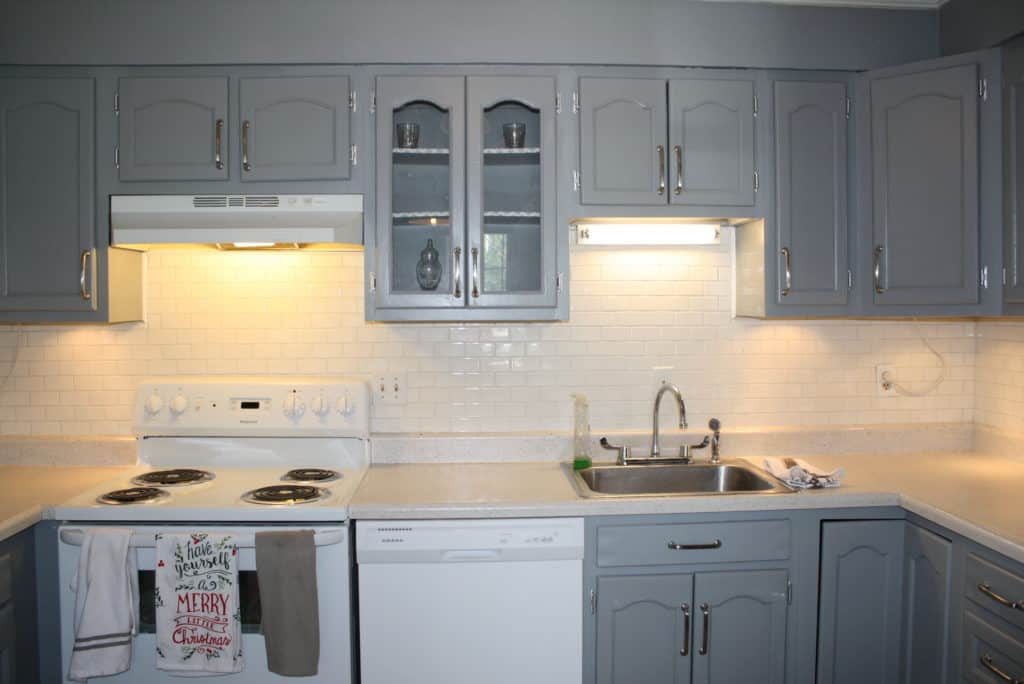
after
How to refinish your countertop:
- Scrub down the countertop surface with a degreaser and wash thoroughly.
- Remove any old caulk around the sink and at the top of the backsplash. Just get a razor blade and scrape it all up.
- Tape off the sink and anything you don’t want to get painted.
- They say to lay plastic over the cabinets, but I have never done this and it has not been a problem.
- Scuff the entire area you are wanting to refinish. Do not skimp on this step because you want to give the surface some texture for the material to grab onto. I always use the orbital sander and 60-80 grit sand paper.
- Patch any holes or seams that are coming apart. I have used bondo, spackle as well as wood filler. Fair warning, bondo stinks to high heaven!
- Mix up the primer paint can and follow the directions. Use the little chip brush to get into corners and then use the roller to spread the base coat. Use a thin layer.
- Let dry for 30 minutes, then roll on the second coat.
- Lightly sand the base coat for a smoother finish. Vacuum any dust and wipe down with a damp cloth.
- Stir the stone coating. Really push the roller down into the tray to mix up the stone chips. Roll on the first coat of stone coating. When rolling over the edges, be sure to start at the wall and roll continuously over the edge to get the smoothest surface possible.
- Let dry 1 hr, then roll on the second coat.
- Let the counter top cure for 24 hours. Be sure to clean your roller and brush, because you will need them tomorrow.
- At this stage, you will not be able to see the stone chips very well and it may look more like a mistake, but have no fear! The very next step will reveal the beauty of this product.
- Sand and vacuum the entire surface to bring out the stone chips and smooth the surface. I spend a long time on this part and just run my hand over the surface until I am happy with the texture.
- Vacuum the entire surface thoroughly and wipe very well with a damp cloth. Let dry. Make sure to get all dust at this time because whatever is left over will end up in your clear coat.
- Gently stir the clear coat and roll onto the surface.
- Let dry for 24 hours before using the counter.
Tips for DIY countertop refinishing:
- Use a random orbit sander to get a super smooth surface. They provide one piece of sandpaper in the kit, but trust me, just get the sander out!
- Have the vacuum handle in your other hand when sanding, because the dust will get everywhere in the whole house.
- Go easy on the sanding at first, but don’t be afraid to get it as smooth as you want. If you over sand in an area, just dab a little more of the material on that area and let it dry, sand again.
If you don’t have the money for upgraded counter tops, but need something durable that is not artistic at all, this is the stuff for you!
How long will the countertop makeover last:
- Three of these countertops that I have refinished have been in rental properties and have held up through several renters without any trouble! The very first one was over three years ago and has held up fabulously.
- I would recommend this product to anyone. Landlord, renter, flipper or just someone who likes to save money on DIY projects. My sister loved the transformation so much in one rental that she requested it for her home!
Thanks for stopping by! Let me know if you try this out.
Go try something new today!
Emily 🙂
This is not a sponsored post. I paid for all the product myself! This is just a great product for anyone looking for an inexpensive way to transform their laminate counters into something beautiful! Although if you purchase through the link above, I may get a small commission at no added cost to you.