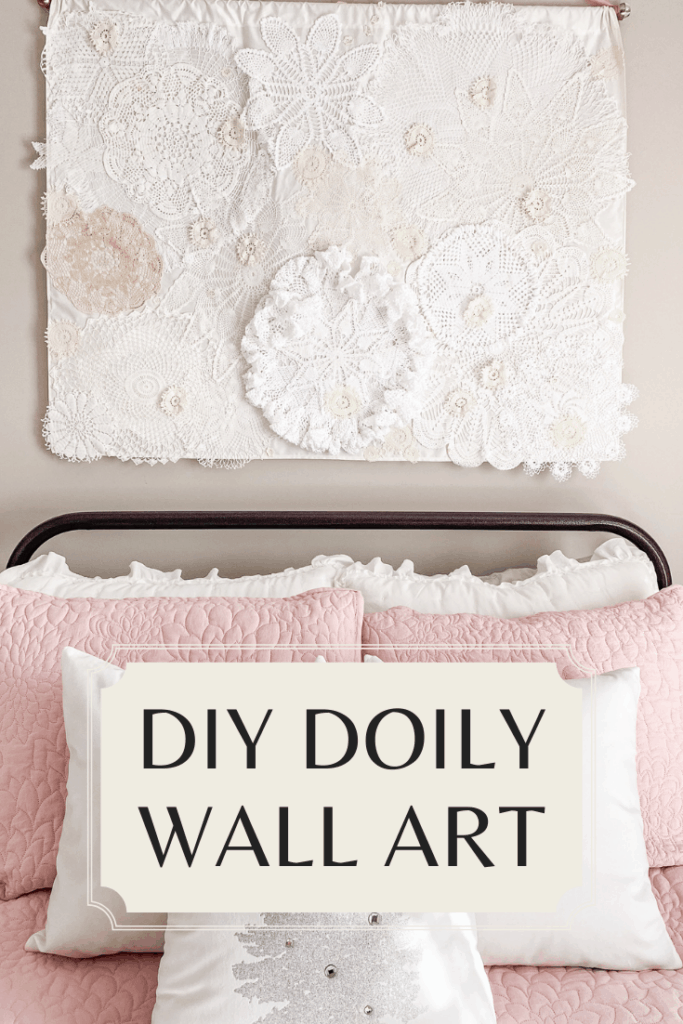
Learn how to turn family heirlooms into a hanging piece of doily wall art for your home!
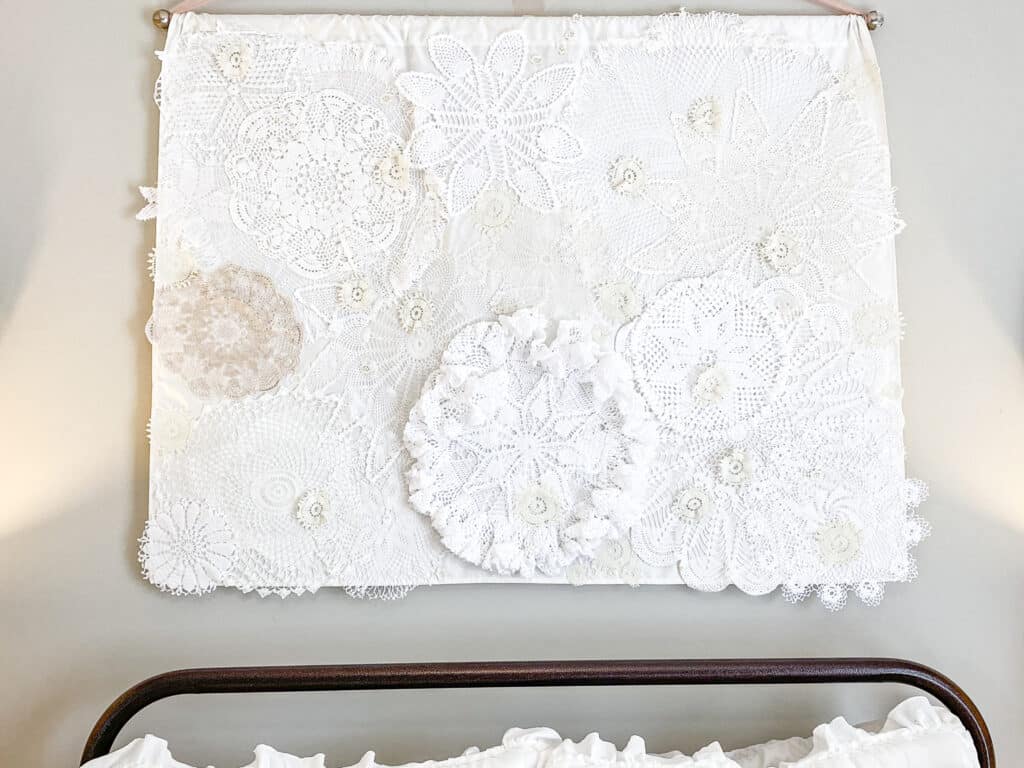
If you love antique malls or estate sales, chances are that you have seen lots of doilies. They have gone out of vogue in regular home decor, but they possess an intricate beauty that reminded me of snowflakes. I came into possession of a large tote full of them when we were clearing out a home to be demolished. The idea of re purposing them was intriguing.
At first I wanted them to drift across the wall like snowflakes, but executing that idea was a little difficult. Then I wanted them on a large canvas, but that was cost prohibitive, so I settled on a wall hanging using materials I already possessed.
We did not have a dowel rod but my husband remembered that I had some old curtain rods hiding in the basement. I went searching and found one that would work.
Then I found a large roll of fabric that I got from an estate sale years ago that was wide enough to fill the space. Once I got to laying out the doilies, it all started coming together. Start with the largest ones and lay them out, then fill in with the medium ones.
I actually didn’t add the tiniest ones until the next day and just used the hot glue gun to attach them. It turned out differently than I had imagined, but I ended up loving it!
This project made me so nervous because I had no idea what I was doing or if it would turn out. I’m glad that I pushed on despite the fear and doubt I experienced because I think it’s really cute!
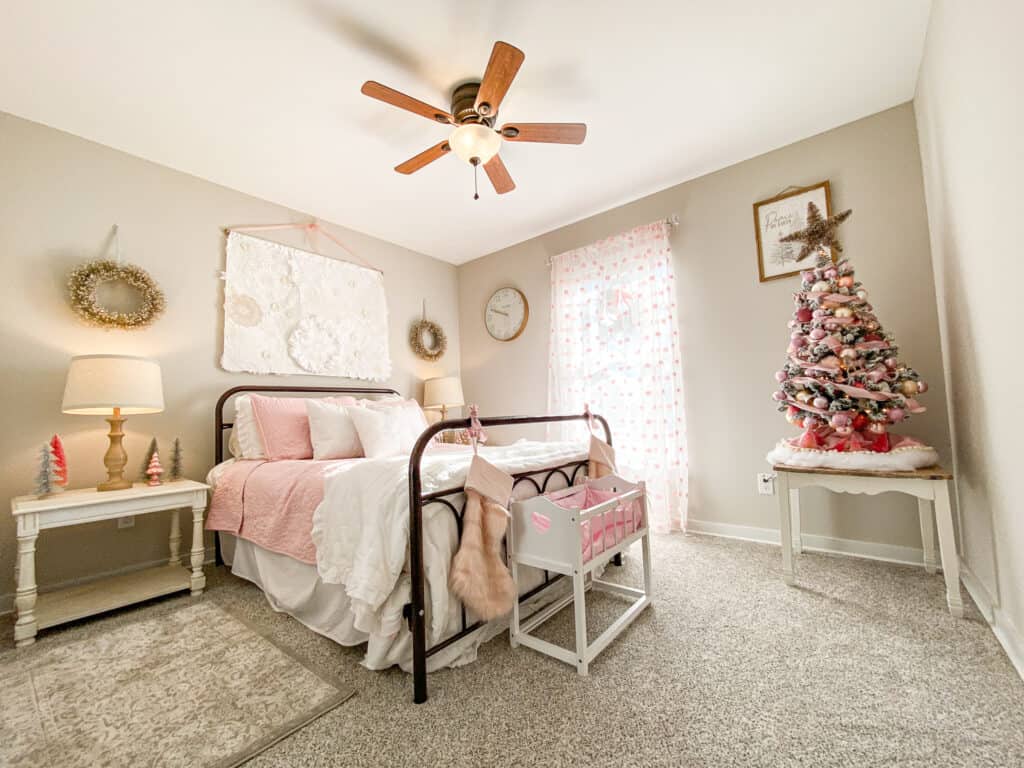
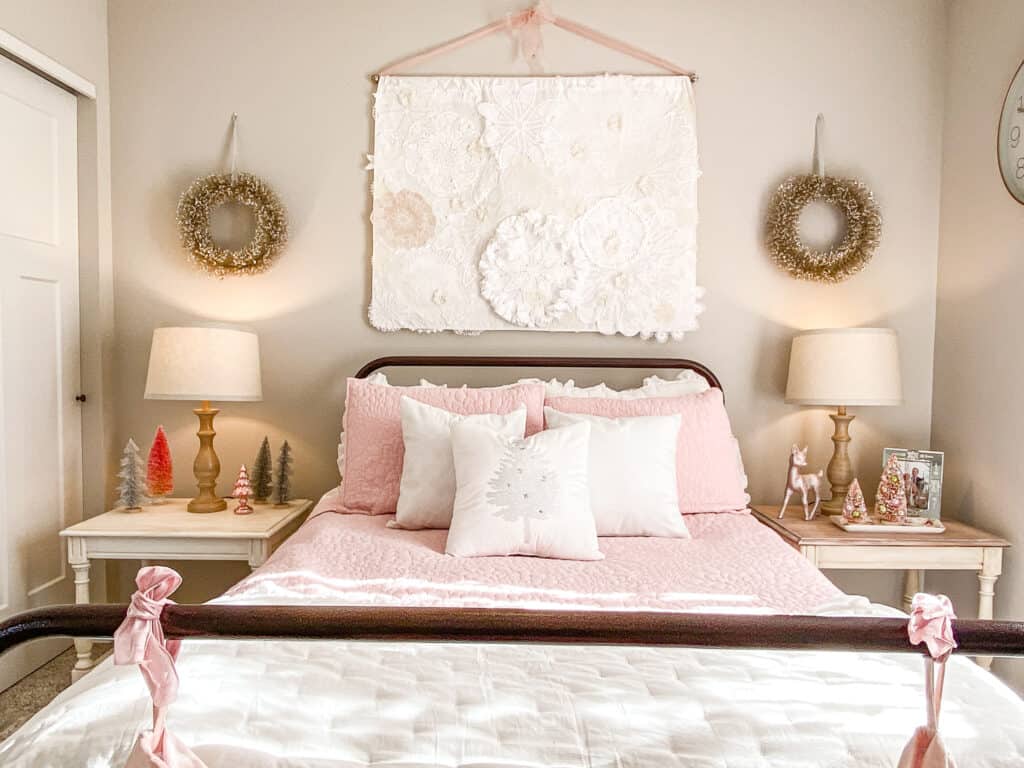
It really blended in seamlessly with the rest of the bedroom’s pink, girly theme. The little tree in the corner has so many ornaments on it that I’m surprised it hasn’t fallen over. The video of how I decorated that little flocked tree is here.
Steps to Making a Hanging Wall Art
- Measure the space you want to fill.
- Choose your curtain rod or dowel rod.
- Find your fabric and cut it down to size.
- Iron down the edges of the fabric 1/4″, then another 1/4″ and iron to make a hem around the fabric.
- Sew the edges down.
- Fold the top edge down two inches to make a pocket for the curtain rod to slid into.
- Sew the pocket, leaving both ends open.
- Spray the doilies with starch and iron to get them to lay flat.
- Lay out the doilies until you are happy with the arrangement. Start with the largest, then fill in the gaps with the smaller ones.
- Once happy, start gluing everything down. Fold the doily over in half and glue everything down, then flip up the other side and glue that side down.
- Finish off with the smallest doilies.
- Let dry overnight.
- Pick the wall hanging up and check to make sure that everything is adhered properly. If anything comes loose, either add a little more glue or if you’re in a hurry like me, get your hot glue gun out!
- Attach ribbon to both ends of the curtain rod. The ribbon needs to be tied all the way around the end of the curtain rod, then a big bow made in the middle.
Video Tutorial for DIY Doily Wall Art
Sources
- Bedding-Home Goods
- Lamps-Walmart
- Pink Trees/Reindeer-Target
- ornament trees-Hobby Lobby
Pin for Later
Thanks for stopping by!
Emily 🙂