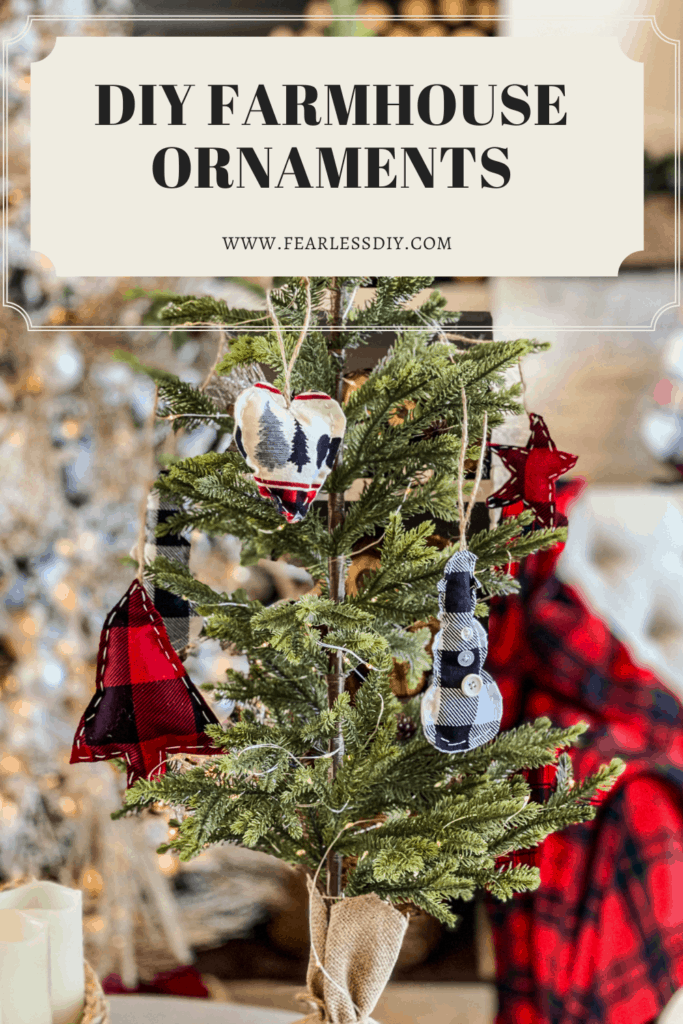
Learn how to make DIY Farmhouse ornaments with scrap material, a needle and thread and a little bit of stuffing. These cutie ornaments are everywhere this season but can be on the pricier side. So I decided to make my own and the best part is that they are supposed to look rustic!

If your sewing skills are like mine, then that’s a great thing. Even if you’ve never sewn before, this will be ok! We are leaving the edges of the fabric rough so you don’t have to have anything even.
These are such an easy project to take with you to complete. Everything will fit in a ziploc bag and could be worked on over lunch or while watching a movie at night. Because the stitches are so big they go really fast.
Supply List for Farmhouse Ornaments
- Fabric
- Scissors
- Needle and thread
- Twine or ribbon to hang the ornament from the tree
- Stuffing (batting or filler)
- Optional: buttons
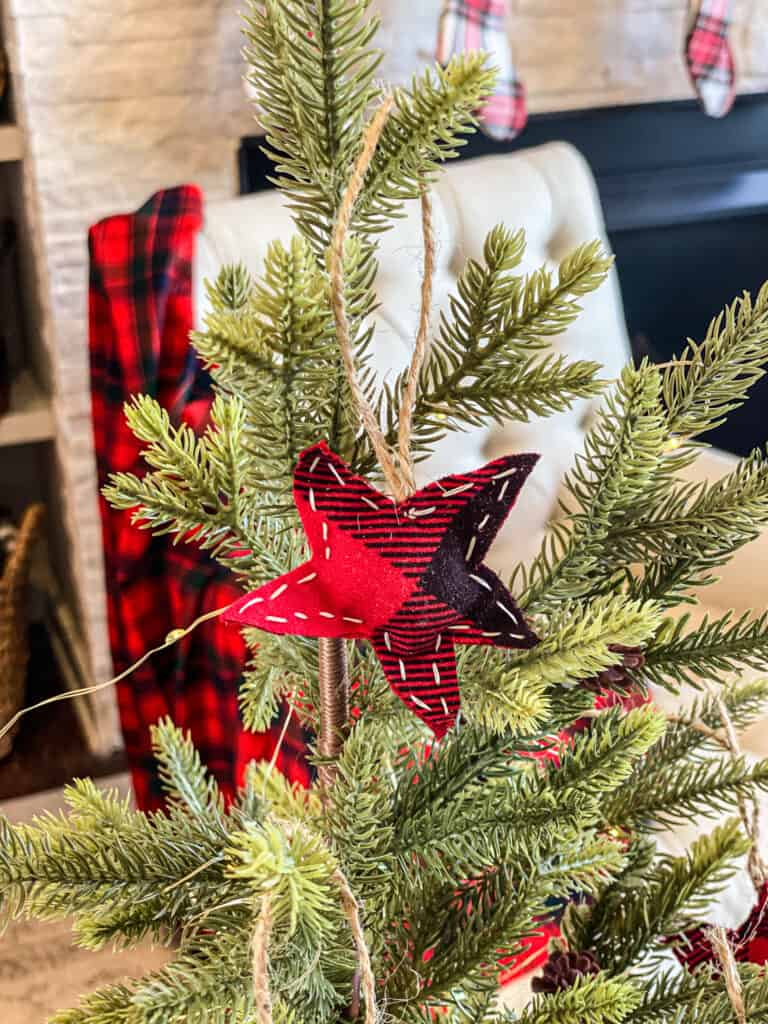
How to make fabric farmhouse ornaments
- Gather your supplies
- Fold fabric in half so that you are cutting out both sides of the ornament together.
- Trace the pattern you want to use (santa, snowflake, star, snowman, etc) or cut around the pattern.
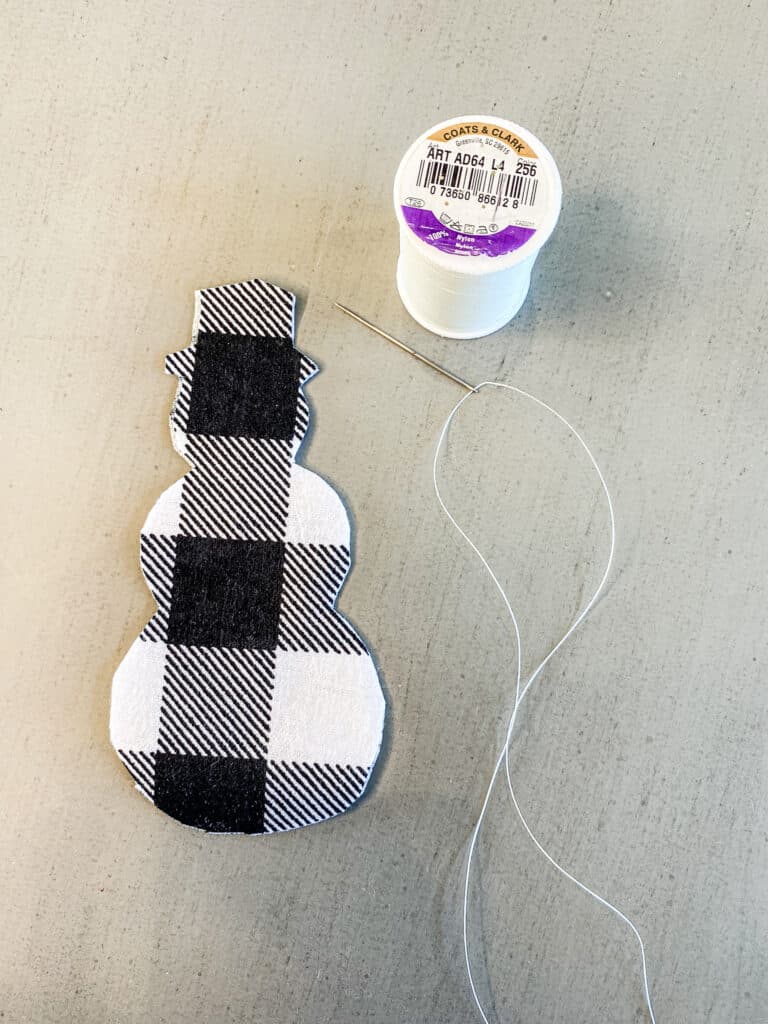
- Thread your needle and tie both ends of the thread together to form your knot.
- Make large stitches around the perimeter of the ornament, going 1/4″ from the outside. Make the stitches around 1/2″ wide.
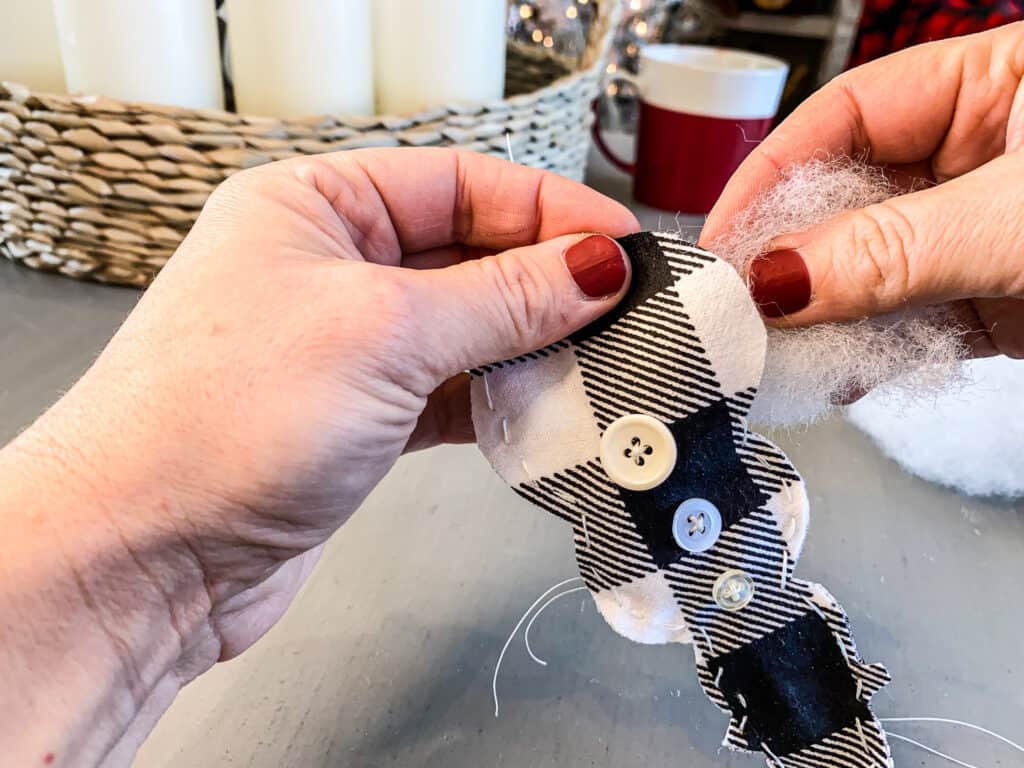
- Stop about 3/4 of the way around and add in your stuffing. Stuff to your preferred fluffiness.
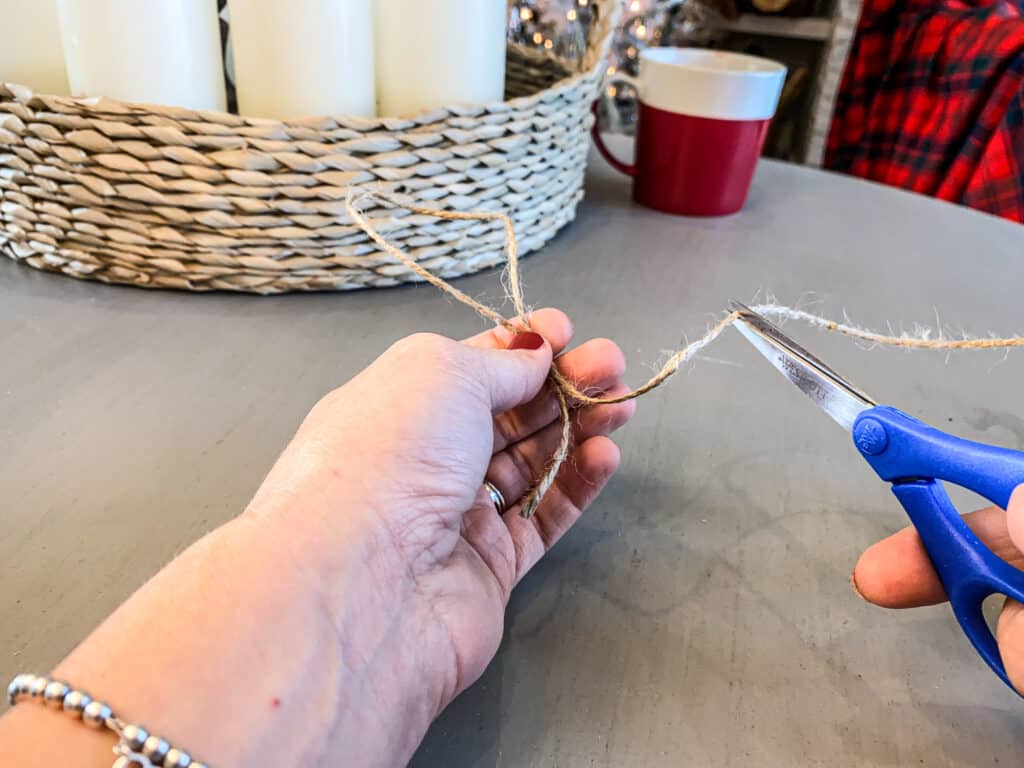
- Cut your twine or ribbon hanger and place in between the two fabric layers.
- Continue with the stitches until you reach the twine.
- Secure the ribbon by throwing several little stitches going through the fabric and the twine.
- Tie it off using several knots to secure.
- Trim off the excess thread and hang!
Step 1-Cut out the pattern
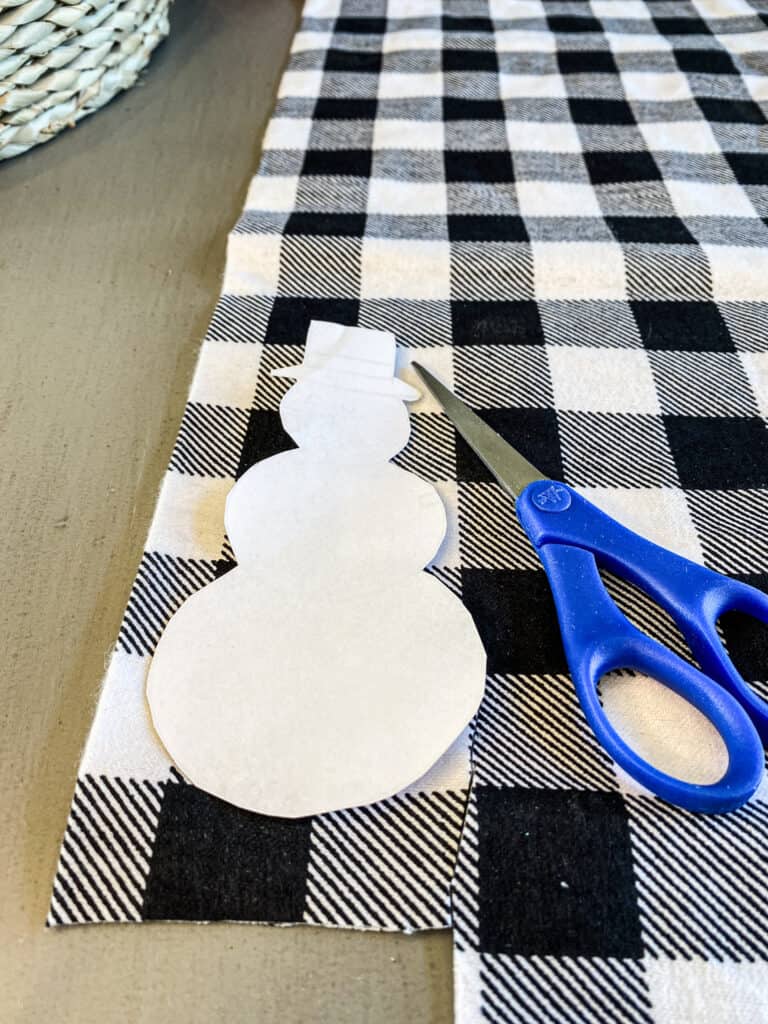
Step 2-Thread the needle
Step 3-Cut the hanger
Step 4-Stitch around the perimeter
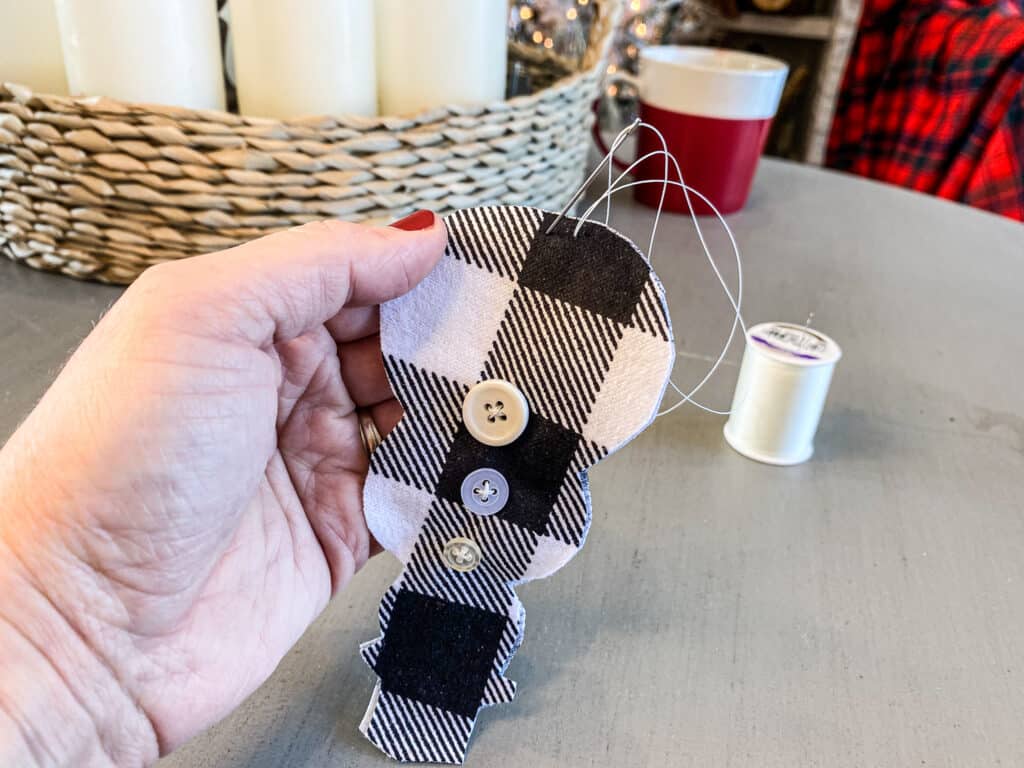
Step 5-Attach the hanger to your farmhouse ornament
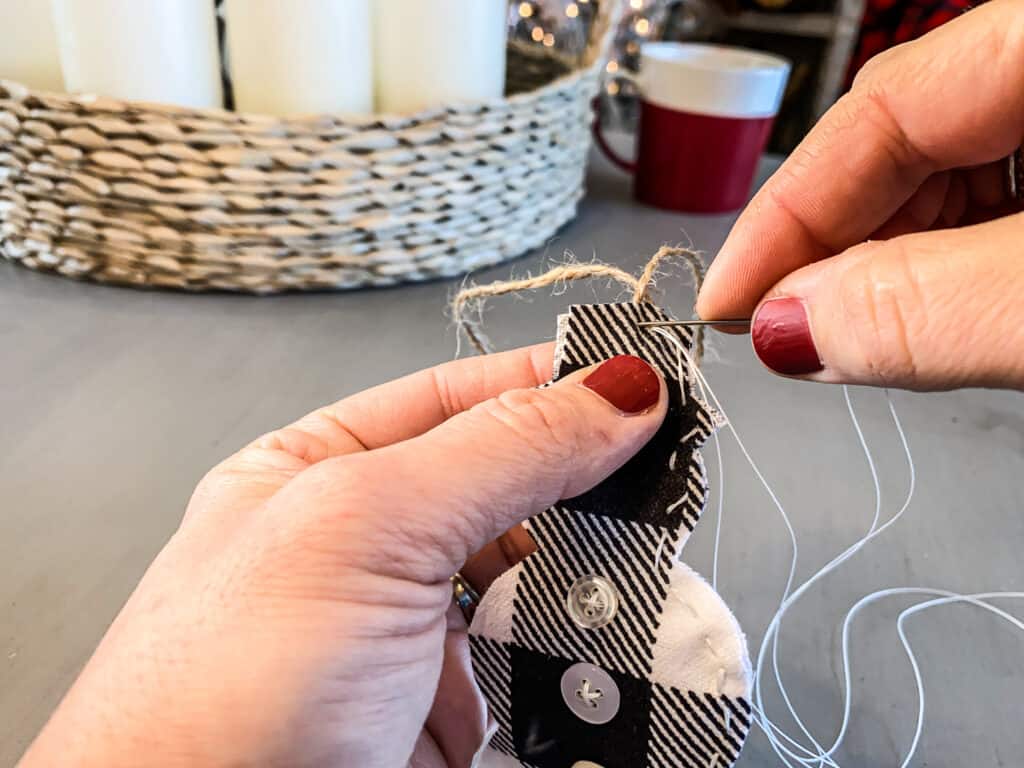
Step 6-Stuff your ornament with fluff
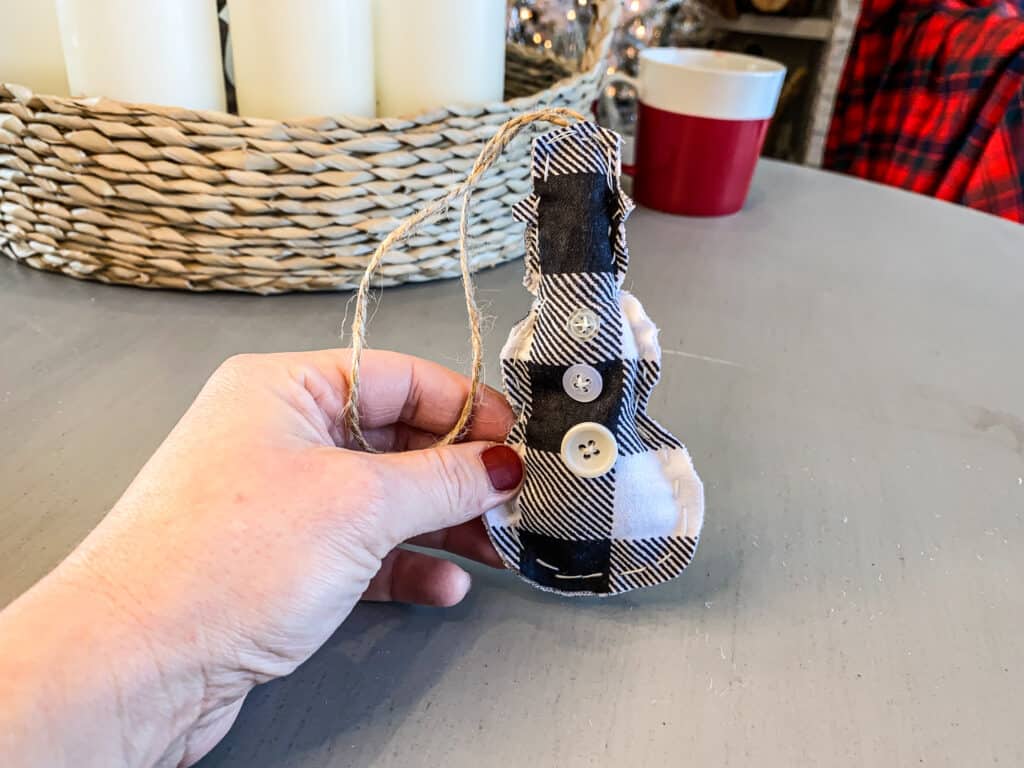
Step 7-Enjoy your farmhouse ornament!
Options to Farmhouse Ornaments
Before you start sewing the pieces together, you can add little buttons to the front of the snowman or a cute shaped button to the tree. Just sew on ahead of time, then sew the two sides together like normal.
The shape options are unlimited! If you can print the shape out, you can sew it into an ornament. Now I’ve just thought about another shape I should do, maybe a moose??
Video Tutorial

Why make your own ornaments?
I work in a medical office and alot of times when people come to see me, they are scared. The waiting room can be a tension filled place sometimes, so I always like to decorate it for the seasons. It gives them something to look at and focus on besides why they are there in the first place. It makes my heart so happy when my secretary tells me that people love the decor!
I use these lights I got from the Christmas Place in Pigeon Forge, TN because they are just the most magical lights I’ve ever seen. These ones are guaranteed to never tangle and have a 10 year warranty. They will replace the entire strand if a bulb goes out. I reviewed these lights last year here on my “Best Christmas Lights“.
If you love the farmhouse look, check out my easy DIY flocked trees post, here.
That’s why we do all this isn’t it? To bring some joy, beauty and light to other people.
Pin for later
Hope this gives you some inspiration to try something new!
Emily 🙂