Have you always loved board and batten but thought it was out of your budget? Well I’m here to show you how to install board and batten on your own for cheap! This simple trim detail uplifts a rooms design and can be accomplished in one or two days, making this the perfect weekend project.
Honestly, the hardest part is deciding the spacing that you like and making sure the math is right. I completely messed this part up once and you will see in the video that I realized it fairly early on, recalculated and finished it right up. The trick was that I forgot to account for the width of the boards in my calculations.
I fell in love with the extravagant molding and trim in the mansions I toured in Newport, RI. Obviously that kind of trim would not be right in the type of home I have, but I knew I could add a little interest in each room with just a little bit of something extra. It really is the details that make all the difference.
When I visited the Silos in Waco, I just could not believe the attention to detail in every minute way. I could’ve spent an entire day just looking at the cabinetry, trim and tile Joanna had picked out. I wanted my spaces to feel that same way, that attention was paid to every last detail.
Steps to install board and batten
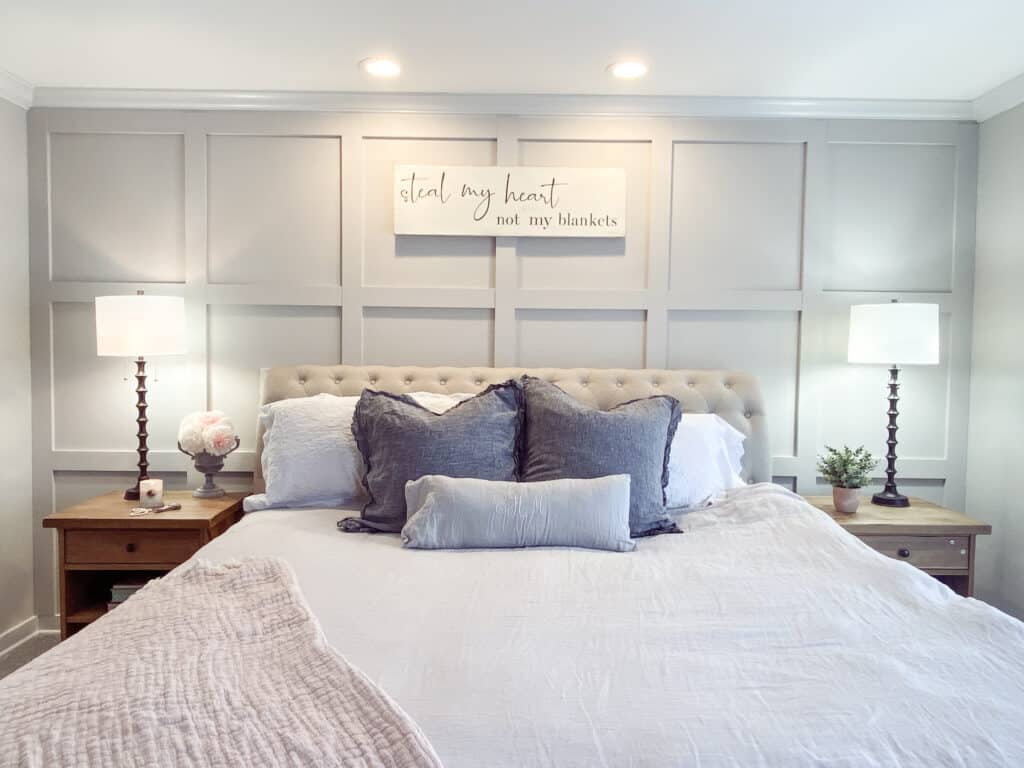
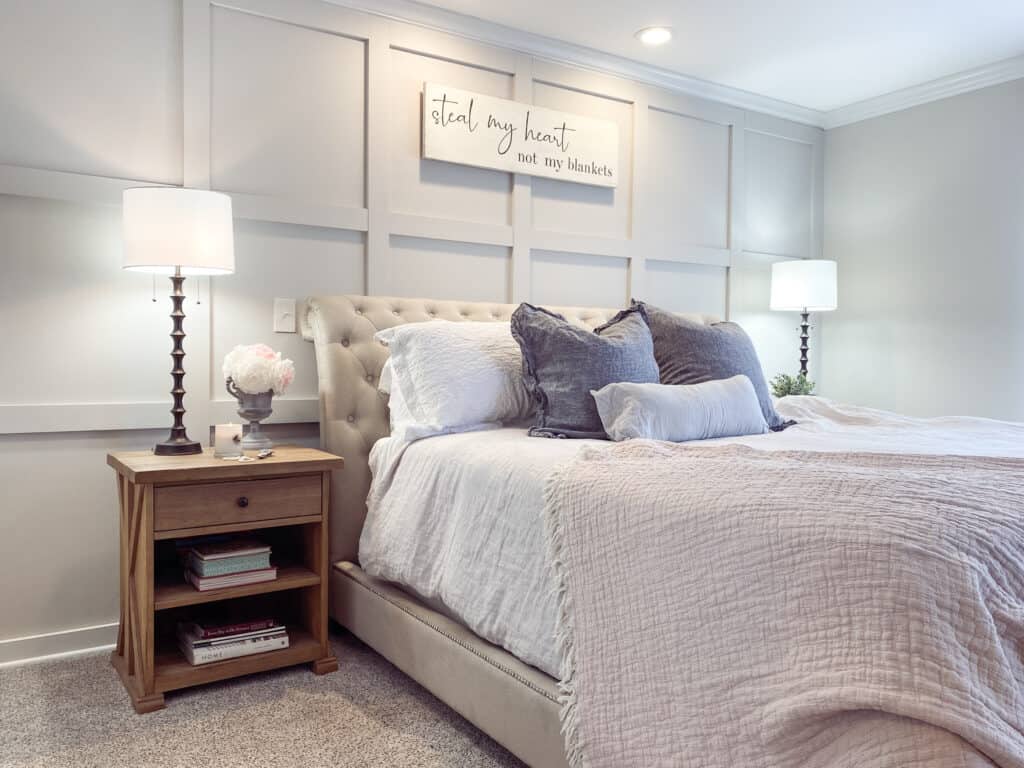
- Decide on your spacing. This is a personal preference how large or small you want to make the squares in your space. We chose to have 7 vertical battens which made 6 squares and 3 horizontal spaces which would need 4 horizontal boards, but we already had the baseboard in place. We used leftover baseboard trim in this room, but in the future we would use mdf or plywood cut to the preferred length to save on cost like we did when we did Shiplap in our office. The link to that post is here.
- Use masking tape to help visualize the spacing and lines you want. This may seem like a lot of work, but you just have to do a small area and it really helps me figure it out.
- Cut all your vertical boards to length and get them laid out. Unfortunately walls are not even, so measuring each space will save you time in the long run.
- Then grab your air compressor or borrow one. I promise it will be worth it. Or even a battery operated staple gun would be just fine!
- Skip to step 10 if you already know how to use an air compressor
- Load the staples so that the ends of the staples are pointing towards the wall, not back towards the handle.
- Attach the air compressor hose by sliding the metal ring down and attaching to the nipple on the staple gun.
- Attach the air compressor in the same fashion.
- Turn on the air compressor and allow it to build pressure or it will not get the staples all the way flush in the wall.
- Attach each vertical board measuring between each one and holding a level up before attaching it.
- Make any necessary cuts around outlets or light switches.
- Now attach the horizontal boards, using a level between each set of horizontals. Also, no matter how carefully you measure, it seems like you will never be able to just put each board right up. There are always small adjustments to be made.
- Caulk the spaces. Be sure to use paintable caulk! If you use silicone only, it repels water and the paint will not adhere and it will look terrible!
- I use bondo for most nail/staple holes. It does smell terrible and you will want to have a well ventilated room to use this stuff.
- Just spread a little bit of the bondo on a disposable plate. Add a tiny bit of the cream hardner and mix until it’s incorporated. Move quickly at this point and get it onto the wall. Use a small amount because you will have to sand it flat. It’s ready for paint in 15 minutes.
- Sand smooth.
- Get to painting!
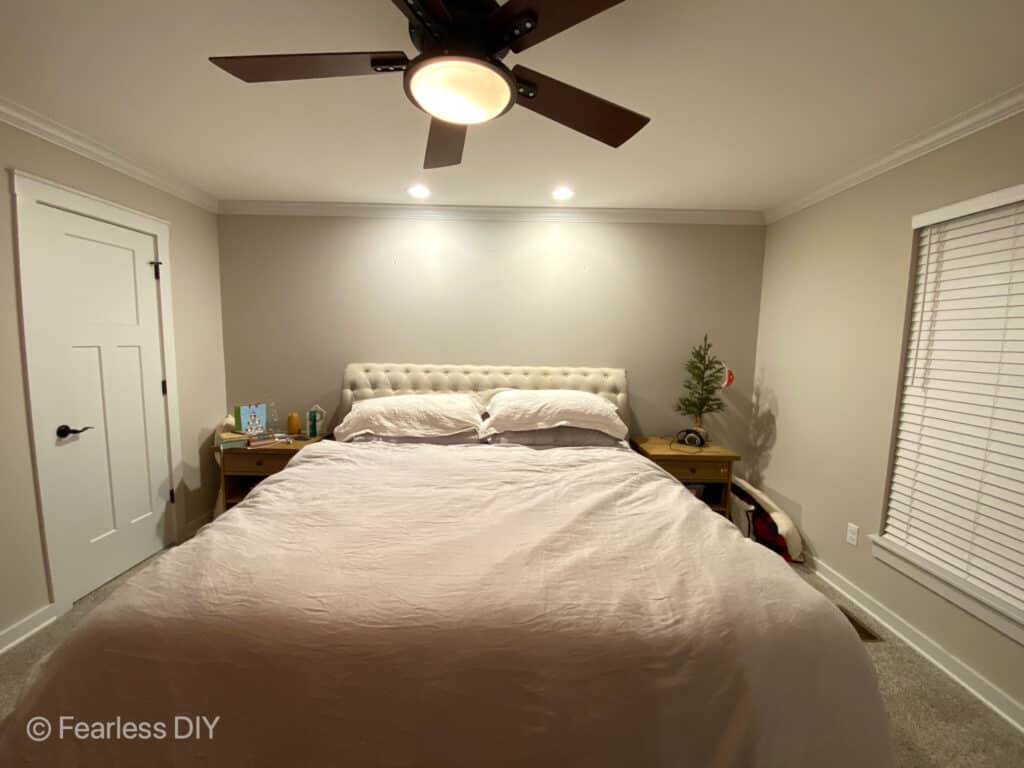
Before 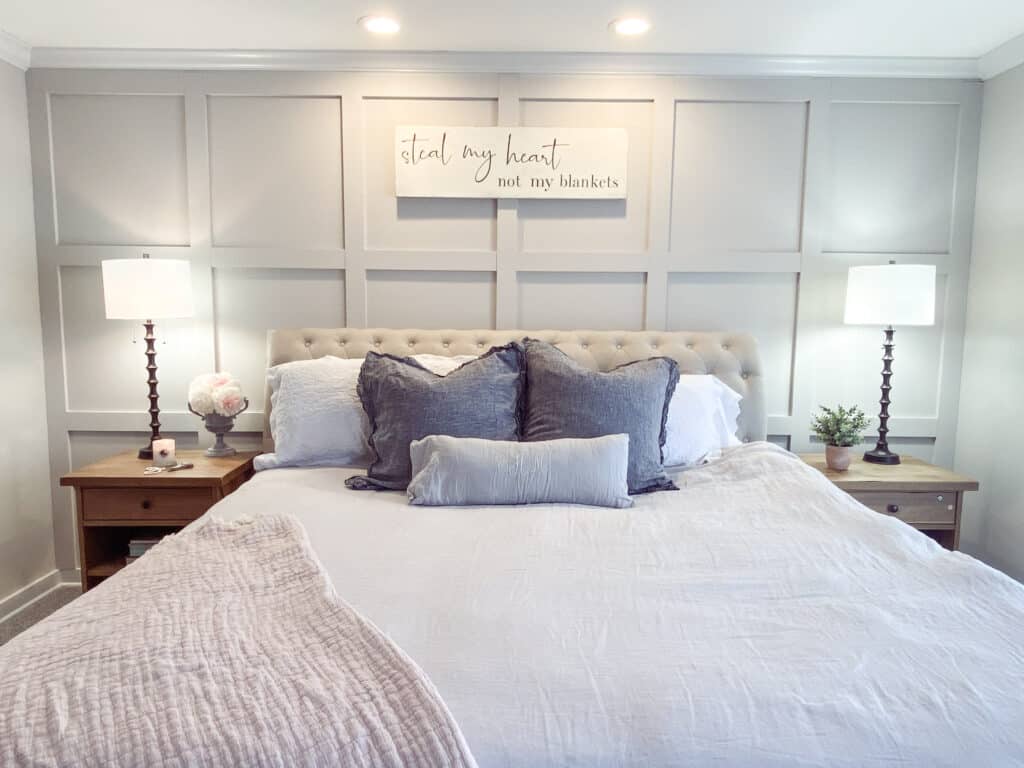
After
Link list for board and batten
- Paintable Caulk
- Bondo
- Repose Grey Paint
- Linen Bedding from Restoration Hardware
Video Tutorial
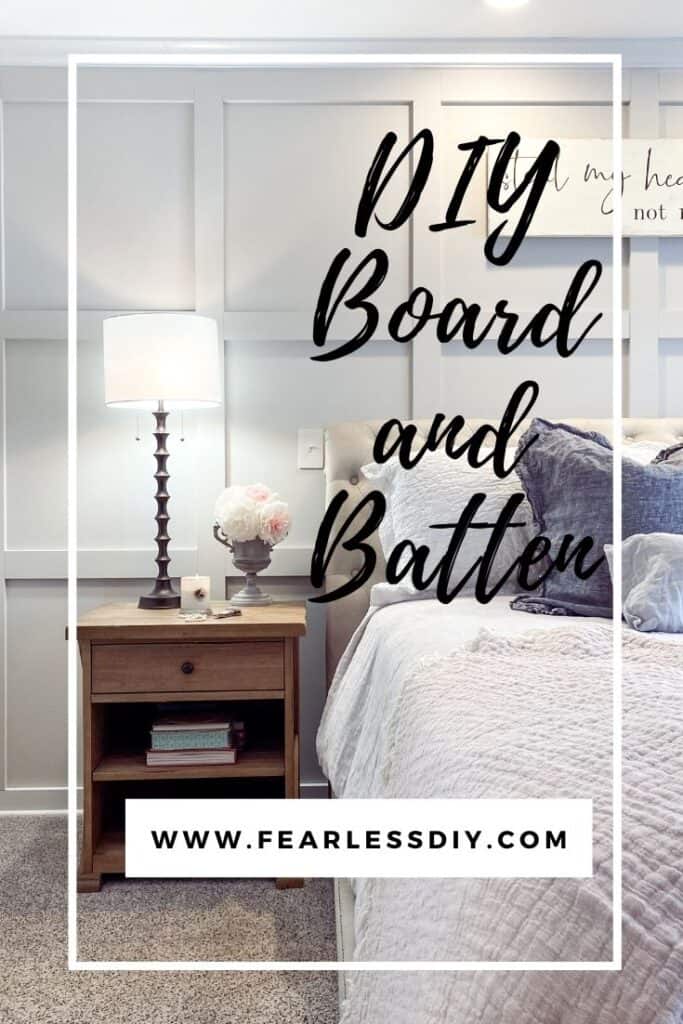
Pin for Later
I hope this tutorial gives you the courage to try DIY board and batten in your own home. It really is easy. The hardest part is before you even start, just deciding on the math. Once I finished this I wanted to add trim to every room in my house!
Thanks for stopping by.
Emily 🙂