AKA How To Use A Belt Sander

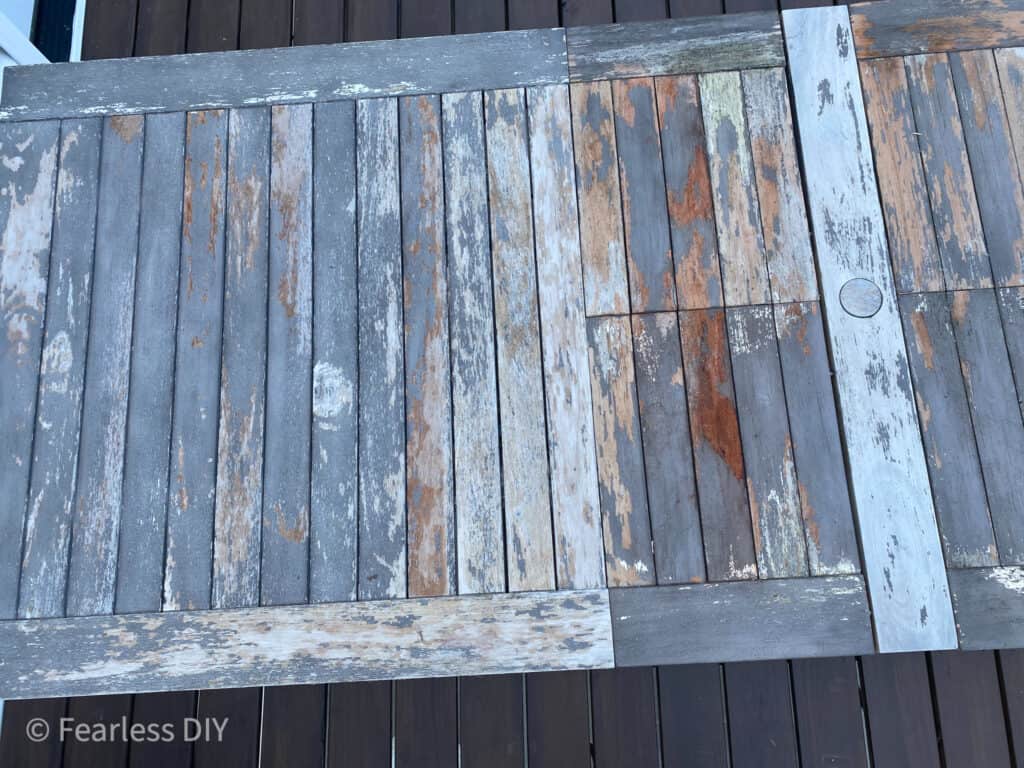
BEFORE 
AFTER
Follow along as I show you how to makeover an outdoor dining table that has not weathered well. This table and chair set was bought from a higher end furniture store two years ago, but it was through their outlet, so maybe that’s why it didn’t hold up so well.
There are covers that you can buy for protection during the winter months, but they would have cost more than the set! That was my bad and now I have covers for most of my outdoor furniture, but I did buy those from Wal-Mart.
To refinish this set, I am going to sand them all down and stain and seal it. I decided against painting the set, because I didn’t want to have to repaint it every two years. The stain is actually a deck stain, which is meant to last much longer than interior stain and it has a sealer already in it.

Sand it down
Let’s take a closer look at how to use a belt sander because it is the best choice of tool for this size of a project. The belt sander takes off the most material the quickest, so you can really get going on your project, but that also means that it’s easy to accidentally take off too much!
We are going to learn how to use a belt sander, how to change the sandpaper in the belt sander and some tips and tricks to know when using one.
Power tools may be totally out of your comfort zone. You may not have grown up learning how to do projects around the house, but that doesn’t mean you aren’t absolutely capable of learning how to safely operate these tools. A belt sander is just a tool…just like a curling iron. It only does what you tell it too, but that doesn’t mean accidents don’t happen.

The very first time I ever used a belt sander was a disaster! I was kneeling on the ground and trying to run the sander on a board lying on the ground. As soon as I put my weight on the sander, the thing took off with me! I mean, tried to throw me on the ground! My husband was so amused he whipped out the camera instead of trying to help me out. So it’s forever viewed in my family whenever they need a chuckle.
If you want to see my belt sander fail…here’s the video.
Belt Sander FAIL
Thirty seconds after this video was shot I figured it out! No thanks to my husband who could barely stand upright from laughing so hard.


How To Use A Belt Sander
Tips
- Wear eye and ear protection when using a sander. Debris flies all over when you’re sanding and I don’t want you to have an injury.
- The sander will get really HOT after using for just a little while.
- Find the lever that moves the wheel closer to the center so that you can slip the new belt on.
- Be sure to center the sandpaper on the wheel. Use the adjustment knob while running it to move the sandpaper to the center.
- If you are sanding for a long time, there is a button near the handle that will keep the sander running without holding down the trigger, like a cruise control.
- Use light pressure when you’re sanding with any sander. This type will take off with you if you’re putting too much pressure on it.
- Also your hands and arms will get tired quickly if you use too much pressure.
- Sand WITH the woodgrain or you will quickly realize that half the wood on the surface is gone!
- Use a rougher grit, like 60 or 80 grit when you really need to remove a lot from the surface of your piece.
Smooth It Down
- After getting the table stripped of most of the stain and paint, it’s time to smooth down the surface.
- Grab your random orbit sander with a finer grit sandpaper (120 to 200) to smooth out the surface. You will still take off some more surface layer, but it will not be as aggressive as with the belt sander.
- Wear a dust mask!
- Blow off the table and get all the little dust particles off the table. If this piece was being refinished indoors, then I would also use tack cloth, but there really isn’t a point to that because it will have little particles fly into the finish while it’s drying because it’s outdoors.
Apply The Stain
- My favorite part! Making it pretty again.
- This stain is a semi-transparent deck stain from Home Depot. I used semi-transparent because I wanted to still see the wood grain.
- I have had this same brand of deck stain on my back deck for two years and it has held up wonderfully!
- Brush on a light first layer, watching for any pooling.
- Apply a second coat and let dry complete.
- In between the last two coats, I sand lightly with a very find sandpaper like 400, just to knock off any particles that became attached while drying outside.
- Blow the table off and wipe down with a wet cloth.
- Apply the final coat of stain.
- Make sure that there is no rain in the forecast for 48 hours!
Video Tutorial
The same process was done to all the chairs and they had better last forever or I’m having a massive bonfire! For the eight chairs I did spray the stain with my paint sprayer because it would’ve taken me bloody forever to paint them all by hand. I also applied three coats the chairs but I did not sand the chairs before the final coat.
It’s been three months since I finished this table and it looks brilliant! The water is completely repelled by the stain and beads up immediately. I am thoroughly pleased with the deck stain and I hope it lasts even longer on my table than it has on the deck thus far.

Here is another DIY makeover tutorial using chalk paint and antiquing wax.
Please let me know if you have any questions or comments or a tool you’d like to see me use!
Go out and try something new!
Em:-)