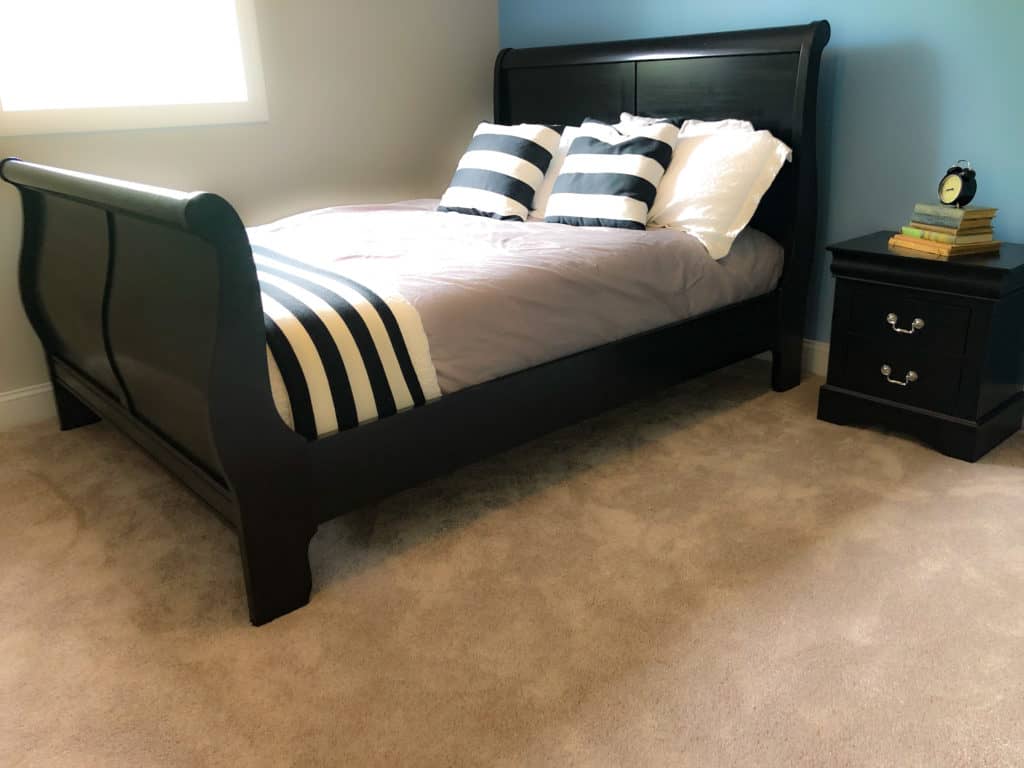
This makeover used General Finishes Gel Stain and Arm-R-Seal to give new life to a sleigh bed. This bed had been in use for several years and was ready for a new owner, my nephew! He wanted it to be stained black, not painted, so I picked up a can of the General Finishes Gel Stain in black because I had used it before and have always had good results with it. To date I have used it on kitchen cabinets, bathroom vanities and now furniture!
When you clean the furniture, follow the directions on the product you want to use. Some want you to use a degreaser, some want you to use denatured alcohol or mineral spirits. Take all the advice you can get from the company that made your stain.
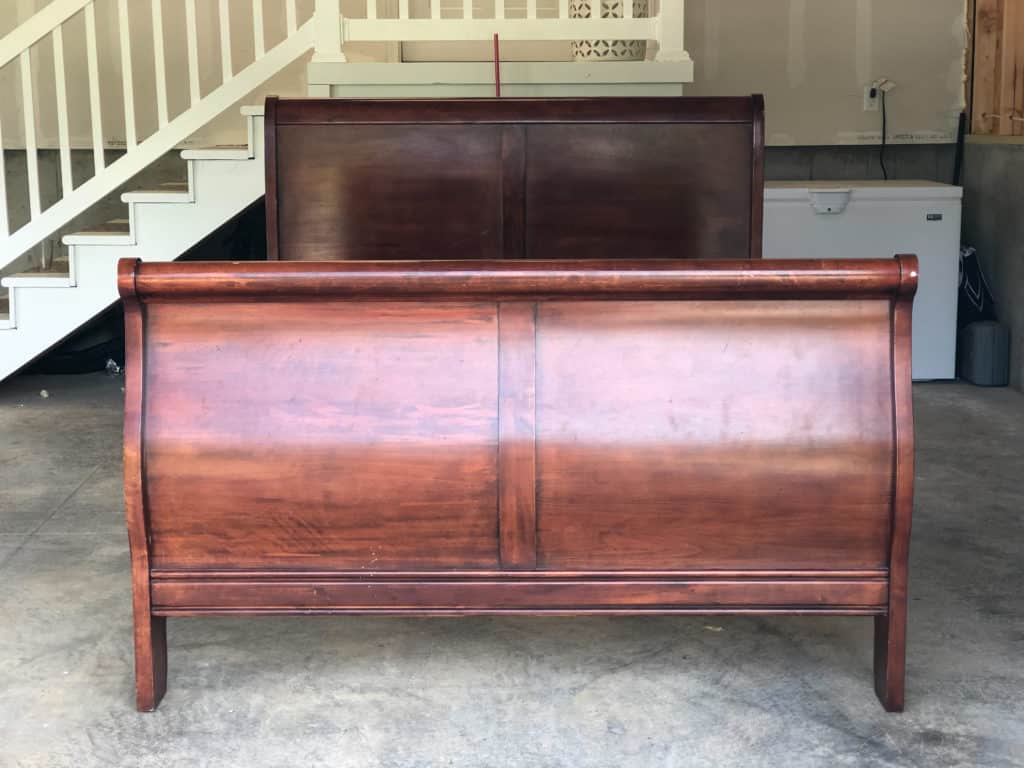
Before 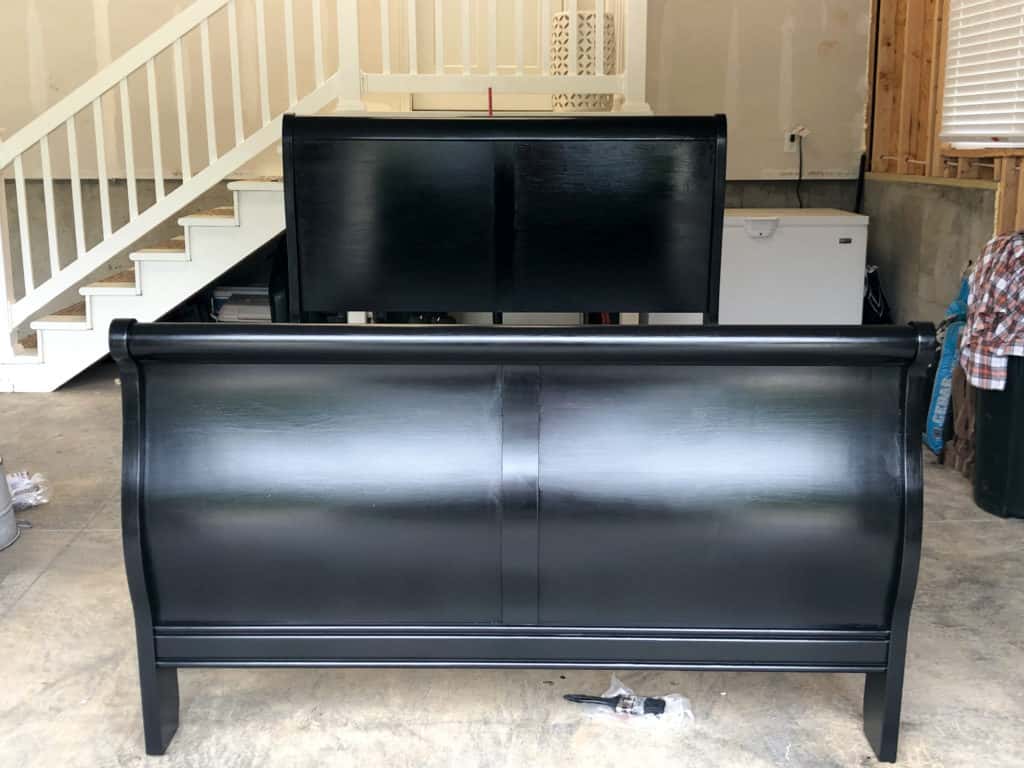
After
That is partly why I love anything from General Finishes. They do lots of instructional videos and they tailor the products to professionals and DIY-er’s. They also have such great resources when you have specific problems and they are great about answering questions.
Steps to Refinish Furniture
- Clean the piece of furniture according to the directions on the can
- Sand lightly
- Wipe with tack cloth to get all the dust off
- Apply the General Finishes Gel Stain with long strokes, always keeping a wet edge. If you missed a spot…leave it! You will get it on the next pass. Here is where you can use a brush, cheesecloth, foam roller, etc
- Let dry. With gel stain it must be completely dry to recoat which means that it will not be tacky to touch and will feel “cool”.
- Apply a second coat of stain-only two coats though.
- Let cure until for 24-72 hours.
- Apply three coats of Arm-R-Seal with a sponge roller, brush or cheesecloth-lightly sand between each one and wipe with a tack cloth.
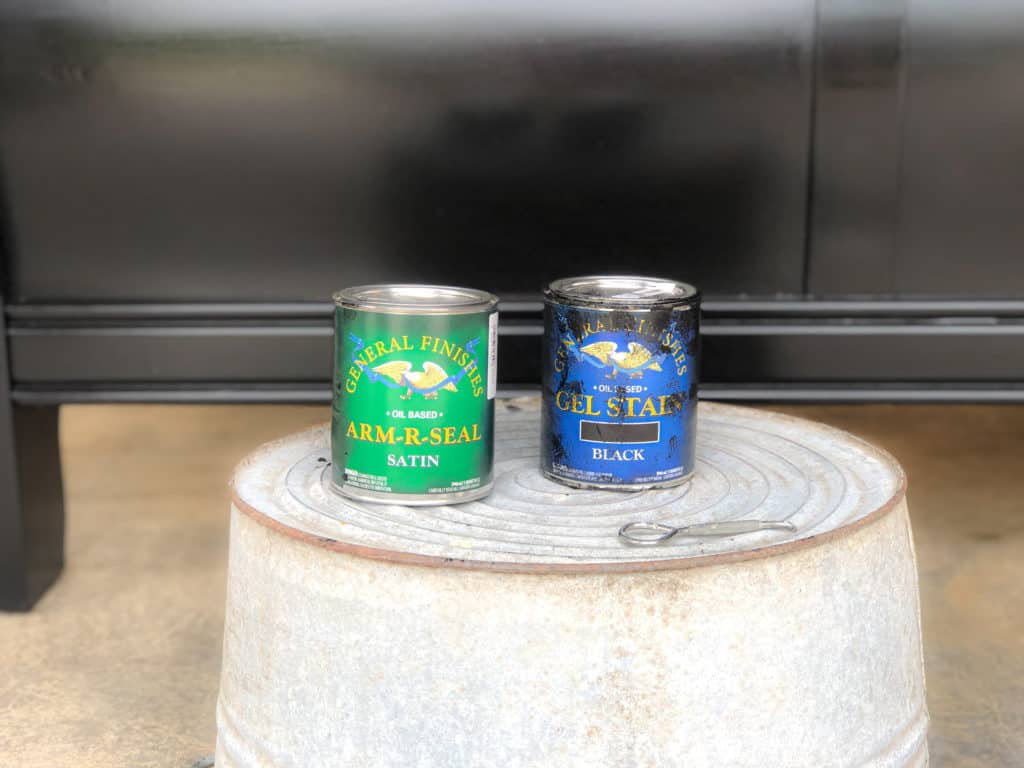
Topcoat
The gel stain from General Finishes looks so amazing when it is dry that you might be tempted not to put on a topcoat. DO NOT DO THIS! The stain will rub off on whatever it touches whether it be bedding, pillows or your arm. Resist this temptation and put on a topcoat or three.
The first coat of Arm-R-Seal looked very cloudy. I read on their website and on other’s blogs that this could happen and they had differing opinions of what to do about it. I just sanded lightly with 320 super fine grit sandpaper, wiped it down and applied the second coat, finally the third, letting it dry fully in between. It ended up being just fine. I switched to using a brush after the first coat with the sponge roller, but I’m not convinced it changed anything.
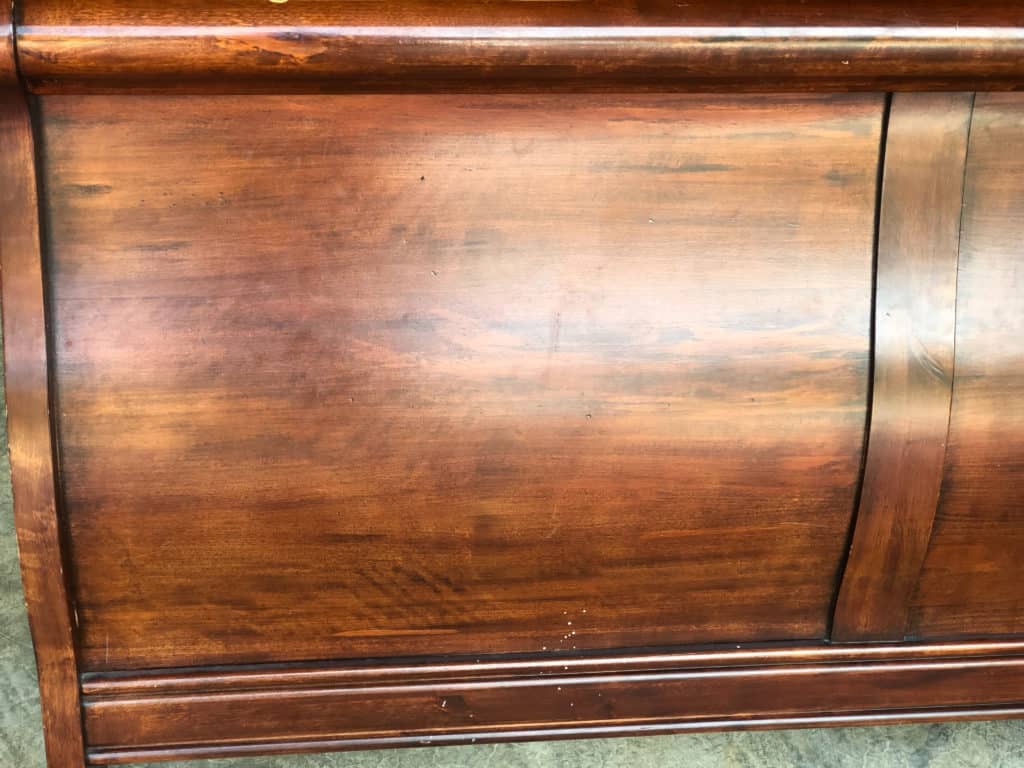
Before 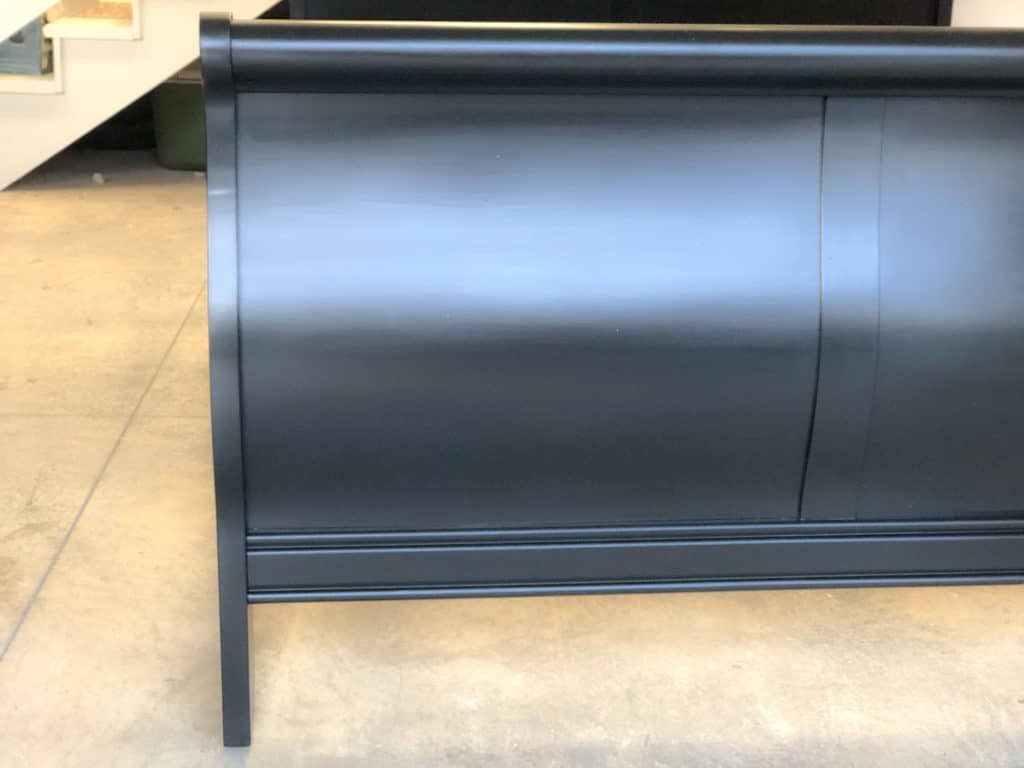
After
Let me tell you, I was very nervous about the outcome of this bed after the first coat of arm-r-all. The thought of sanding it all back down and starting again was not appealing, although sometimes that is required. Thankfully, a little sanding and the next coat fixed the issue. Sometimes when you are in a project that isn’t going as well as you would like, you just need to push through and see how it goes.
Watch the video tutorial here:
I hope this tutorial gives you confidence to go out and try something new today!
Emily 🙂
*This post contain affiliate links which provide a small commission to me at no additional costs to you.
Looks great em!
Thanks Manda!