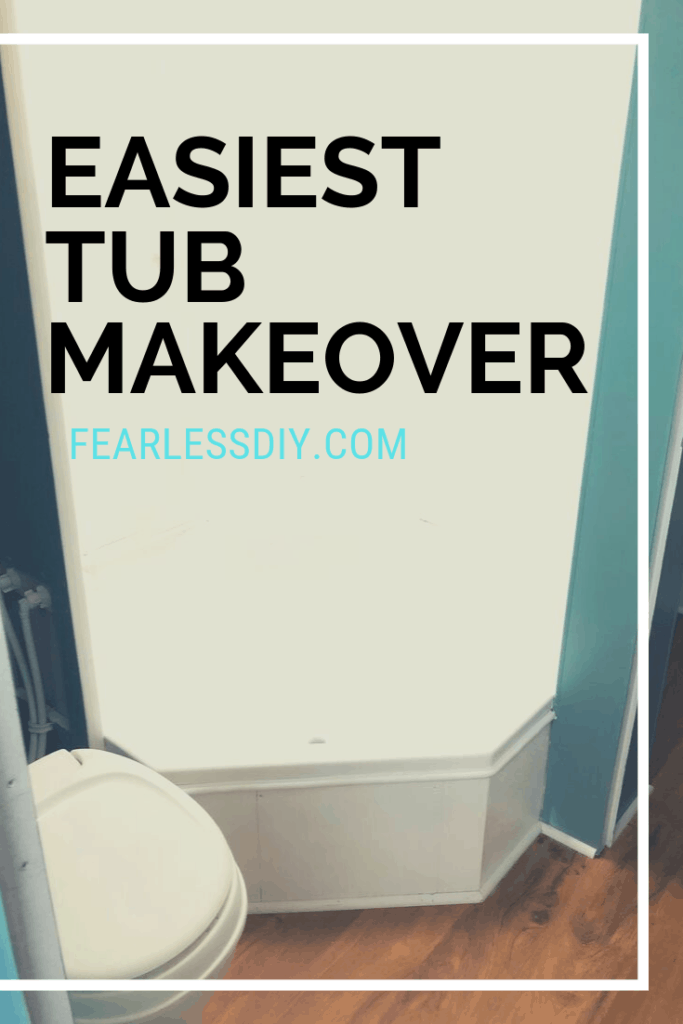
Follow along with this DIY tub makeover in a camper shower/tub combo using Rustoleum Tub and Tile Spray Paint *. Take your yellow tub to sparkling white in a day!
My sister and her husband bought a camper for their little family to enjoy traveling in the summer. They had plans to redo most of it and we were happy to get to help with the painting.
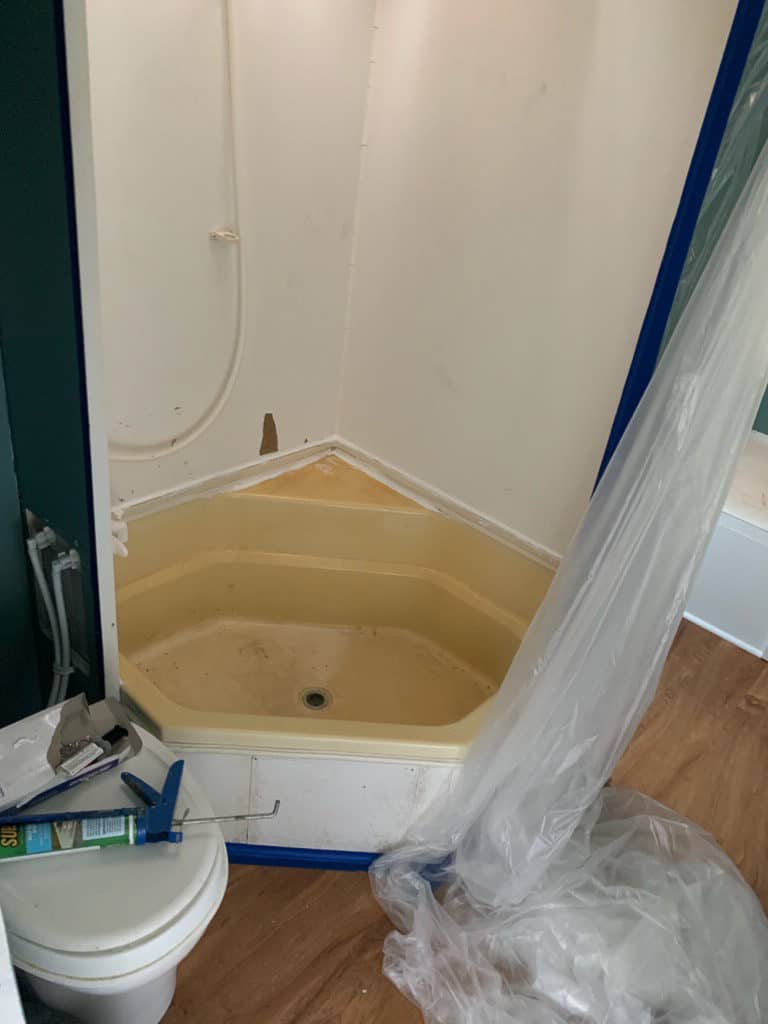
Then my sister said she was going to bathe my nieces in the little tub. I took one look at that tub and immediately decided there was no way I was letting them get in that nasty tub! It was straight from the 80’s, goldenrod plastic.
The sink in the bathroom also needed some freshening up.
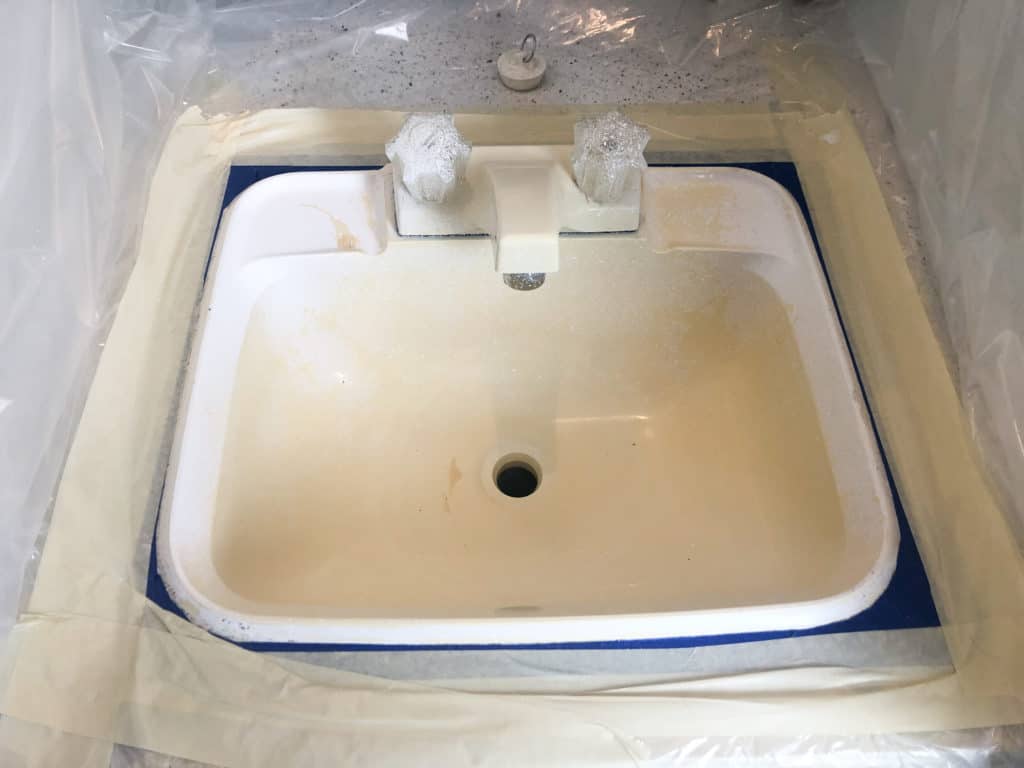
I have used the Rustoleum Tub and Tile Refinishing Kit in the past and had great success, but I wanted to try the spray can this time to see if I got a smoother finish.
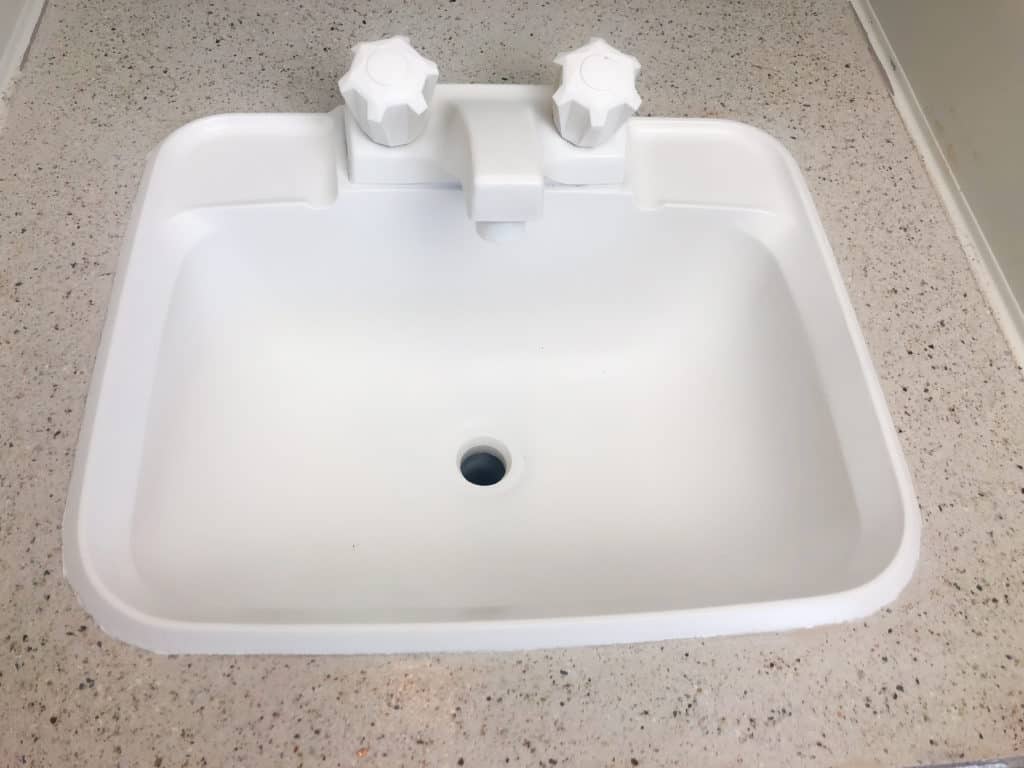
At the end of the day, I would not use the spray for a large surface area like a shower again. The coverage is just not there. It worked great for a small area, like the sink. I did have to still be careful not to get a sag in the paint. But the spray paint did not help “fill in” the little gaps like the roll on option did.
Steps for DIY Camper Tub Makeover
- Clean the tub thoroughly with an abrasive cleaner like Comet and a scrub brush.
- Clean with a degreaser
- Spray down the tub with lime away and leave on for five minutes to open the pores of the plastic.
- Wash with clean water
- Let dry for 90 minutes
- Start spraying at the top and work your way down, being sure not to spray too heavily and get a sag in the paint
- Let dry
- Recoat and follow the dry times on the can
- Apply third coat if needed( I needed it!)
- Let cure before use.
- Enjoy your brand new beautiful tub!
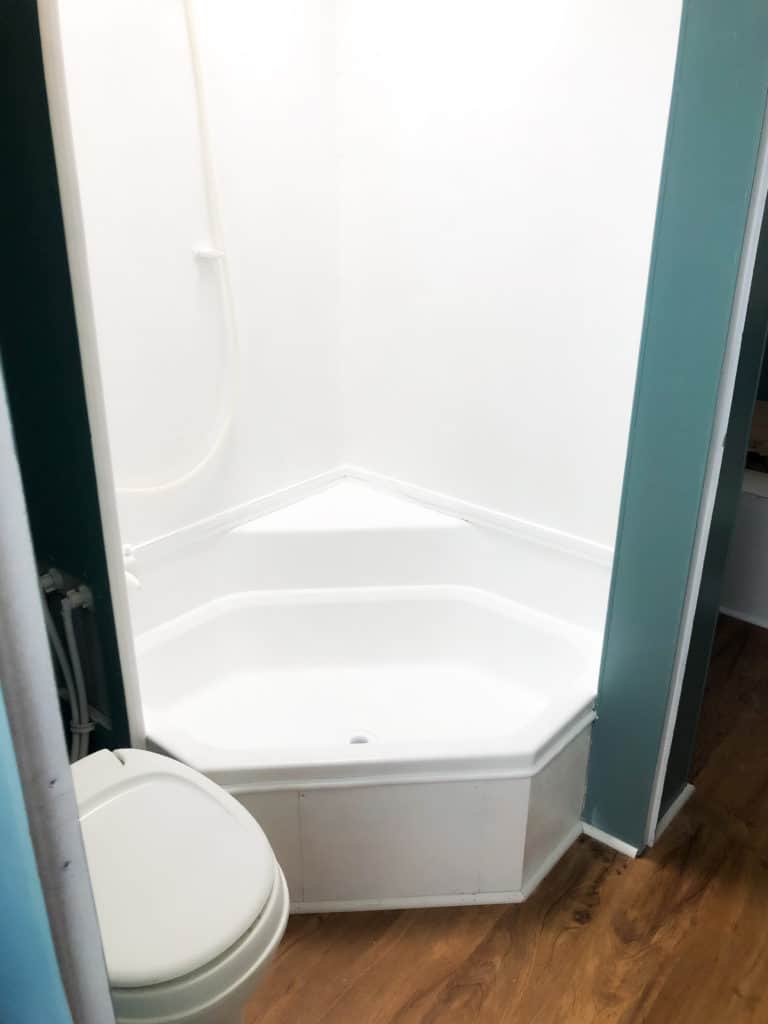
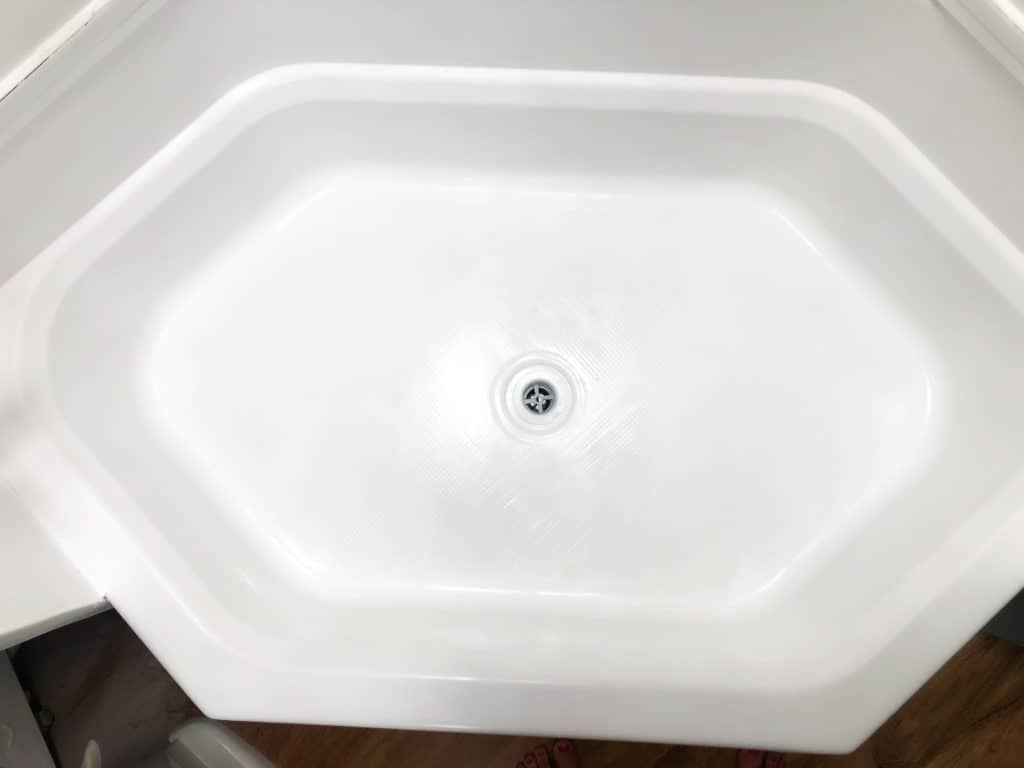
Before After
It’s always amazing what a coat of paint ( or epoxy) can do for a space. The tub doesn’t function any better than it would have, but the space feels brand new.
Safety Tips
Safety is the number one concern with this product. Adequate ventilation must be used while spraying and I would never use it without an appropriate mask. I use this respirator mask/filter. You should not be able to smell anything if the mask is fitted properly. Be sure to order the correct size for your face. Once you are finished using the mask, it must be placed into an air tight container for storage because it will continue to filter. Each filter is good for a specific number of hours dependent on the type of substance being filtered. Even with the mask, open all windows and turn on any fans.
Video Tutorial on Tub Makeover
While this product smells terrible when you are applying it, the results are well worth it!
Thanks for following along. Go out and try something new!
Pin it for later!
Emily 🙂
Emily Hammer is a participant in the Amazon Services LLC Associates Program, an affiliate advertising program designed to provide a means for sites to earn advertising fees by advertising and linking to amazon.com.
Wow! That looks great! It looks brand new.
Thank you Missy!
Wow what a great job. PPE first! I have a respirator I use everyday when I use lye for my soaps. You’re correct, the correct one is key,. Nice before and after shots!
Wow! What a difference! Great tutorial and looks so good.
A definite improvement! What a great diy!
Holy moly! What a transformation!!
What an awesome Auntie you are!