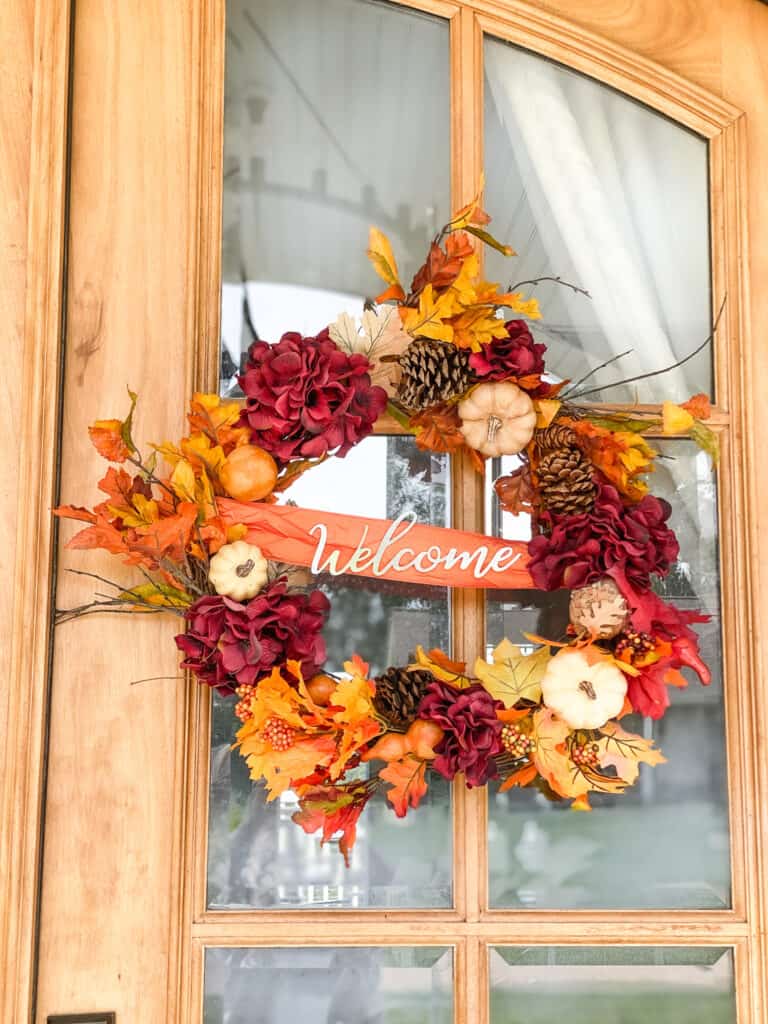
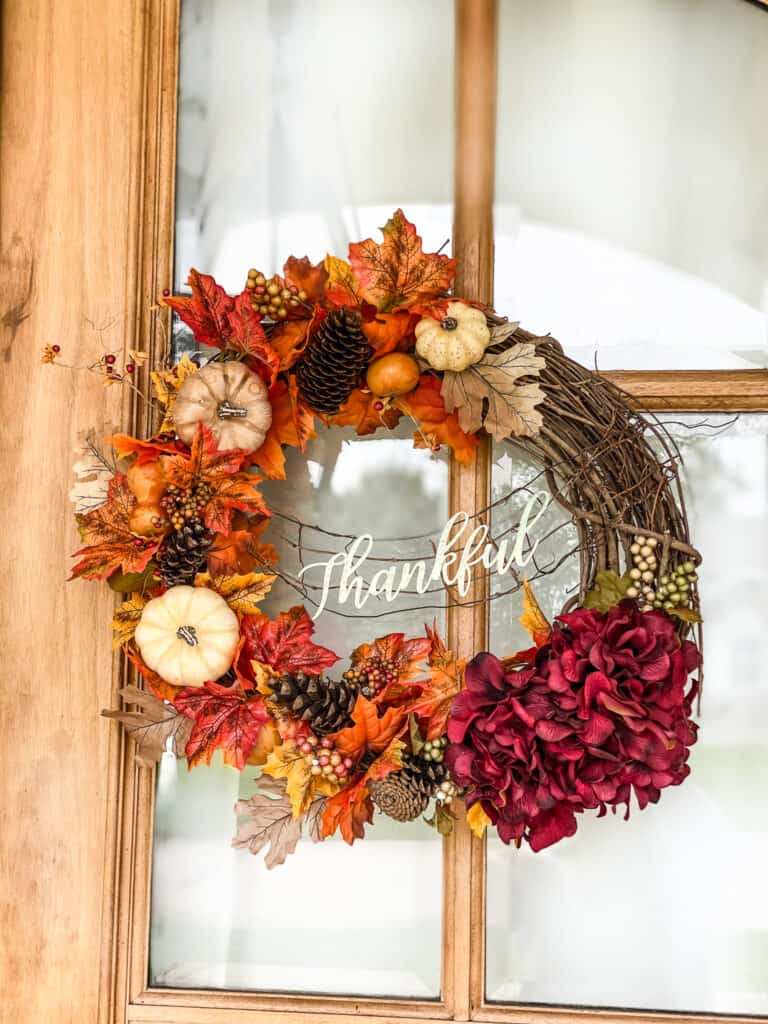
Learn how to create this DIY Fall Wreath for $18 using items from Dollar Tree, Joanns’ Fabrics and then an obliging pine tree. I always have to make two of everything because of my double front doors, so I try to make them as economically as possible. See my Halloween Front Porch Makeover here!
Most of the leaves and metal word signs came from the Dollar Tree. I picked up the pumpkins and other elements at estate sales. This is such a great tip! Go to estate sales and head to the basement or the garage. There is a treasure trove of seasonal decor for super cheap. Everyone is always there for furniture and tools, but I always score on the craft supplies!
Step 1-Choose your wreath form
A grapevine wreath form is a very forgiving base. It is easy to attach the different elements to and if a little bit shows, it just looks like it was part of the design all along.
The green wire wreath forms work really well when using evergreens or really full greenery. I don’t like seeing that wreath form show through, so that’s why I am using the grapevine this time.
Watch for them to be on sale and keep them for when you’re ready to make wreaths. I was able to snag these for $2.99/wreath at Joanns!
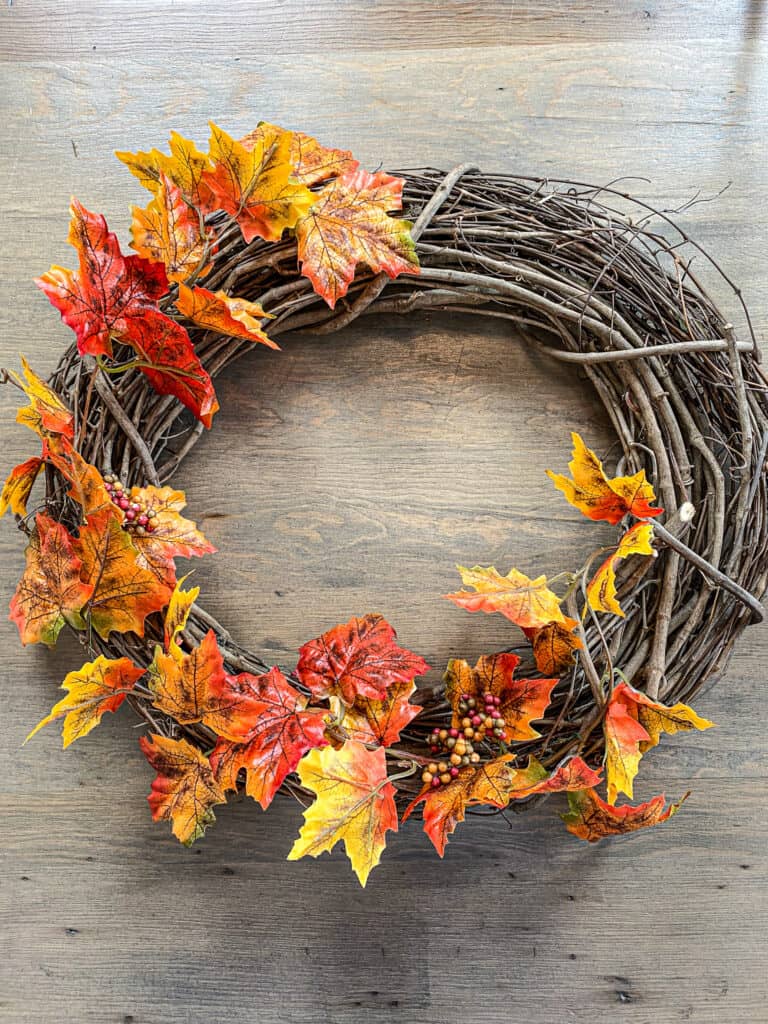
Step 2-Place the large elements
Start with the largest elements and place on the wreath form before you attach them. Move them around and play with the composition. I ended up taking off the white hydrangeas and only keeping the wine colored ones.
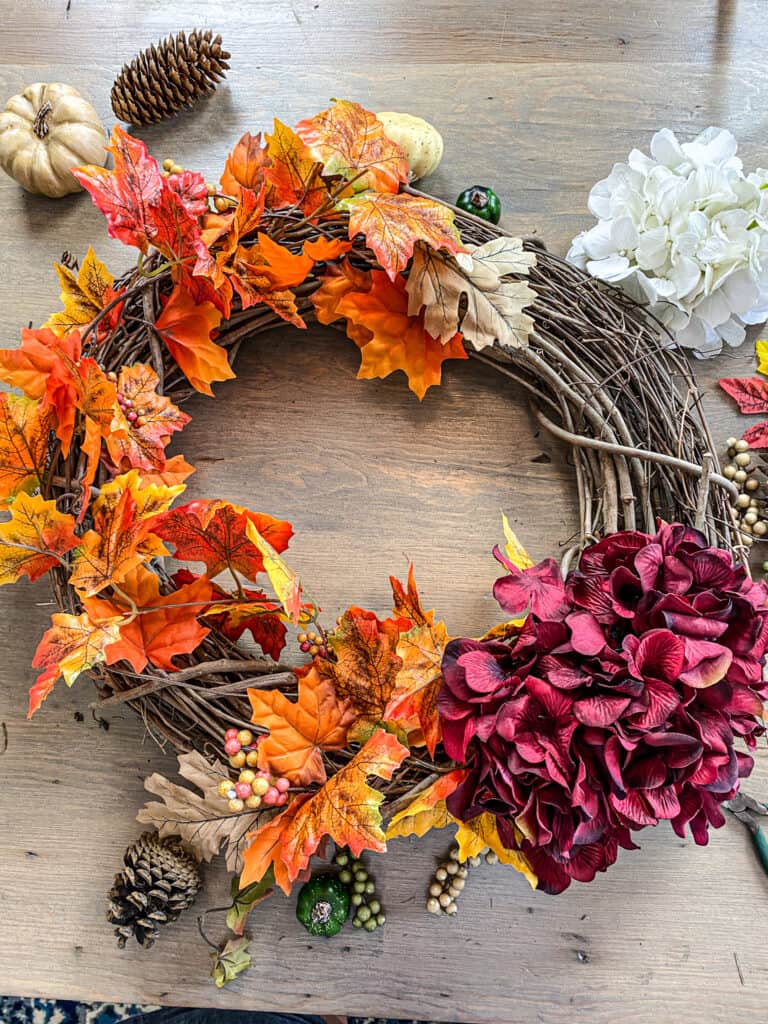
Step 3-Attach the large elements with floral wire
Floral wire is great because you can change your mind and take it back off if you really want to. Glue is a little harder. That’s why I wait and only use glue on the small finishing touch items.
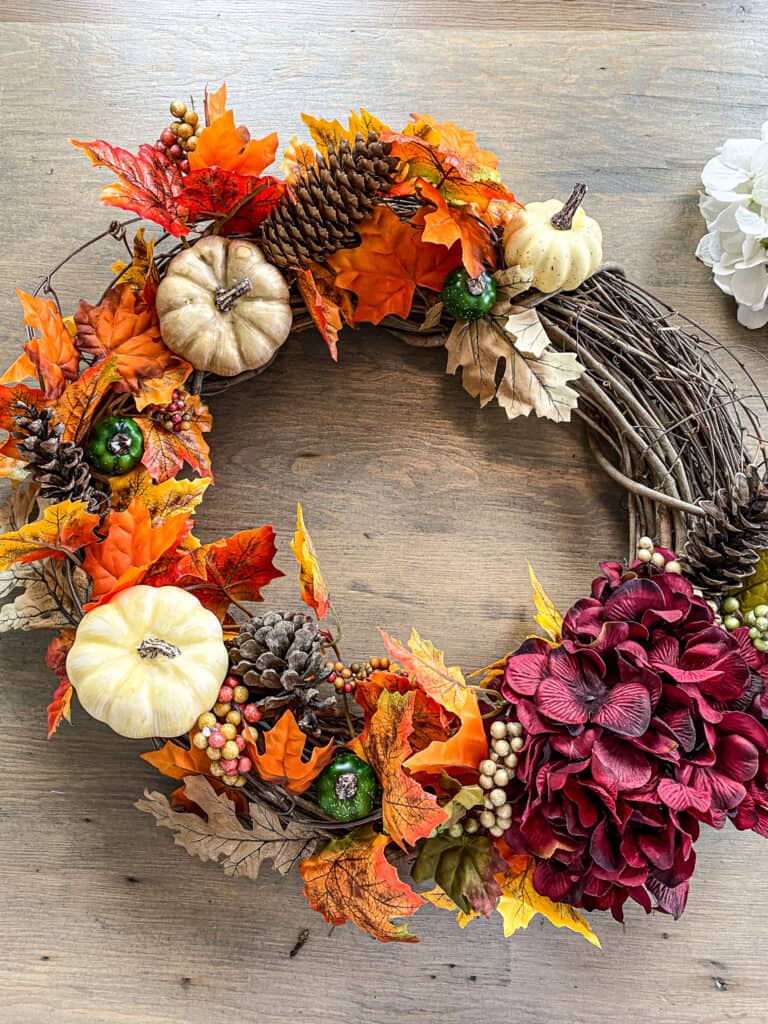
Step 4-Add the filler
Start filling in the gaps with the filler, in this case the fall leaf picks. Picks are so much easier to make wreaths with as they help fill in blank areas so much quicker and easier than placing each leaf by hand!
Step 5-Add in fun elements
Glue in the pumpkins, acorns, pinecones, gourds, etc. Whatever little elements add in fun or a whimsy. Sometimes I like to hide a little woodland type creature in the wreath!
The words were from Dollar Tree and were only $1/3! I attached the letters to a wide ribbon with hot glue and then tied the ribbon to the wreath form.
As an Amazon affiliate I may make a small commission if you purchase through a link on my page at no additional cost to you.
List of Supplies
- Grapevine wreath form
- Floral wire
- Hot Glue gun and glue sticks
- Hydrangeas
- pumpkins
- fall leaves
- gourds
- metal words
- ribbon
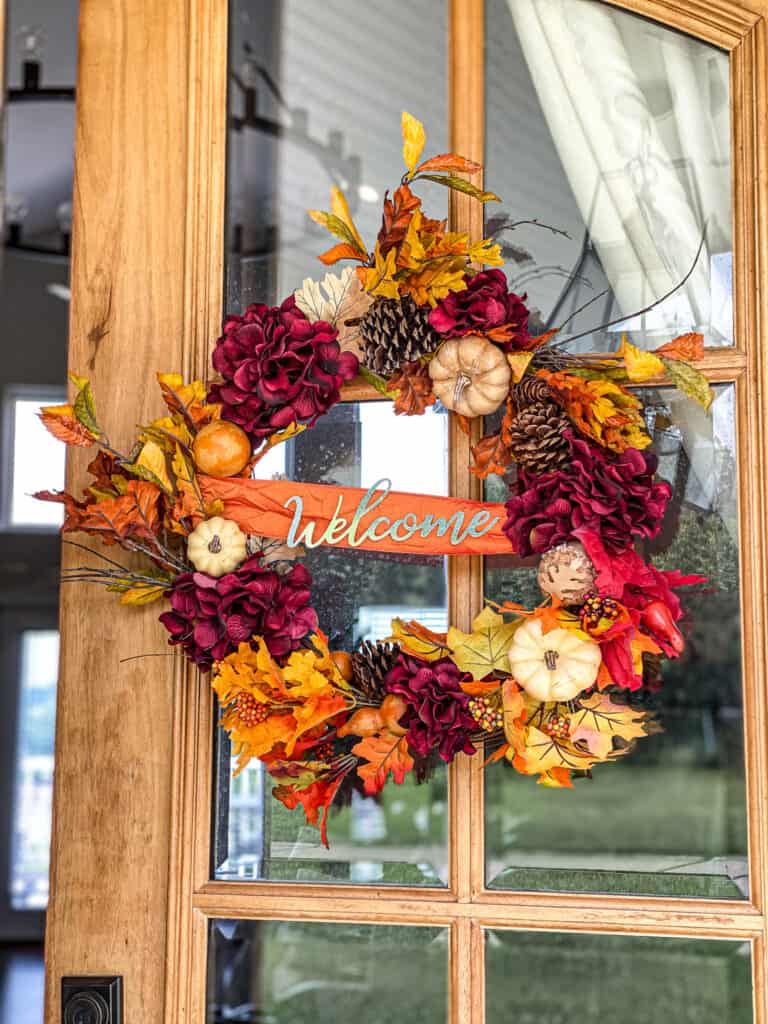
I repeated this process and made a second wreath, but in a different style.
Video Tutorial
Pin for Later
I hope this gives you the confidence to try your hand at making your own DIY Fall wreath! They are so easy and you can’t mess them up. Just lay your picks and pumpkins out and adjust until you’re happy with them.
Emily 🙂