Learn how to makeover a kids’ table and chairs from sanding to sealing with this DIY tutorial.

Kids can be rough on furniture. Add in the outdoor elements and this particular table was really rough! I saw it for free on Craigslist and just had to scoop it up for a makeover.
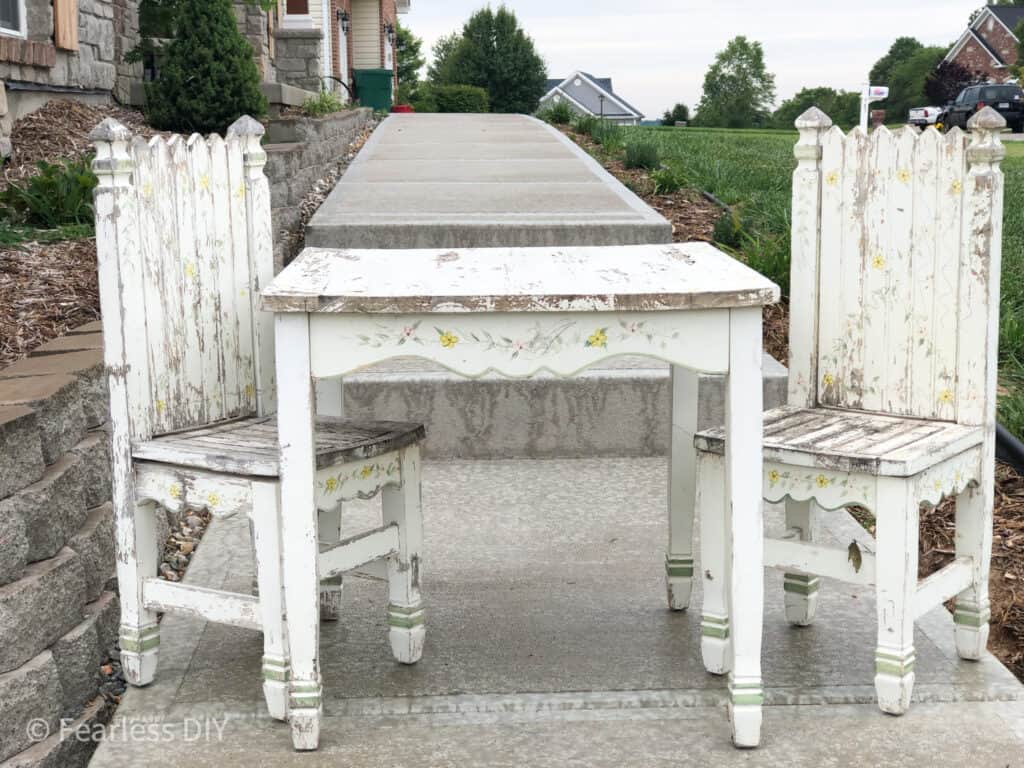
Solid wood furniture can take a lot of abuse and with a little sanding and some stain will come right back to life. Here is a bed that was given a new life with a little sanding and gel stain. This set is still a little warped, but I think that adds to it’s charm.
The most important part of this makeover is the sanding. Prep work is always the most tedious part, but usually vital to the success of your painting project.

I used a belt sander on the top of the table with an 80 grit sandpaper to remove the old paint and weathered wood. Then sanded the flat parts of the chairs with the belt sander and hand sanded the little parts the sander couldn’t reach.
How to Prep your surface
- Brush off the table and chairs with a broom or stiff bristled brush to remove all the dirt and debris possible. Remove any loose paint chips as well.
- Start sanding with a lower grit sandpaper 60-80 to remove a lot of old finish. This first pass is just to get off as much as possible, but it can be easy to get too aggressive, so just go easy at first.
- Blow off the pieces or wipe down with tack cloth to get all the particles removed.
How to Paint the table and chairs
- Prime the table with a stain blocking primer like Kilz or Zinsser. This is important if the piece you are working on is old wood or had stains or spills that were not taken off during the sanding.
- Let it dry and apply a thin second coat. The piece will not look very good at this stage, but do not fear! Just keep going.
- When fully dry, apply a thin coat of your preferred paint. I used an exterior paint that I already had.
- Let dry. Apply a thin second coat. It should start looking lots better by this stage. If you still see areas you didn’t get covered, apply a third coat.

How to Seal the table and chairs
- Be sure the paint has fully cured ( just check the can for the dry time).
- Apply a thin coat of Polycrylic if you used a lighter colored paint. Polyurethane is great for darker stains or over darker paint, but it ambers really quickly so you wouldn’t want to use it over white paint.
- Keeping a wet edge, brush the polycrylic on, then leave it alone. Going back over it will leave brush marks (trust me, I’ve done that).
- Apply two coats over the entire surface of the chairs and table. Usually on high traffic pieces I put at least 3 coats.
- Let it cure for a week before it’s subjected to heavy use.
Video Tutorial
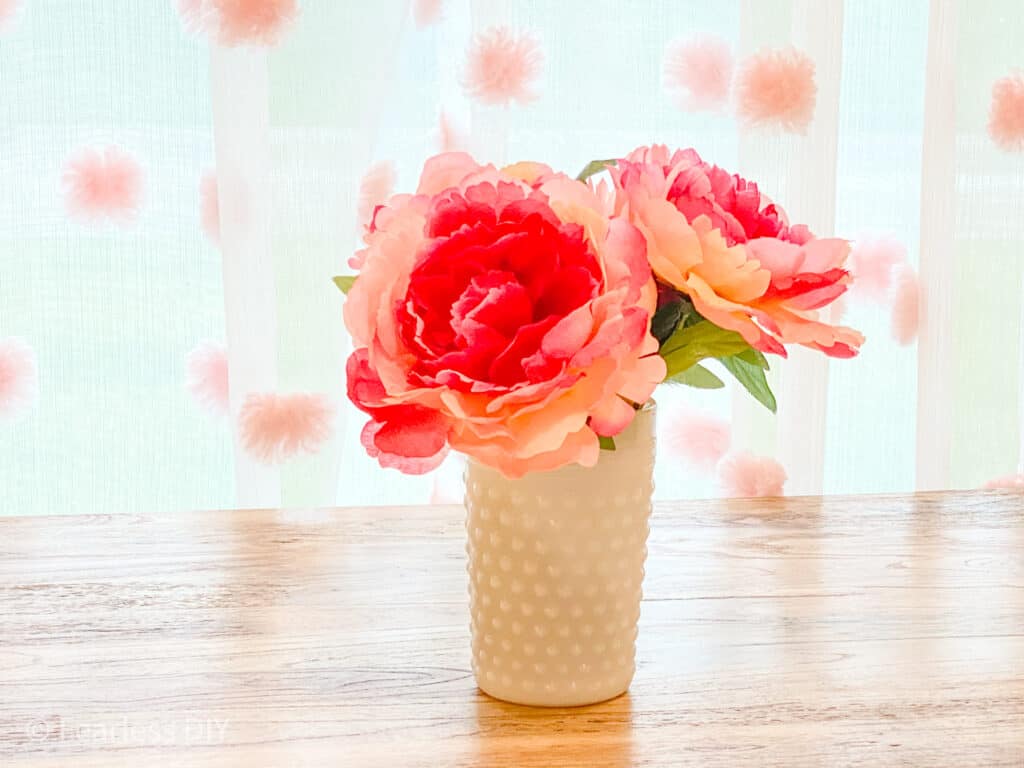
Pin for Later
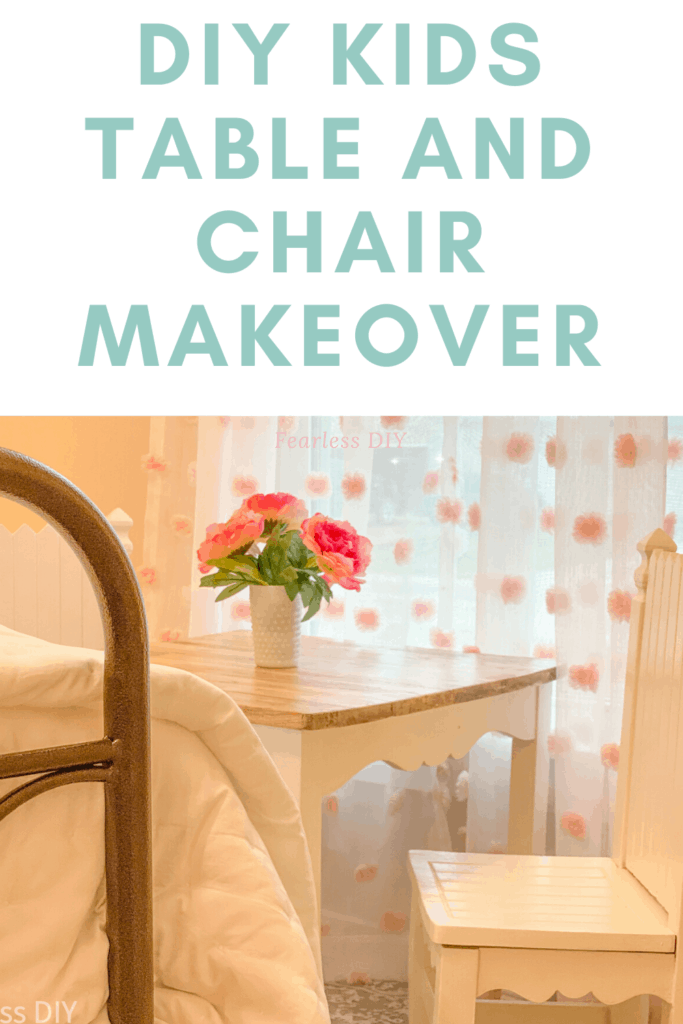
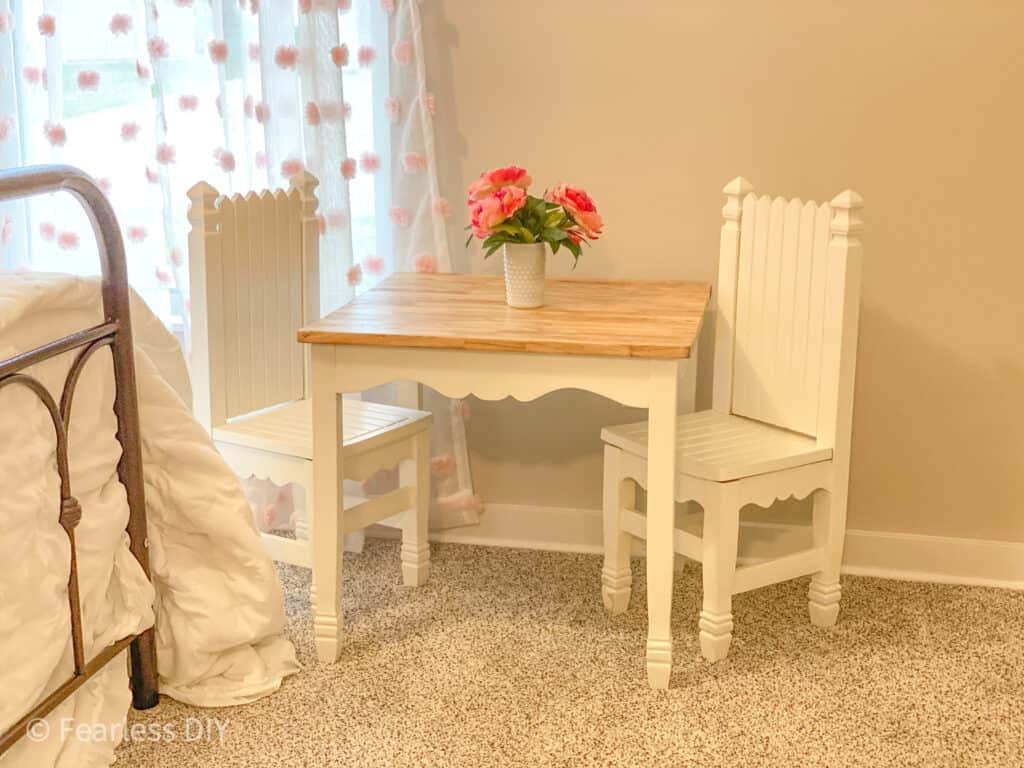
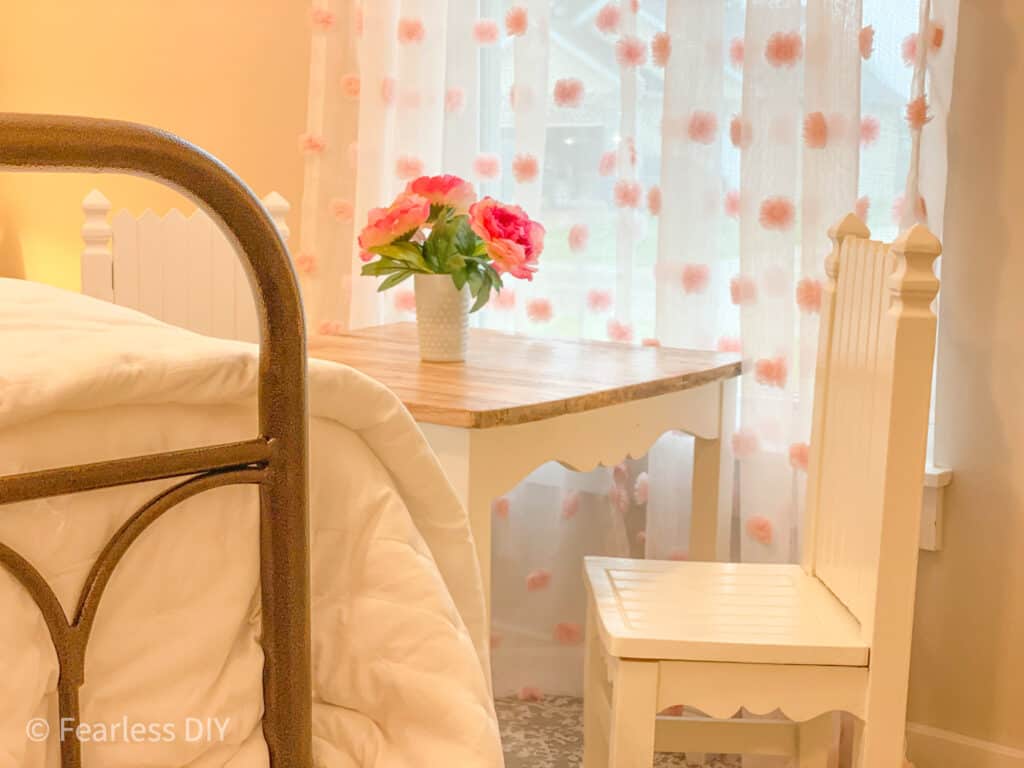
This little table and chairs has already brought to many squeals and joy that it was absolutely worth the little bit of work I put into it.
I hope this DIY inspires you to see the possibility in an old piece of furniture lying around! I love prolonging the life of found furniture. It’s just so much fun!
Emily 🙂