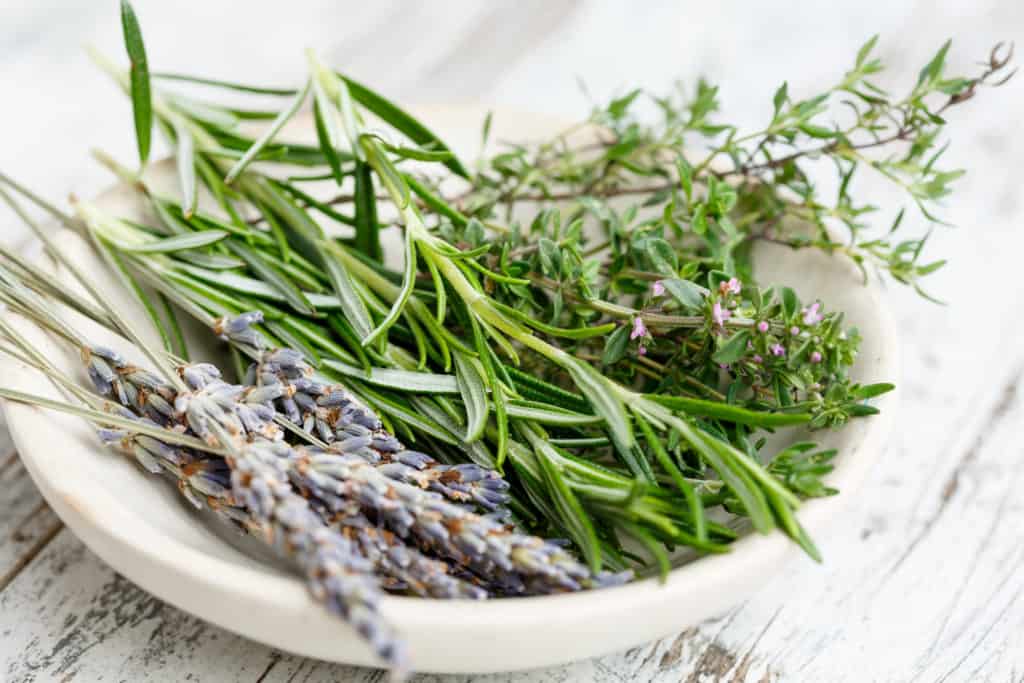
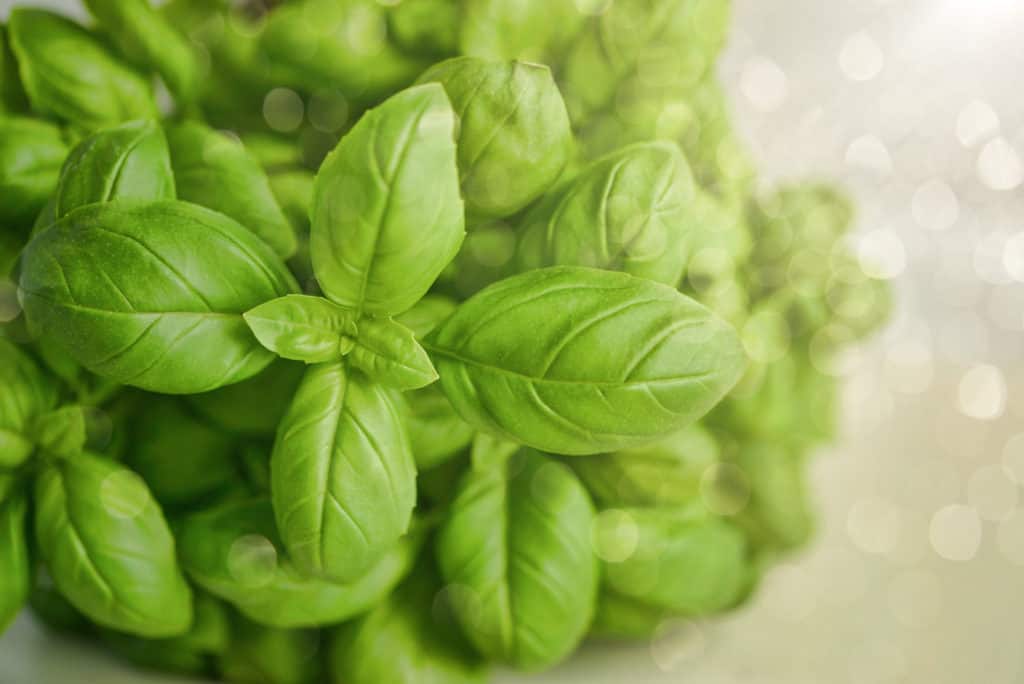
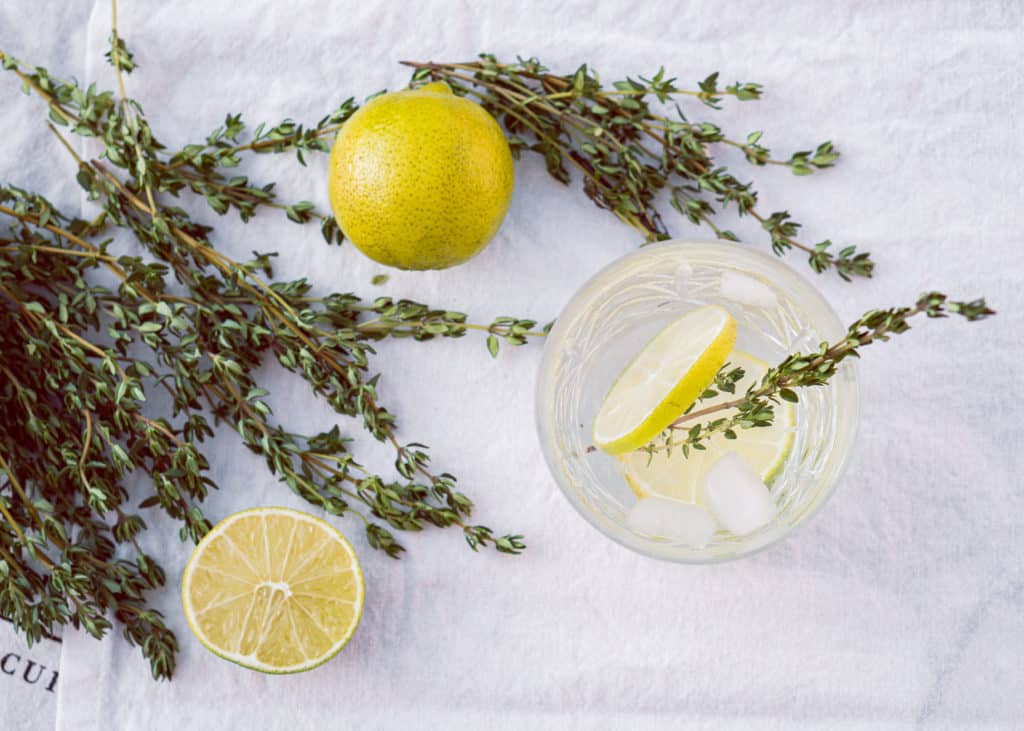
Love herbs? Learn how to make a raised herb planter to grow your favorites like rosemary, basil, thyme and coriander with this simple DIY raised garden.
We built a raised garden bed this year, but it’s not easily accessible when I am cooking. So I wanted a smaller raised herb garden right outside the doors of my kitchen on the back porch. This dream of a nearby herb garden started years ago when we would watch Paula Deen cook on TV. One time she stepped right outside the French doors in that yellow kitchen and snipped some herb for the dish she was making. That left an impression on me and I knew someday I wanted to make it happen.
The legs were one of those purchases that didn’t make sense to my husband at the time. He said “what are you going to do with those?”. (He always asks me that.) Well, I didn’t happen to know right away, but I knew they were too cute to leave behind in the haymow of an antique shop housed in a big red barn!
The cedar planks were wood we got from a family member. I had been saving all this old barn wood for a big project sometimes in the future, but this pandemic presented a perfect opportunity to use the supplies we already had at home.
Steps for building a Raised Herb Planter
- Measure and cut your boards to length.
- Attach the top and bottom board of the long and short sides together with your lashing strip, leaving enough room at the bottom for the floor of your box and the legs to inset.
- Attach the boards at the corners. Continue all the way around.
- Lay in the floor boards from the bottom and screw in from the sides. This is easiest if you make a block of wood that is the correct distance from the bottom of the board to the middle of the floor board.
- Attach a strip of wood across all the bottom boards for support.
- Attach the legs from the sides and then stand upright and screw in from the top.
- Line with plastic and poke a few holes for drainage.
- Fill with dirt and compost.
Supply list for herb planter
- Cedar boards, cut
- Legs
- Deck screws
- Small boards to lash the two boxes together
- plastic
- dirt/compost
- Herb plants of your choosing
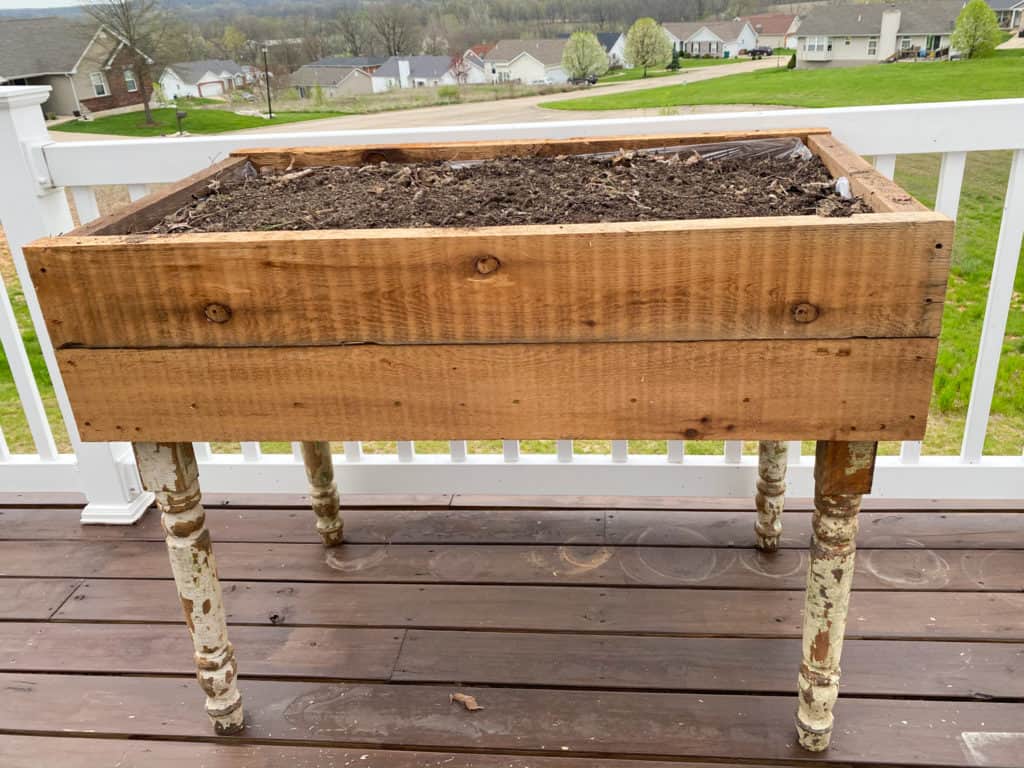
Tips for putting your planter together
- Attach the two boxes together before attaching the corners. (don’t do it like I did and attach the boxes after, it’s harder!)
- When attaching the boxes, leave enough room to put in the bottom boards and legs.
Video tutorial
Pin for later
I am looking forward to fresh herbs to flavor my cooking this summer. It helps me to work on projects that will come to fruition in the future, hopefully when this pandemic is behind us.
Thanks for stopping by! Go out and try something new.
Em 🙂
My husband always says the same thing to me. This is a great little project!
LOL, good thing we pick up those special pieces when we see them! Thanks!
I love the legs on this. My husband and I just did a similar project that I hope to post soon. Thanks for sharing!
Yay, Alexa! I can’t wait to see yours.
Oh I love this!! I would love to have an herb garden right outside my kitchen! And you had to have those legs!
LOL, Elise you know it! They were so cute, I couldn’t pass them up!
This is a great tutorial!! Saves your back too from bending down so much.
This is great! Love a goo herb garden!
Thanks Susan! Yep, my husband has back issues so bending over isn’t an option for him. This way it’s easier on
my back as well!
This is such a wonderful idea and such a fun project now that we’re all at home!!
This is super! I love that it is off the ground with cute legs! Thank you so much for the tutorial.
My pleasure Jana!
This would be perfect right outside the kitchen! I love how raised it is—easy access to just pluck away while cooking up dinner. Thanks for sharing!
Yep, I stepped outside this evening to grab some fresh rosemary to add to some chicken salad. I just love it!