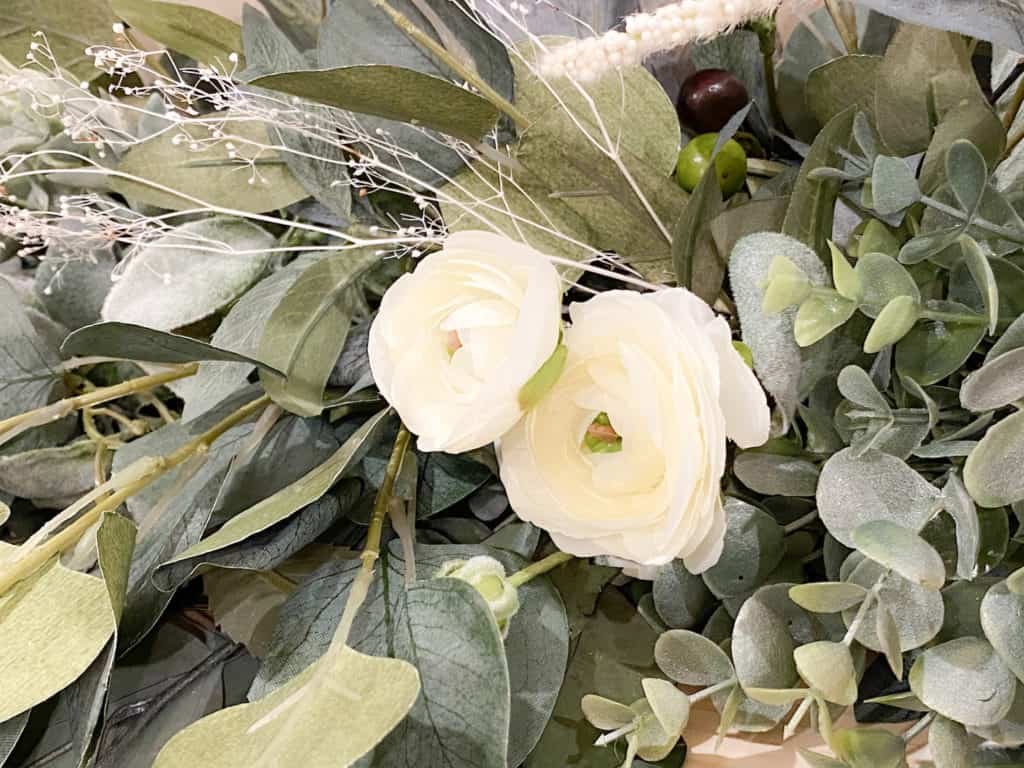
Spring is here and it’s time to freshen up your spaces with some new greenery and florals, like with this spring mantle garland tutorial.

The homeowner is having a mirror custom made to fill the tan area behind the garland and she wanted a neutral green and white garland to brighten up the mantle in her sitting room.
This garland is made up of green leaves, eucalyptus, lambs ear, olive leaf, hydrangeas, ranunculus and baby’s breath. Everything was obtained at Hobby Lobby before the way we lived our lives changed so dramatically.
I don’t want you to think that I have been out shopping and working in other’s homes! This was completed six weeks ago.

Steps To Make a Spring Mantle Garland
Step 1-Fluff the Base Layer
Lay out the base garland and position the greenery so the garland will lay flat and look full. This step is important to the end look.
Step 2-Interwine the filler garland
Layer in the filler garland. This step is how you get your garland to look so full and beautiful. Make sure to twist the garlands together and fluff appropriately.
Step 3-Secure with floral wire
Once you like the layout, attach the garlands together with your floral wire. Be sure to secure really tightly because you want to be able to pick up the garland as one piece.
Step 4-Add in the “leggy” greenery
Place the long greenery pieces like eucalyptus stems and attach with your floral wire.
Step 5-Place on Mantle
Now place your garland on your mantle, so you can see where to place the florals.
Step 6-Place draping greenery
Add in the greenery that will hang over the edge of the mantle. Attach with floral wire.
Step 7-Add in large florals
This is the fun part! Add in the pretty florals like roses, hydrangeas, etc and space evenly.
Step 8-Fill in with small florals
Fill in the gaps with ranunculus, babies breath, etc. This part makes it so easy to transition throughout the seasons.
Video Tutorial
Variations
Christmas-add in some white lights, pinecones, or glittery pics to bring in some holiday cheer.
Easter-add in colorful florals like hydrangeas or hyacinths.
Thanksgiving-add in some neutral gourds or fall leaves to bring in the warmth.
Pin for Later

Thanks for visiting!
Em 🙂
So pretty! i love the muted green colors! I wish I had a mantle!
Thanks, Jenn! I need one for my house as well now!