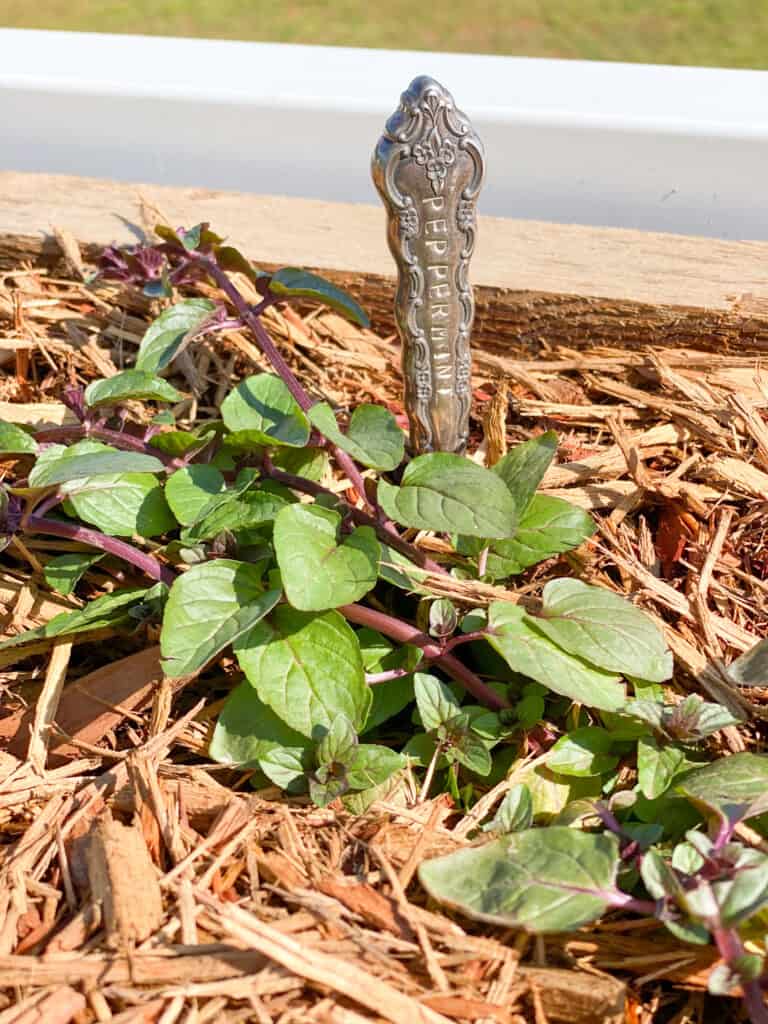
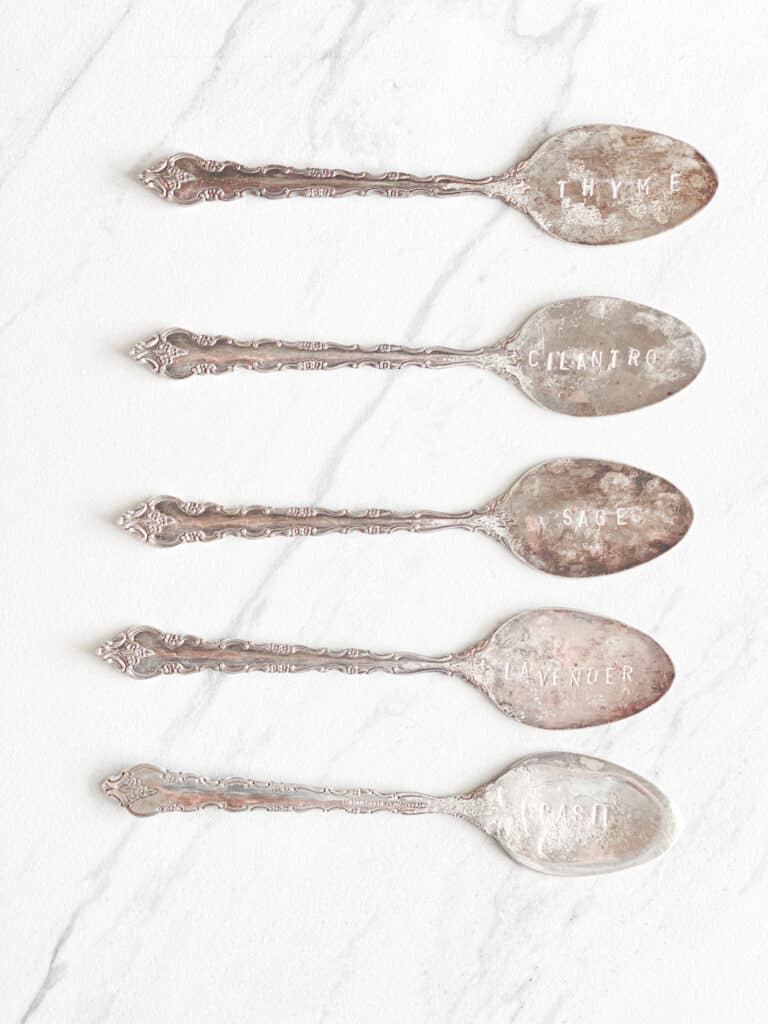
Looking for some cute markers for your herb garden? Here is a simple tutorial on how to make DIY stamped herb markers out of antique flatware and a stamp set.
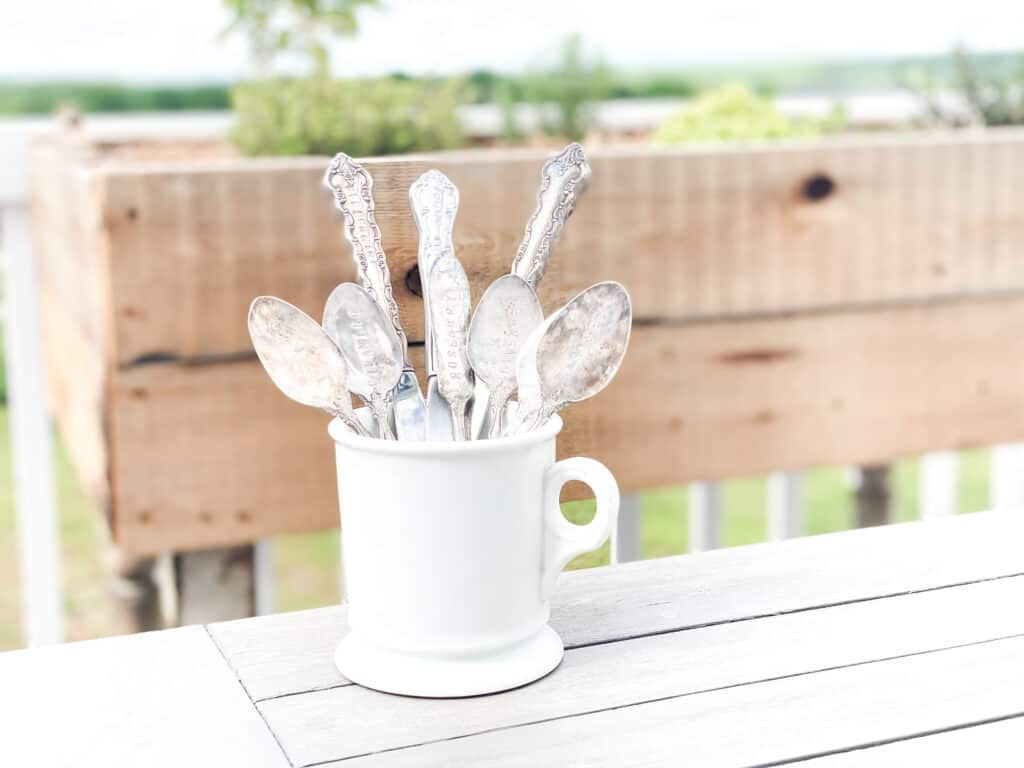
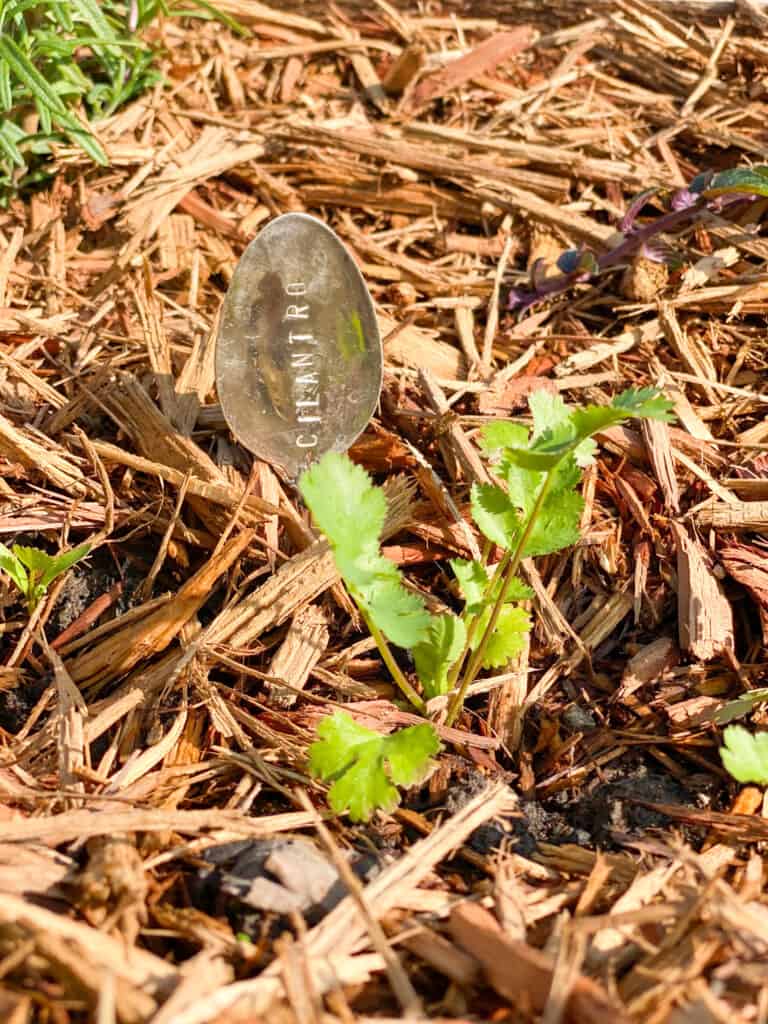
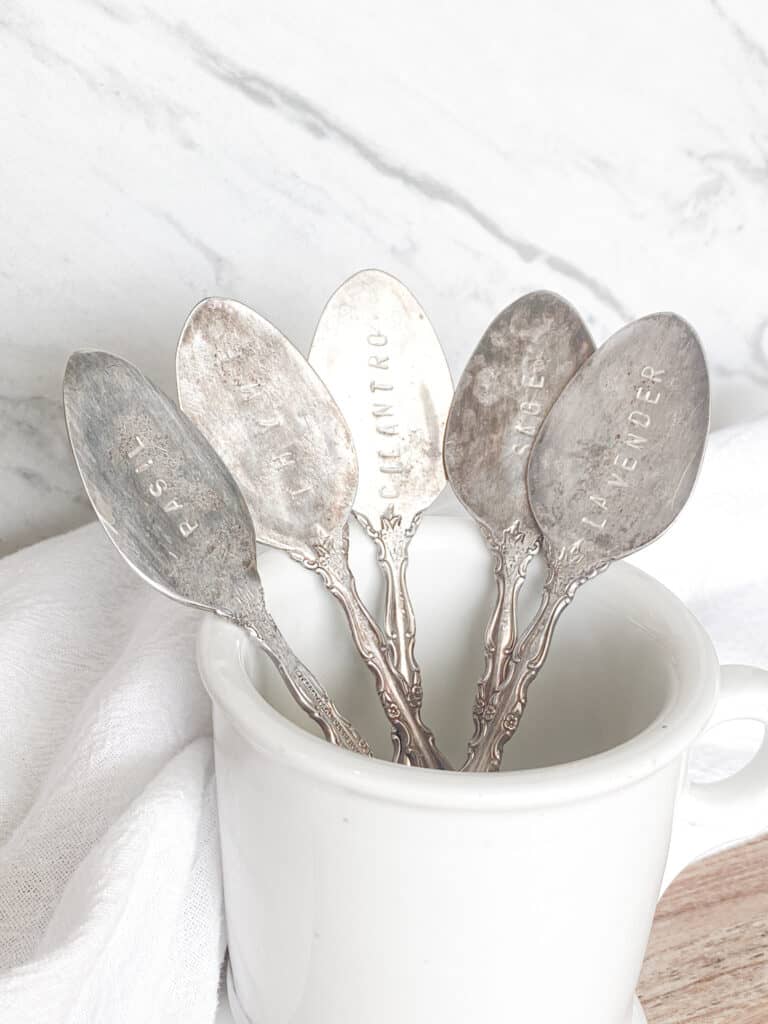
When we finished the raised bed herb garden for our back deck, I knew I wanted cute markers of some sort. I looked around and most of them were $5-10/piece! That was outside the budget for this particular project so my husband came up with this idea of using my random collection of antique flatware and stamping them.
He had already stamped all my keys so I wouldn’t constantly forget which one went where. The process was super simple and I liked that the end product was charming, even when I messed up.
This is super simple and once you get used to the stamp set they can be used for lots of different things. All the keys in my house are marked using these sets so I always know what key to grab.
The only tricky part to using a stamp set is to be sure not to move the stamp when you strike it with the mallet. Don’t worry if it happens, I have definitely done it and just used the piece anyway!
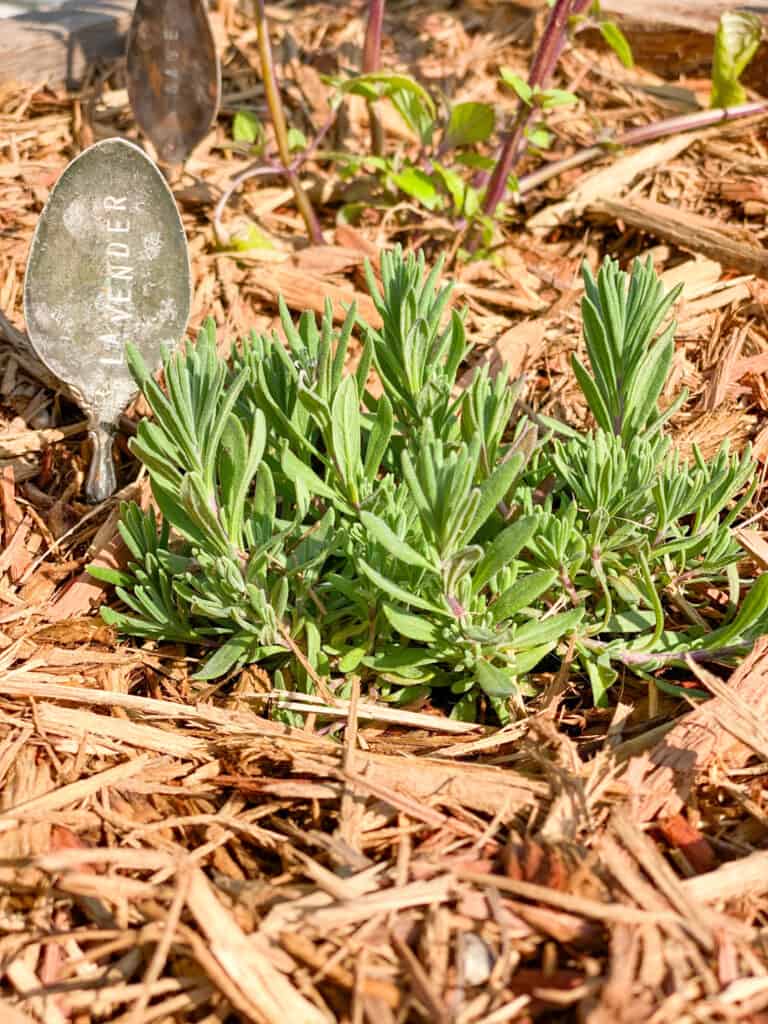
If you don’t get the whole letter imprinted the first strike, you can line it back up and try again as long as you are ok with having a double letter. I was WAY off on one of them and ended up with two “A’s” that weren’t even close to each other!
Tools for Stamped Markers
- Stamp set-most run between $10-20.
- Mallet or hammer
- Anvil or other hard surface
- Spoons, knives, or other metal surface to stamp
How to Stamp Antique Flatware
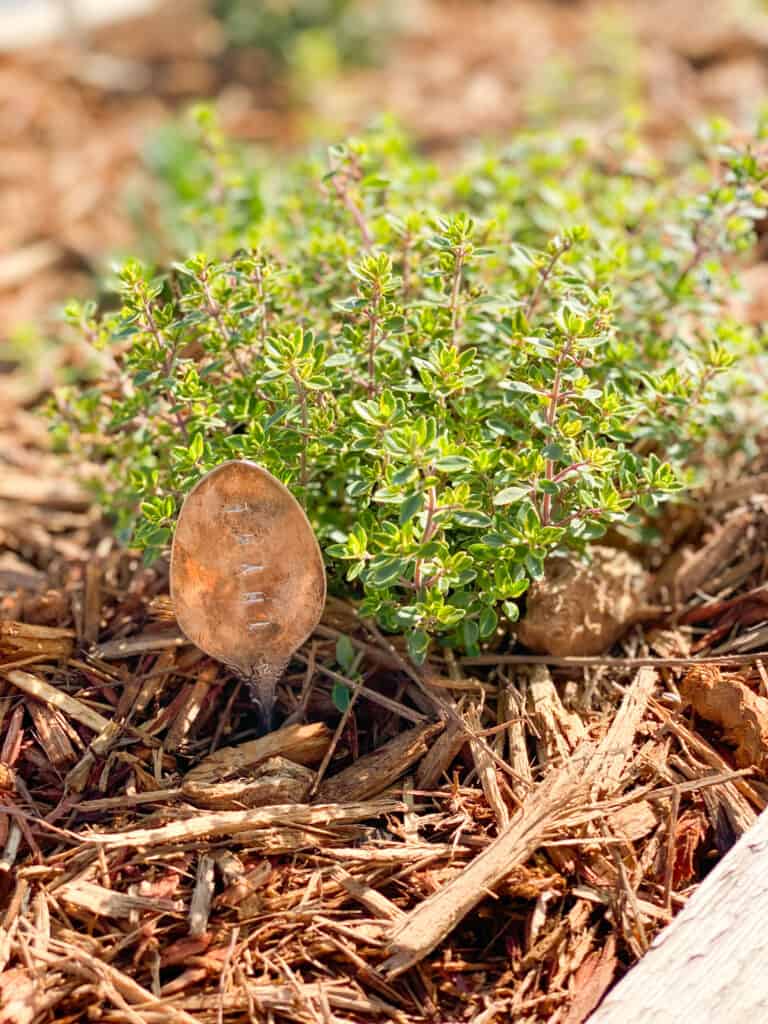
- If using a spoon, then flatten the spoon using a mallet. Place the spoon on a hard surface like an anvil and pound the spoon until flat.
- Secure your flatware to the anvil using tape.
- Using masking tape, make a straight line where you want your letters to be.
- Line up the stamps in the order of the word you want to stamp. Nothing is worse than grabbing the wrong stamp and realizing it too late!
- Drag the first stamp down until you feel the lip of the tape, letting you know you are in line.
- Hold the stamp firmly and hit squarely with the mallet once.
- Ensure that your letter indented as you wanted. If it did not get the whole letter, you can line it up and try again, but you may just want to leave it like that.
- Move on down the line until your finished!
Tips for metal stamping
- Check your stamp set because often they don’t include a #9 because the #6 can be turned upside down.
- If you want to stamp on a curved spoon, then rotate the spoon as you stamp so that the part you are stamping is flat against the anvil. Starting in the middle of the word is easiest.
- Use a mallet with a nice broad head for stamping because there is more surface area to hit the stamp with and you will be less likely to miss the stamp or only hit a portion of it.
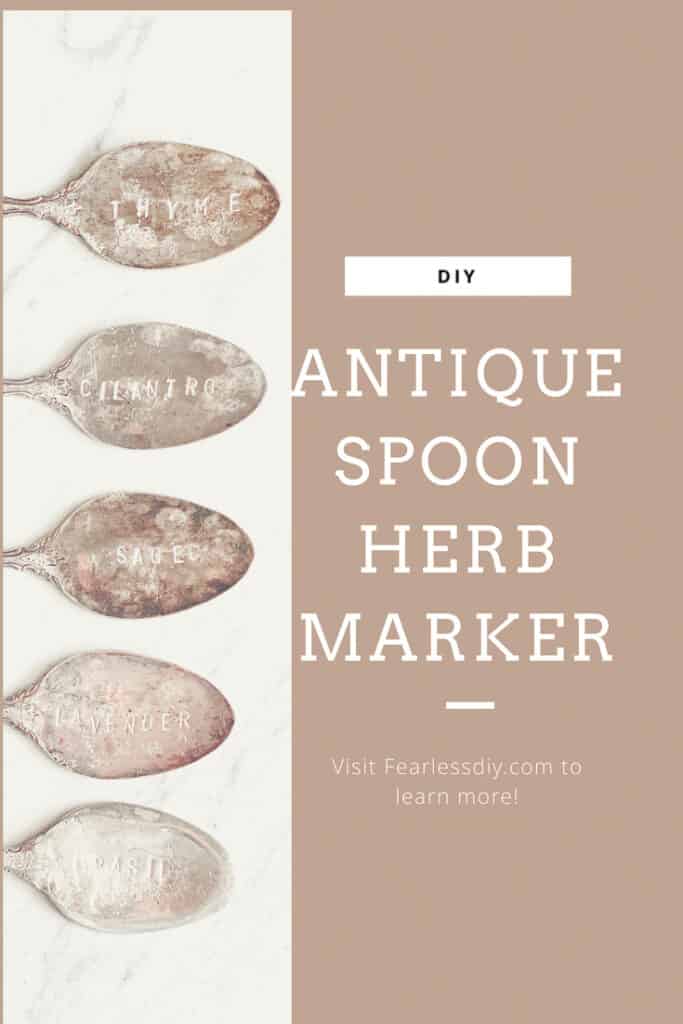
Pin for later
Thanks for stopping by!
Em 🙂
These are adorable! I love anything vintage looking.
Thank you Hannah, me too! I am a sucker for anything vintagey!
These are so cute and such a great idea!
Thank you Laura!
Oh my goodness! These are just the cutest thing ever!
Thank you!
Wow. This blows my mind. I had no idea you could do such a thing. Can i pay you to make me some of these???
LOL, of course I’ll make some for you! I’ve got to get to some antique stores as soon as they open and get more spoons!
These are so adorable! I need to go find some cool spoons now! I would NEVER have thought of this!
Thank you Dana! I cannot fib, it was my husbands idea! LOL
I love this!! I’ll be trying this! Thanks for sharing.