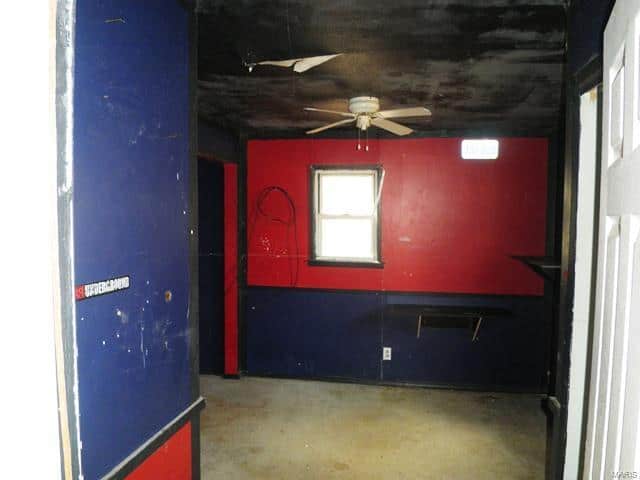
Our first true fixer upper makeover project was a to-the-studs job. This foreclosure ended up being a complete overhaul, new electric, new plumbing, new roof, new everything. When we first walked through it, the front door didn’t even shut and all the carpet was soaked from a leak in a water pipe that was still actively leaking. It smelled like wet dog and was a true disaster!

The family who lived there before had a total of five bedrooms and four places to take a bath/shower crammed into 1300 sq ft. There was a shower in a closet and a garden tub in a bedroom!
Exterior-Adding Charm
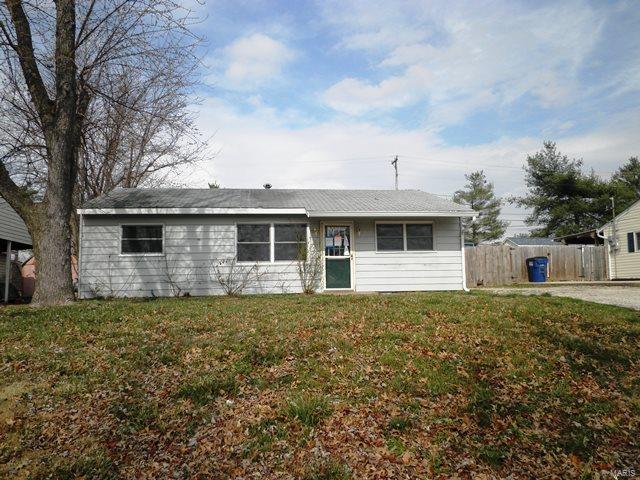
Exterior before 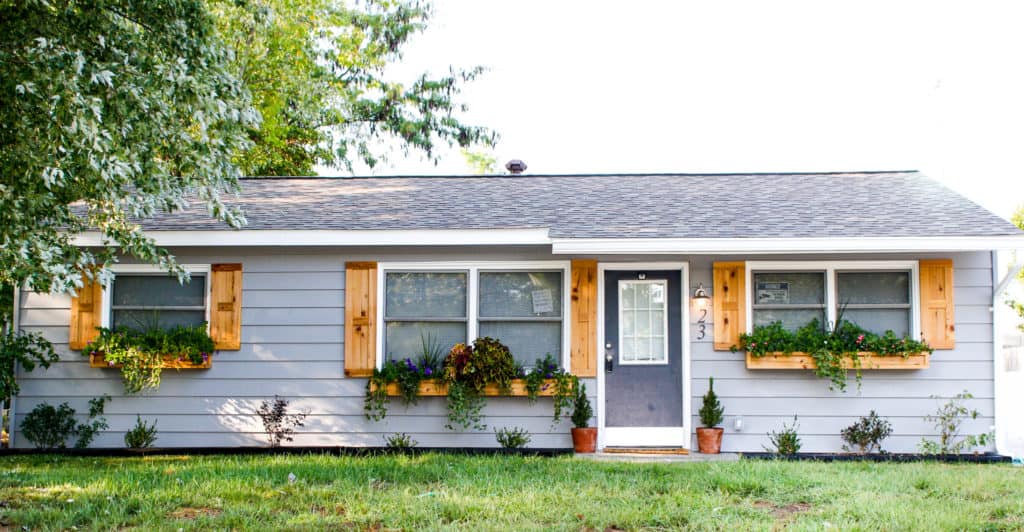
Exterior after
The siding and trim needed a new coat of paint to freshen it up. I built cedar window boxes and shutters to update the look of the house. It needed some charm and the flower boxes and shutters gave it a cottage type feel.
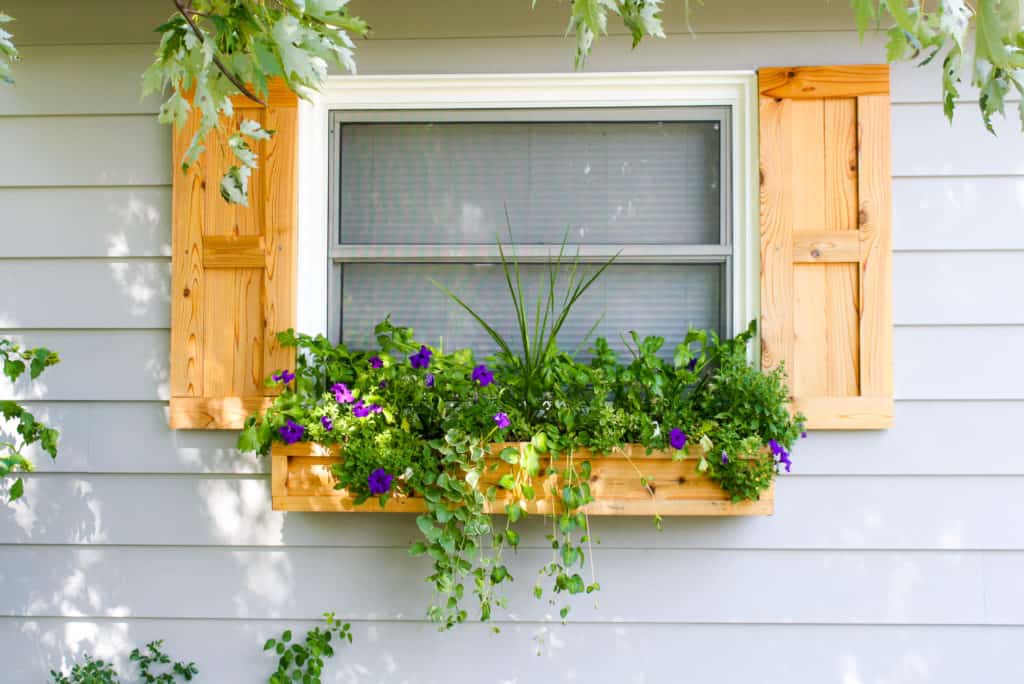
Cedar window boxes 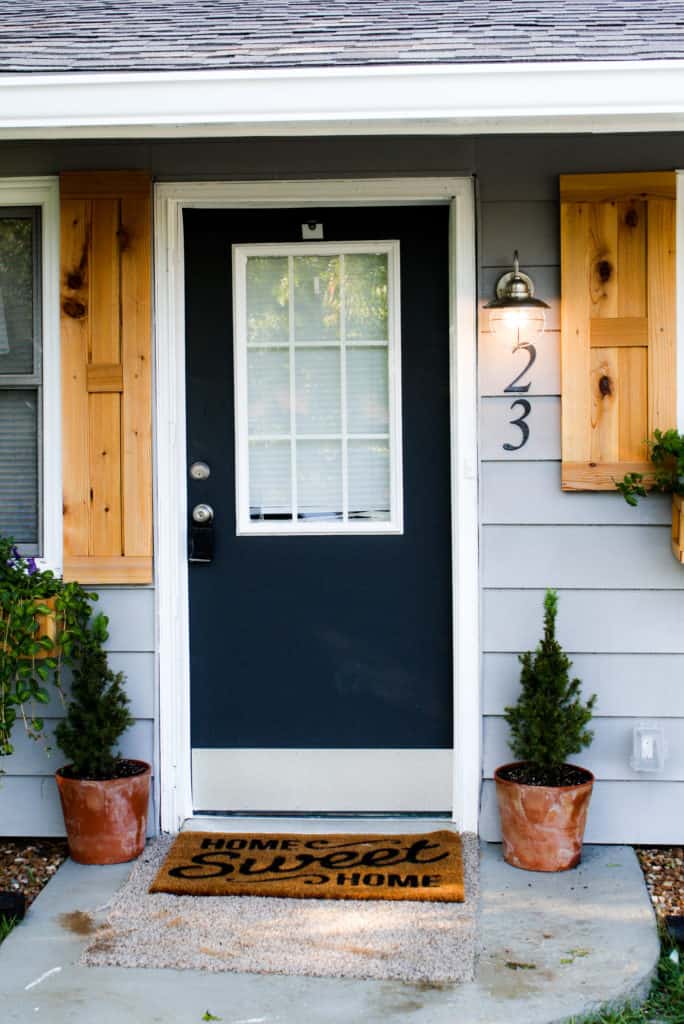
Cedar shutters
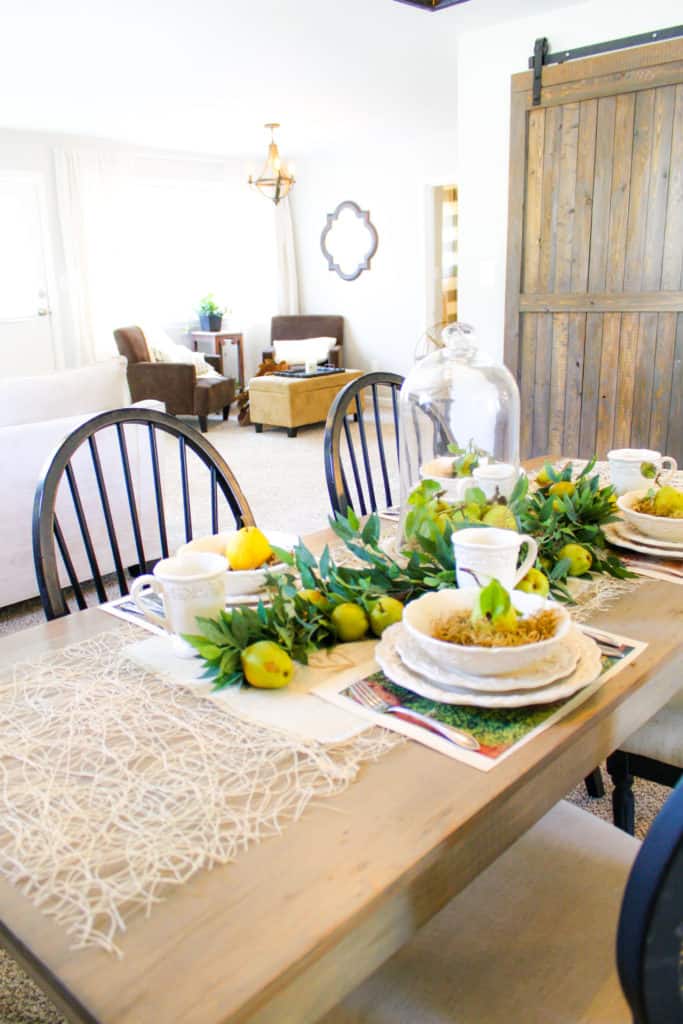
Dining Room
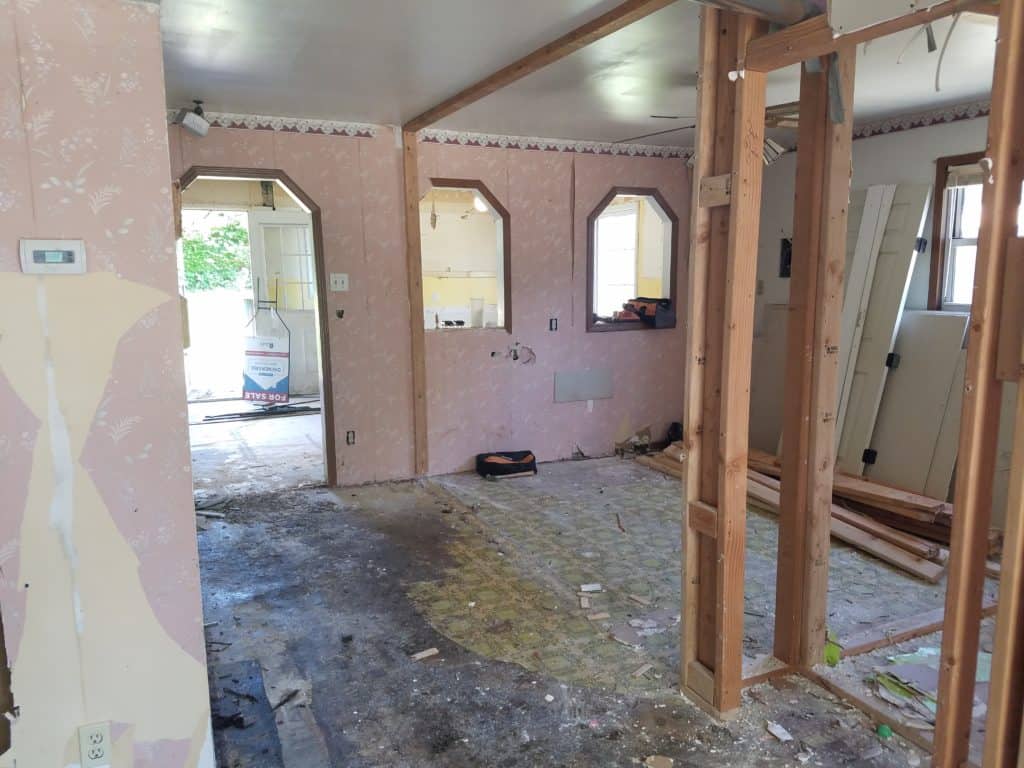
Before 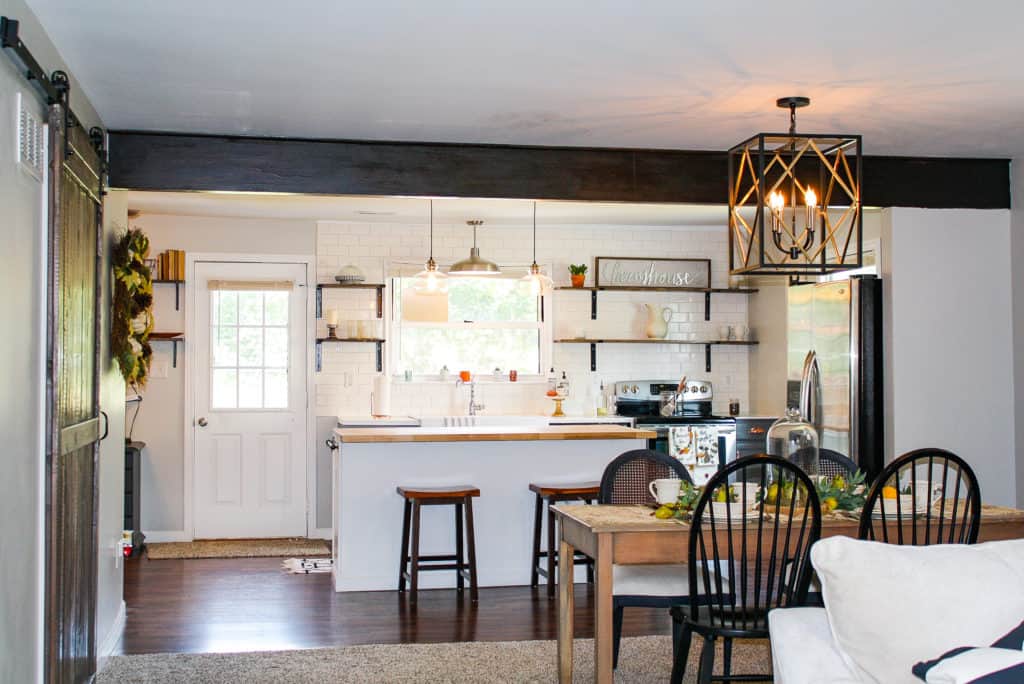
After
This wall was the original back of the house prior to the kitchen addition. We installed a new support header and removed this wall to really open up the space. When I first walked into this house, I could see the vision for it, but it took some convincing to help others see it as well.
Kitchen
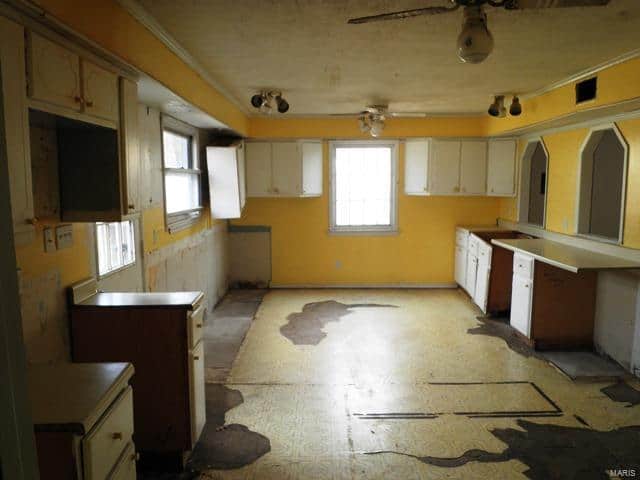
Kitchen before 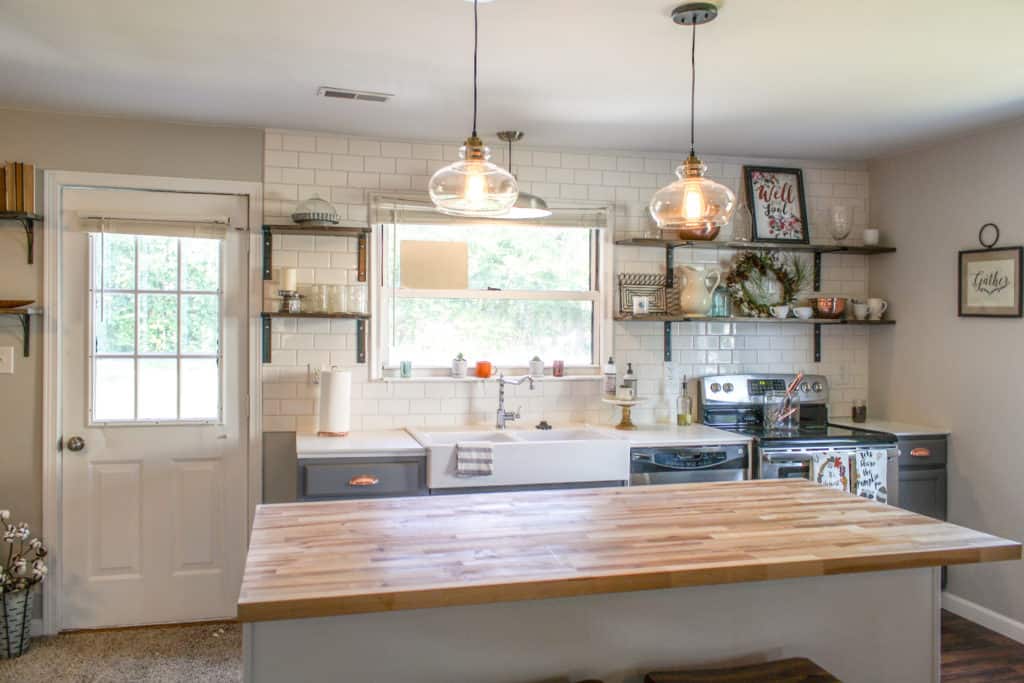
After
The kitchen needed a complete overhaul to function at the top of it’s ability. Originally the stove was way across the room and the sink looked into a makeshift bedroom they had made!
Farmhouse Sink
In my dream kitchen there would be a farmhouse sink, but my husband is not a fan. So I knew when we were designing this kitchen I would get to have my farmhouse sink, even if only for a few weeks.
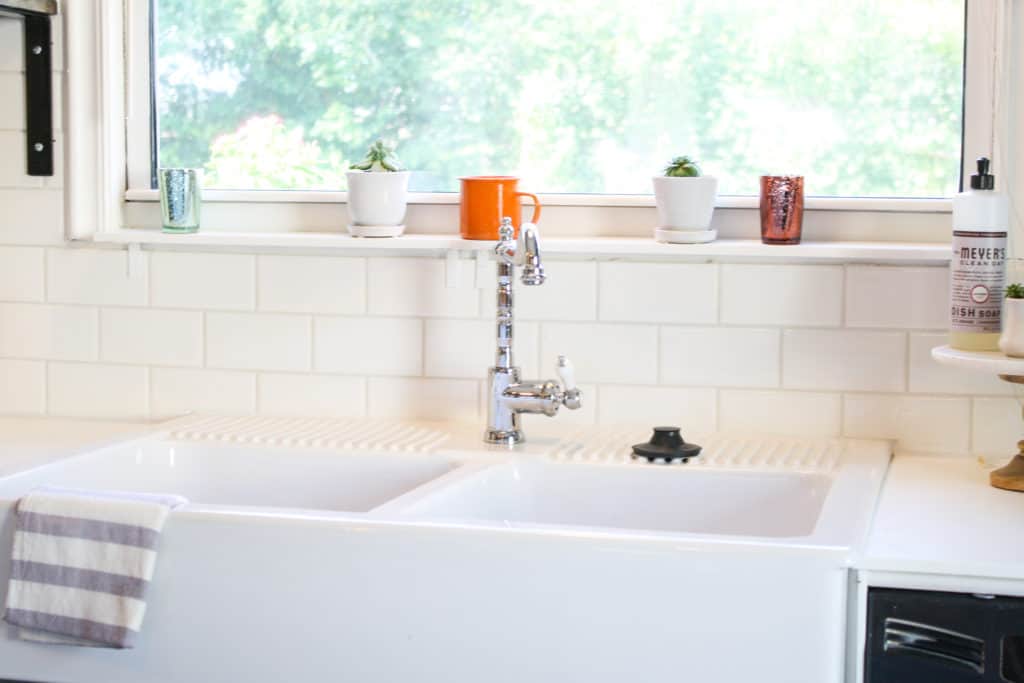
We made the decision to move the sink to look out the large window into the backyard. It was a backbreaking decision involving the jackhammering of concrete and lots of trips to the dumpster. In the end it needed to happen and it turned out beautifully!
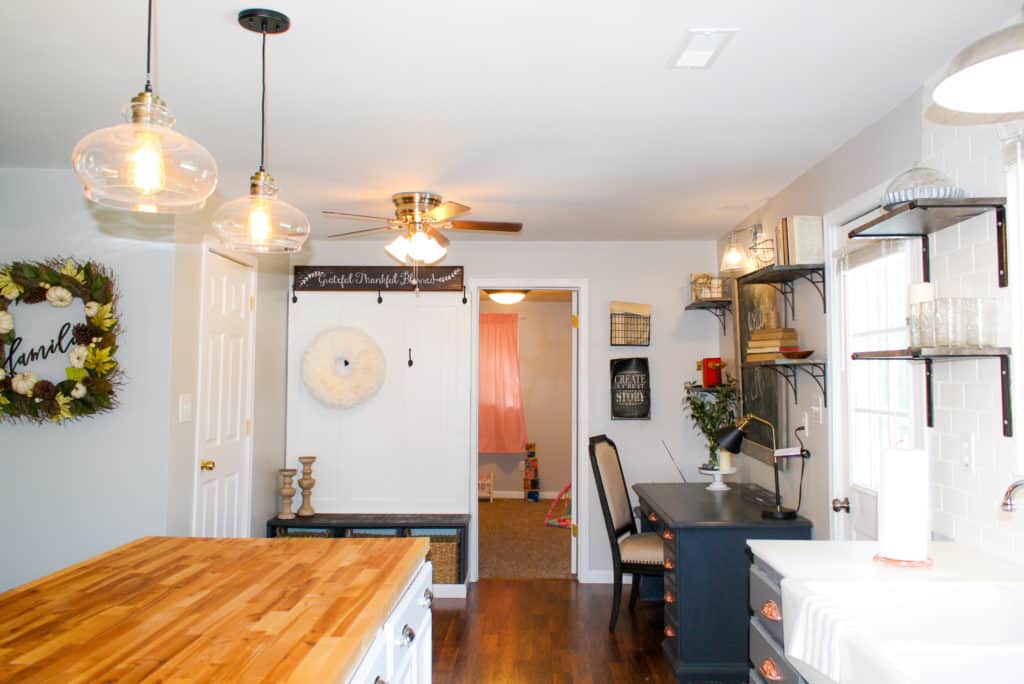
Office/Cubbies
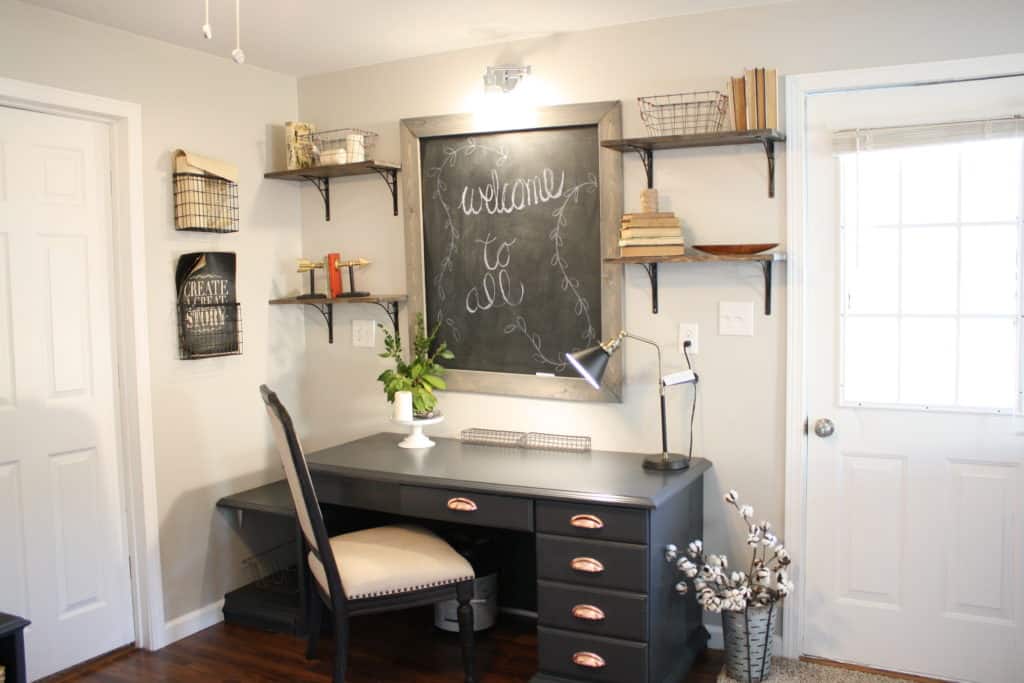
Built in desk
The kitchen had a sweet little nook that was not quite big enough for a table, but had plenty of room for a desk and built in cubbies. We also relocated the door to the pantry so it was easily accessible.
Built-in Cubbies
Pantry

Pantry 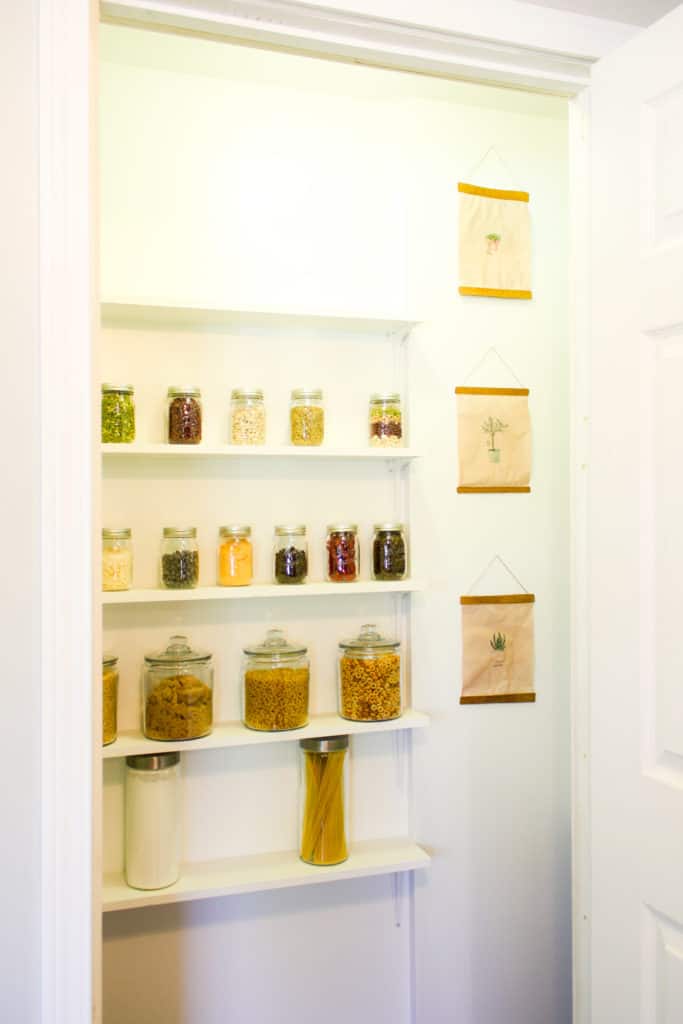
We installed the shelves for canned goods and other dry goods. Off to the right is deeper shelves that went to the ceiling. Those cute little hanging printables came from the Magnolia website. I aged them with coffee, glued two strips of thin wood to the top and bottom and added a string to hang them.
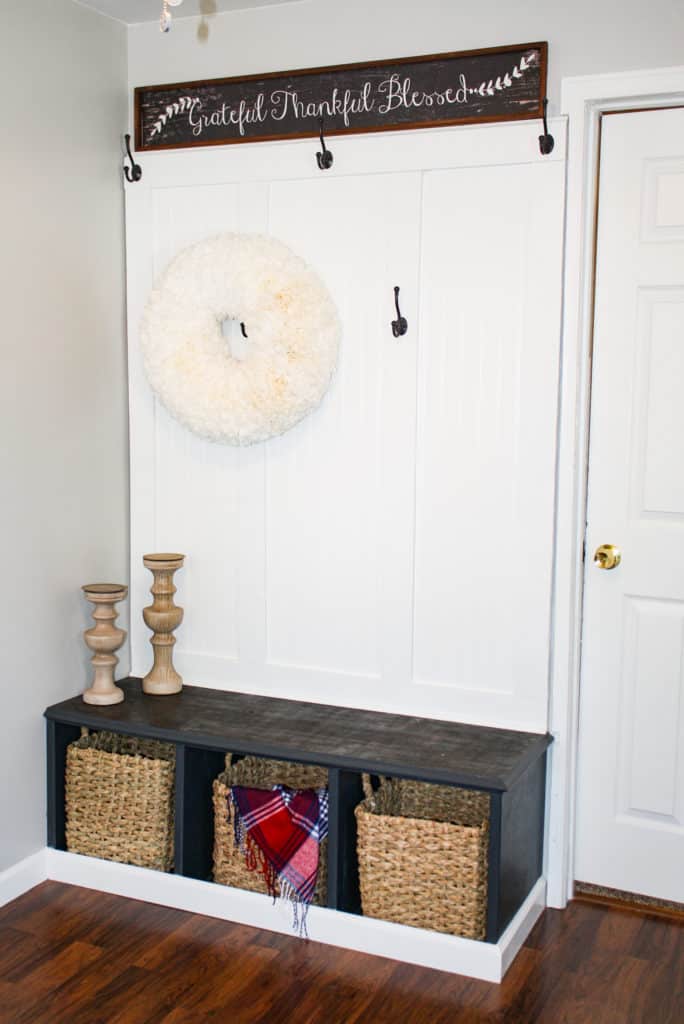
Living Room
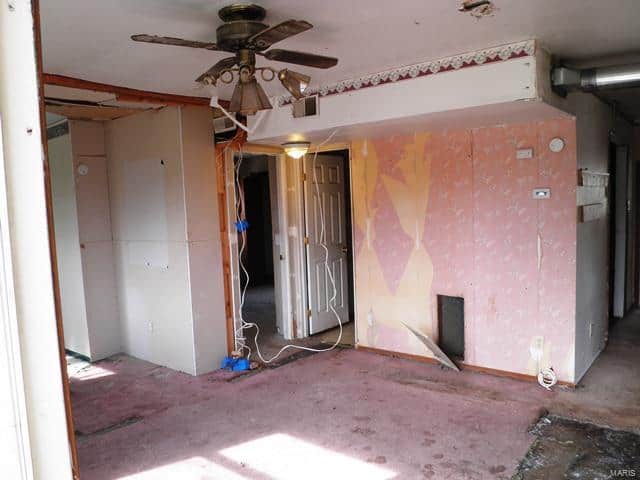
Living Room Before 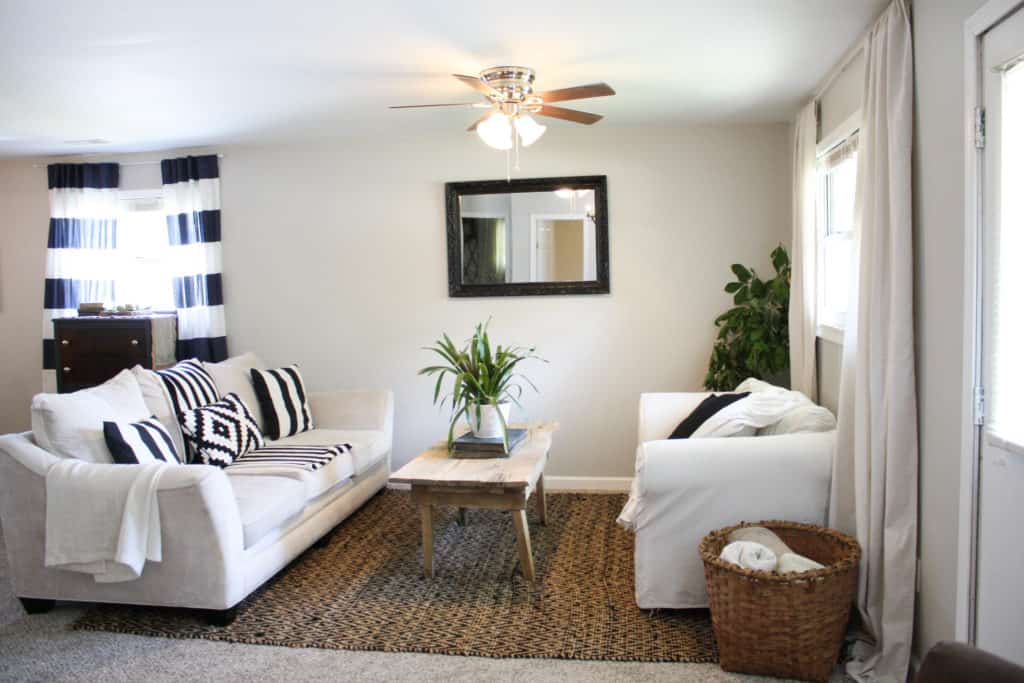
After
The living room was a bedroom they had added to this house. This was originally a three bedroom home, but they added two more into 1300 sq ft! This was not a very large home, but by creating an open concept it appears that the house is spacious and welcoming.
Laundry Room
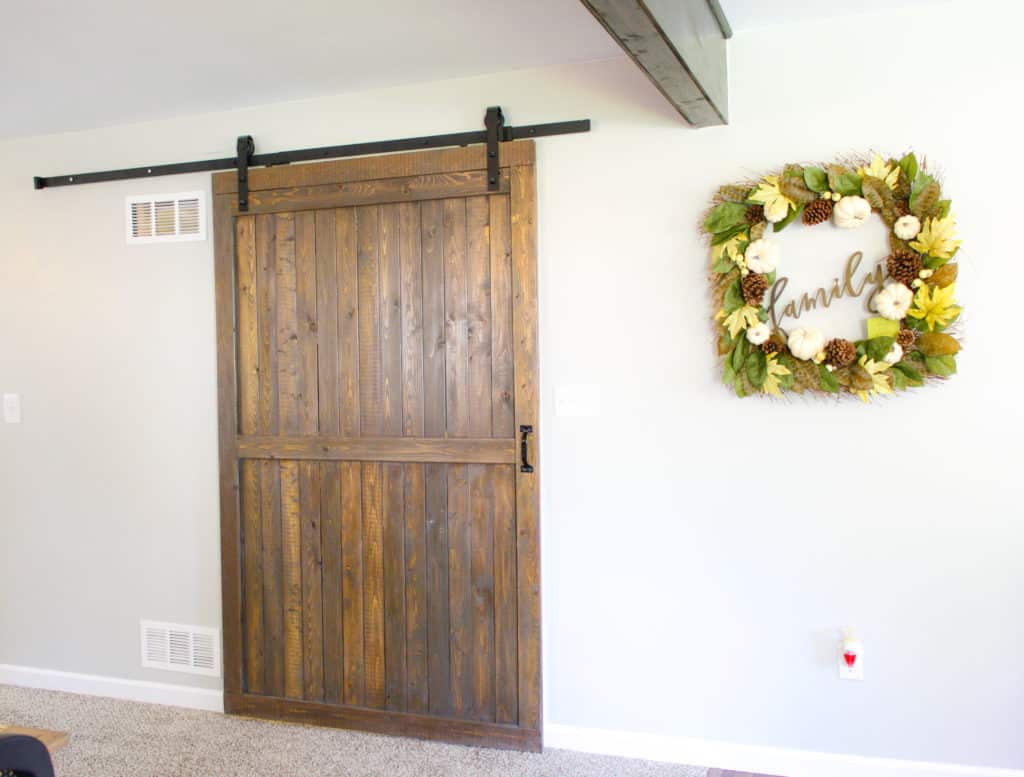
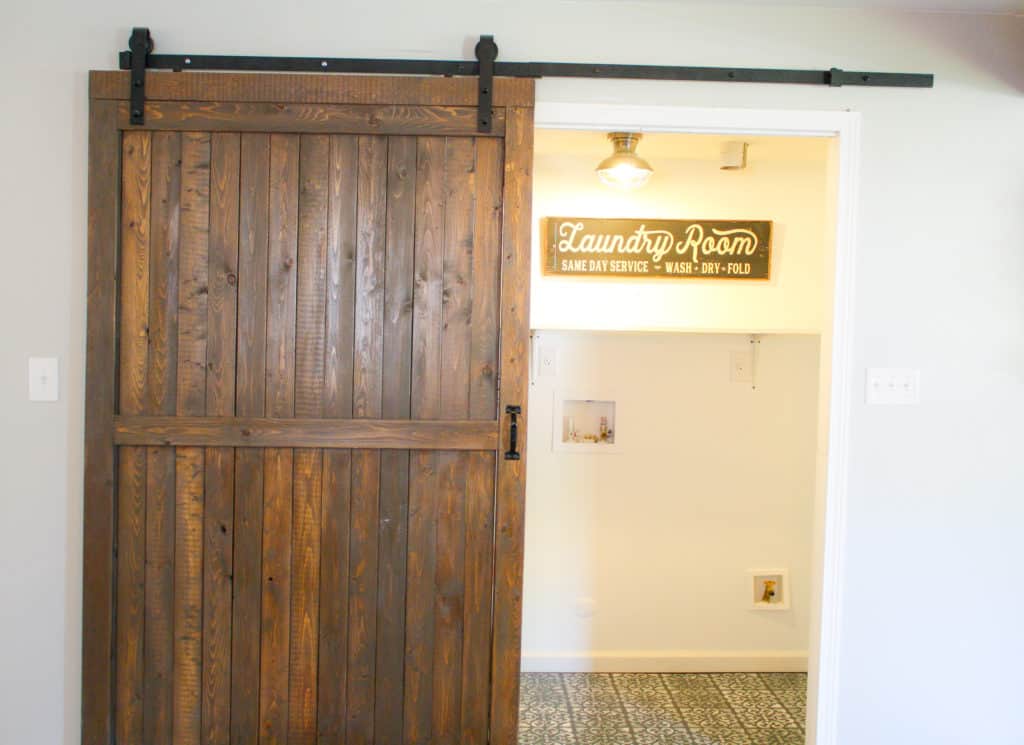
This little laundry room is right off the living/dining room, so we added the cute barn door, stenciled floor, signage and light to give it a little style. We added a shelf above to hold the laundry soap and fabric softener.
Stenciled Floor

The budget did not include anything for the laundry room floor, but it needed something to brighten up the space because it is right off the living room. The floor was concrete so the base coat is concrete paint. The stencil was purchased from Dizzy Duck Designs off Etsy and it worked so well! I’ve used this same stencil when painting the stairs in my garage. The full tutorial is here. I have painted other laundry room floors and the challenge is to prevent the paint from lifting when the machines are scooted across it. Three coats of a top layer and proper curing time is crucial in preventing your beautiful paint job from being ruined.
Sitting Room
Sitting Room Before 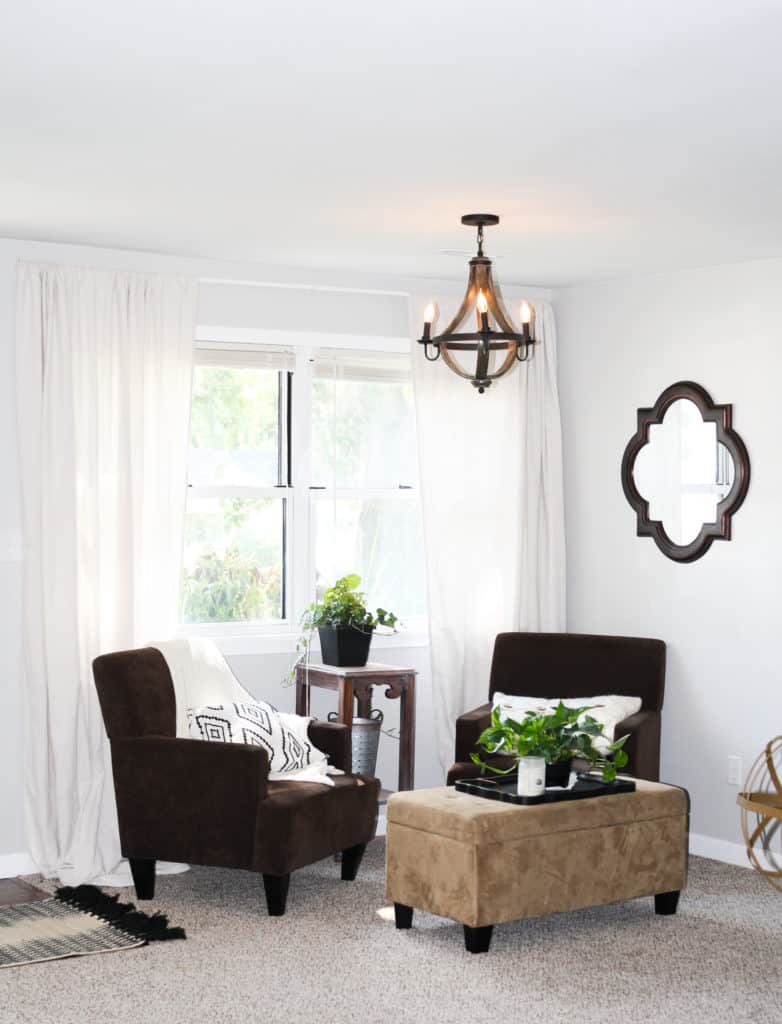
After
This little nook is right off the front entrance and is such a cozy place to sit and chat or read a book.
Master Bedroom
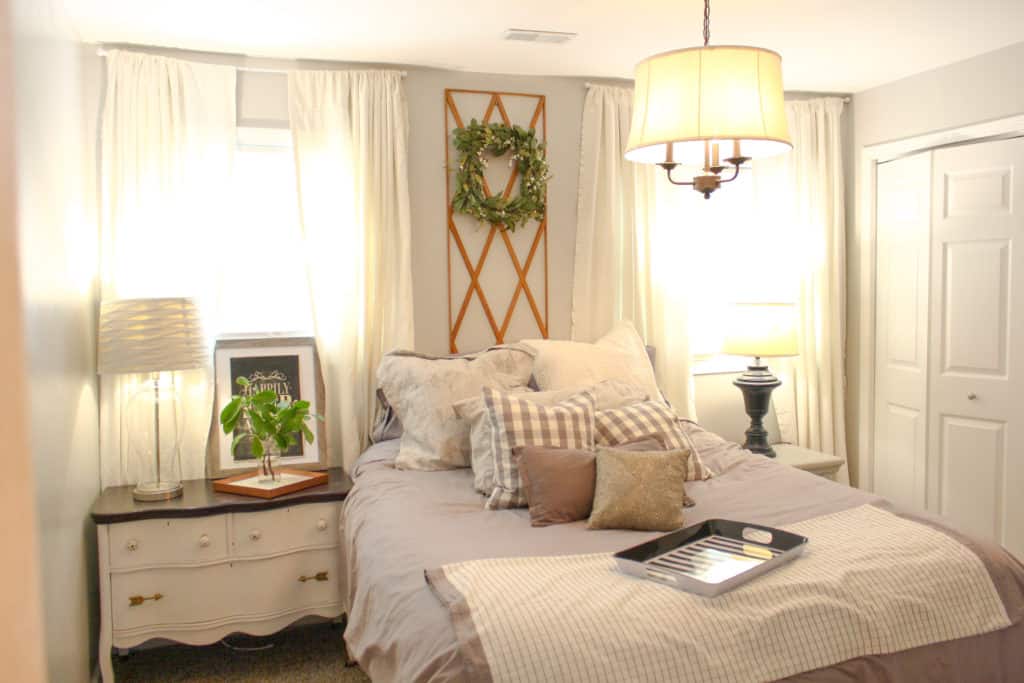
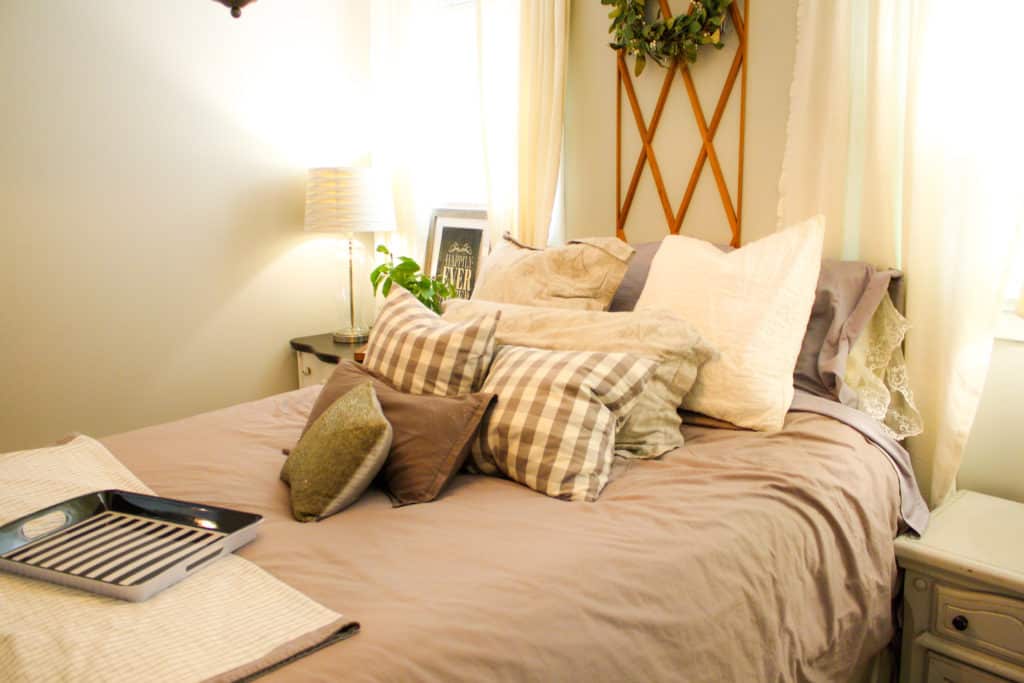
This master bedroom had a shower in the bookshelf area and a garden tub sitting next to the interior wall. I cannot even imagine how crowded this room would’ve been!
Bookshelf
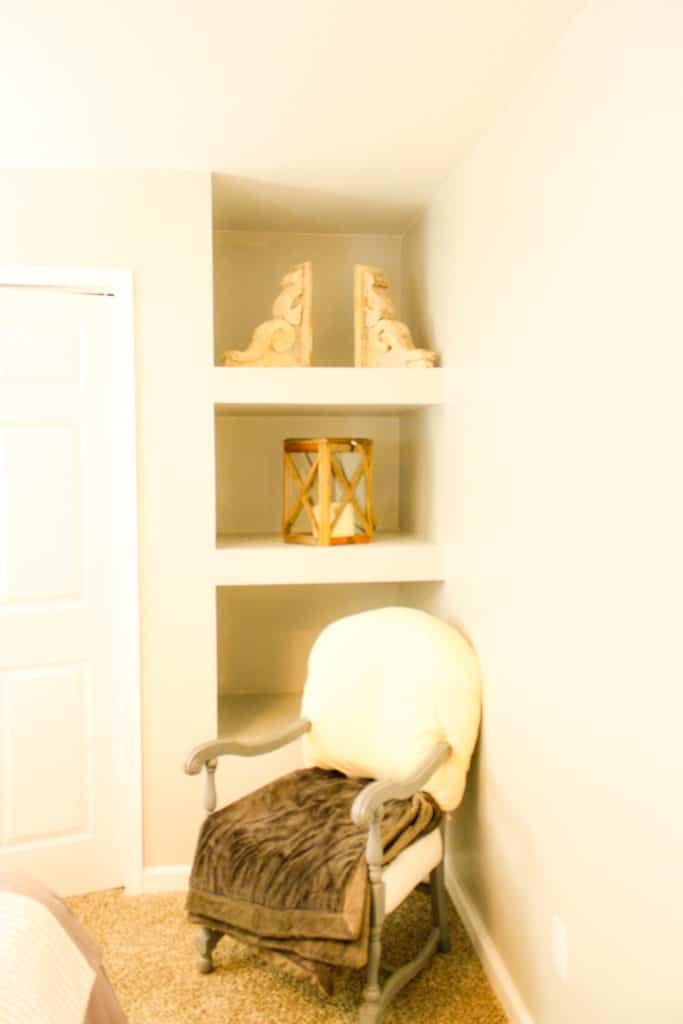
This little bookshelf area was once a shower that you had to step up into. The bottom of the bookshelf is as high as they had to step to get in.
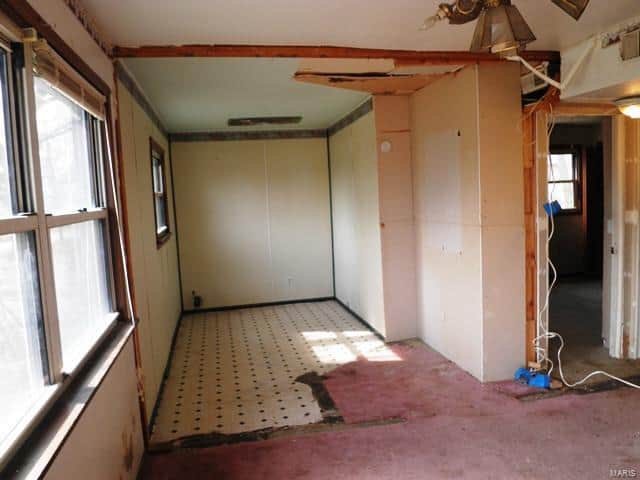
Back Bedroom
Back Bedroom Before 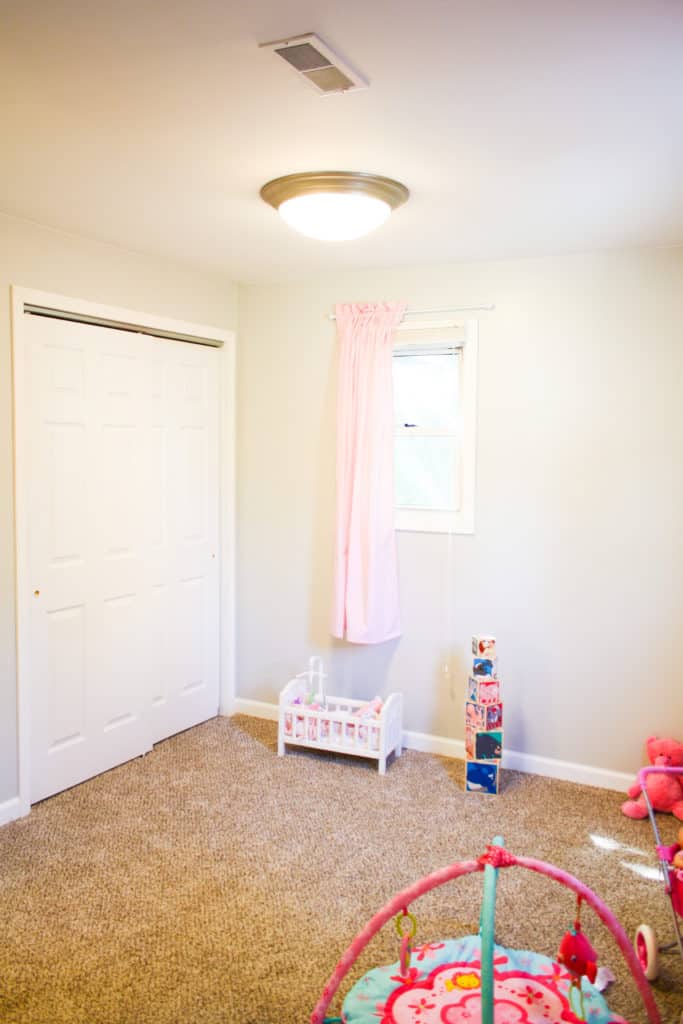
After
This bedroom and 3/4 bath were in the addition that also housed the kitchen. It was very dark and a little scary. I loved the transformation to a bright and airy playroom for kiddos.
Hall Bathroom
The bathroom needed some updating and lightening up. We refinished a bathroom vanity we got off Craigslist and add new hardware. The shower tile we bought at Restore as well as the grout, which explains the very dark grout used in this bathroom. I failed to open to the bucket before my husband used it and got a bit of a surprise when I came by after work!
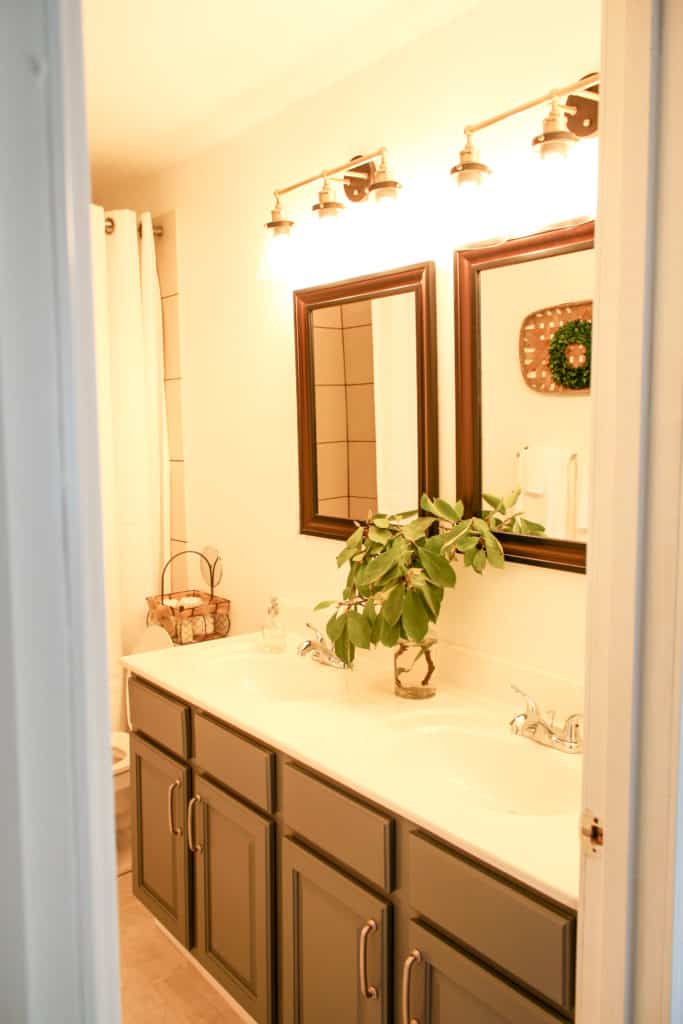
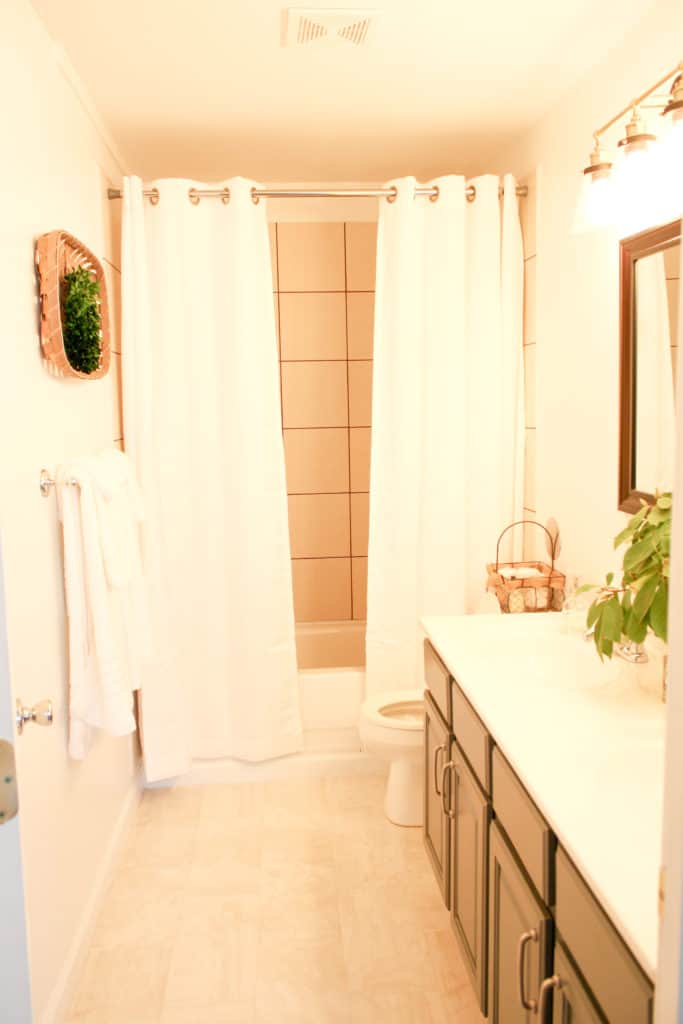
Hall Bathroom
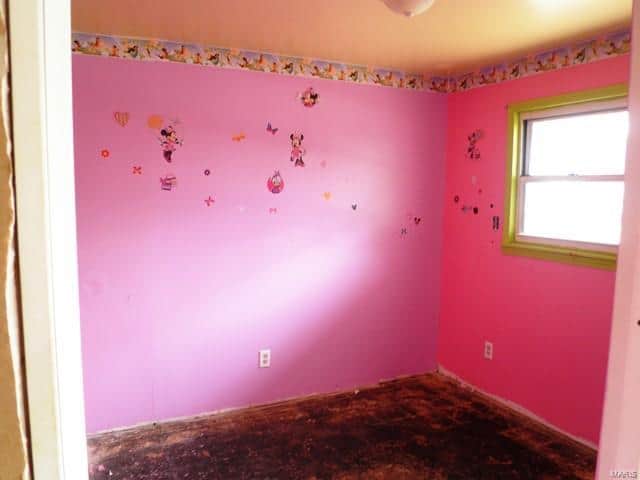
Nursery
Nursery before 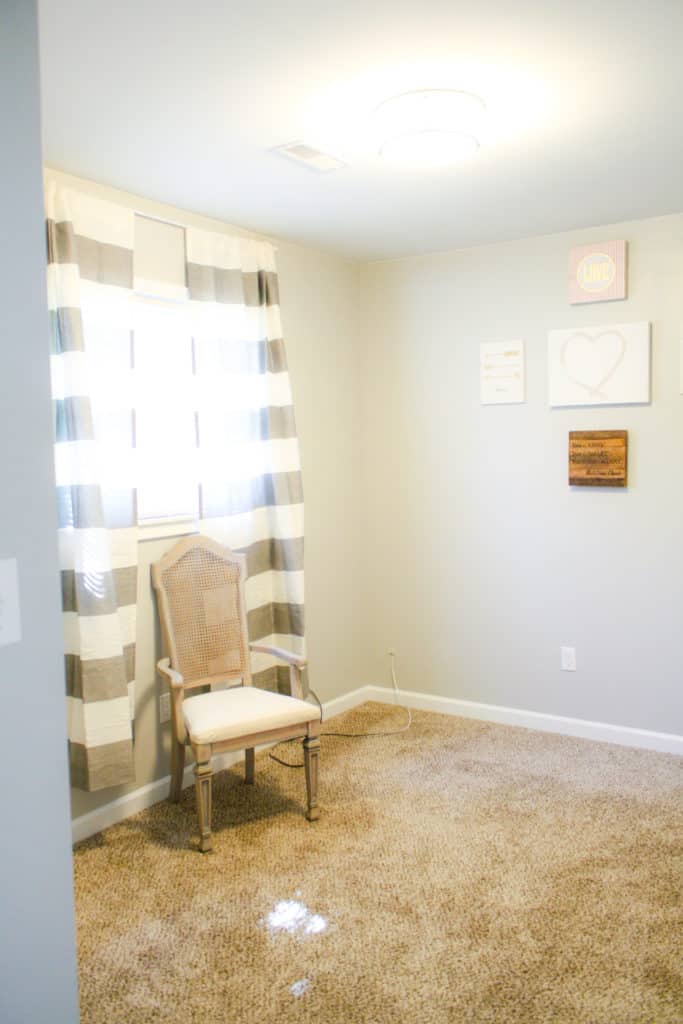
After
We needed to move the wall to widen this bedroom as they had enlarged the second bedroom by eating into this space. We also added a closet and made a cozy little bedroom that could be an office or a sweet little nursery.
Backyard
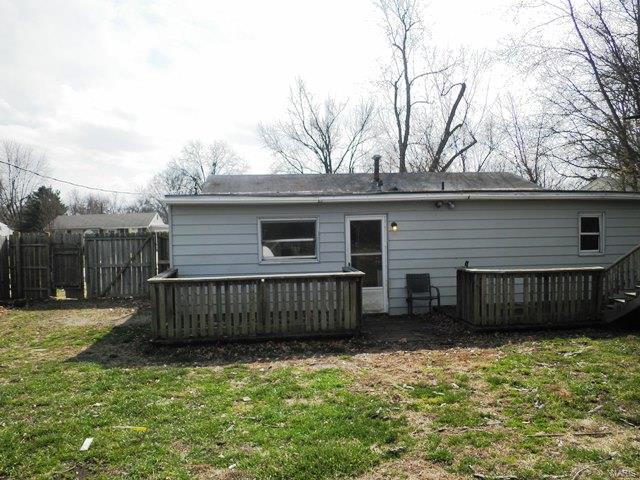
Backyard Before 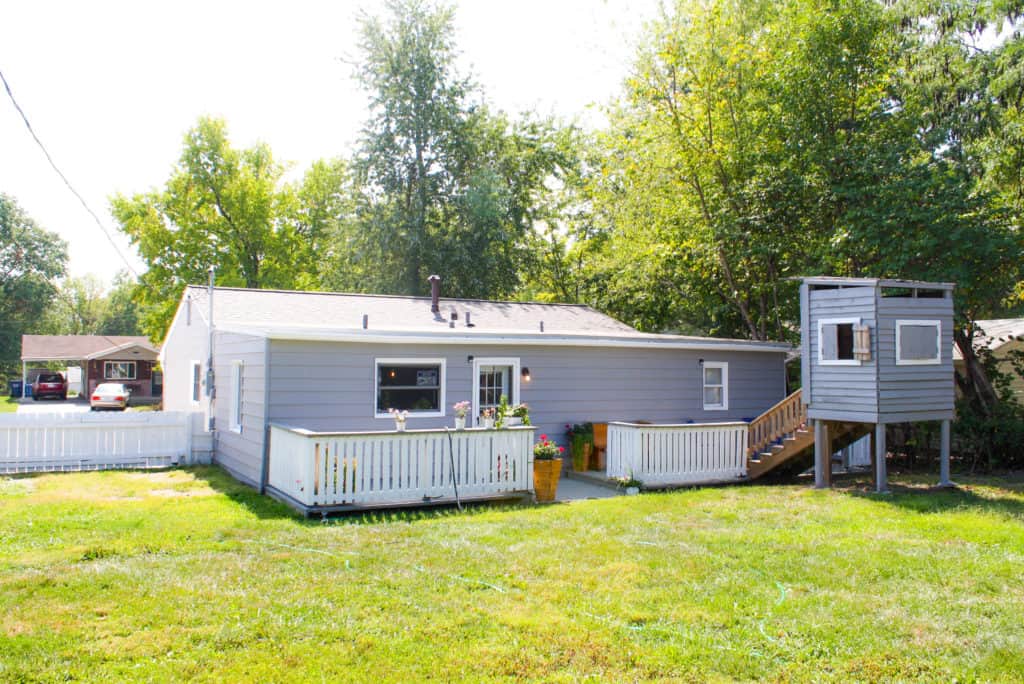
Backyard After
The backyard needed some tlc! Grass seed, paint and some flowers brightened up this great area for kids to play and adults to hang out.
This was our first complete fixer upper makeover as a married couple and we learned so much in the process. We had done other projects on a smaller scale and cosmetic updates for other people, but this was on another level. The whole project took three months of labor and one month of waiting for all the permits to come through. We found out that we really enjoy working together. Not that we agree on every aspect, but we talked out each issue and came to an agreement.
Female Contractor
This was my first foray into hiring subcontractors to do the work we were not comfortable doing, replumbing the house, running all new electric, etc. My job at the time was part time, so I happened to be the one there meeting with them and getting bids. It became very apparent who was comfortable working with women, and who was not. One HVAC sub kept asking to speak to my husband or my father during the walk through…he obviously did not get the job.
My first thought when they would ask to speak to a man in charge was that they were joking. Then I got mad. I finally told one man, “I’m all you get”.
I had not experienced such blatant sexism in my life up to this point and it was very eye opening. The great part about this experience was I had the power to hire and to fire, so if they had a problem working with me, they just simply did not get the job.
On the reverse side, we had wonderful subs who just came to do the job, asked appropriate questions and did not bat an eye when I was in charge. They got the job and we refer others to them all the time.
If you are hiring someone to do a project in your home or on one of your flips, don’t be afraid to have multiple bids on each aspect. Meet with them and if you are not comfortable with how they communicate with you, then don’t hire them!
Construction is exciting and can be a little scary as well, but it is so worth it in the end.
Go out and try something new!
Emily 🙂
Wow, you guys did such a great job with this house!! So impressed! Only thing is, I wish there were larger pictures so I can better admire your work. 😁 Great post and very inspiring.
Thank you for letting me know, Susan! I wasn’t sure if large pictures were too overwhelming, but now I’ll go back and add some full size ones!
You guys did an amazing job on this! It’s a beautiful home!
Thank you so much!
SO OMG! You did a great job. The cedar boxes are one of my favorite accents. Cedar is my favorite wood. Im thinking of putting it on our front gable as well as building a pergola.
Also, glad you told that guy off. I would have said the same thing. I was tired of having men come over for our HVAC unit being surprised I knew what I was talking about…so put the unit in with my husband and father. Saved 3000$ doing it ourselves!
LOL, I love the look on men’s faces when they realize that I can be blonde and still know what plumbing needs to be run!! That is so wonderful that you are building those skills as well!
I am super impressed! I do not have an eye for transformation like this, though I wish that I did. My favorite is that farmhouse sink and the front of the house. Those flower boxes and shutters are perfect!
Thank you Lindsay! I miss that sink!
This is so inspiring!! We have a 60’s ranch that we would love to make over. The style you used is just what I want to do! I’ll be saving this and copying what you’ve done here, haha! Seriously, I will! 🙂 Thanks for sharing!
Marisa,
Thank you! That means so much!