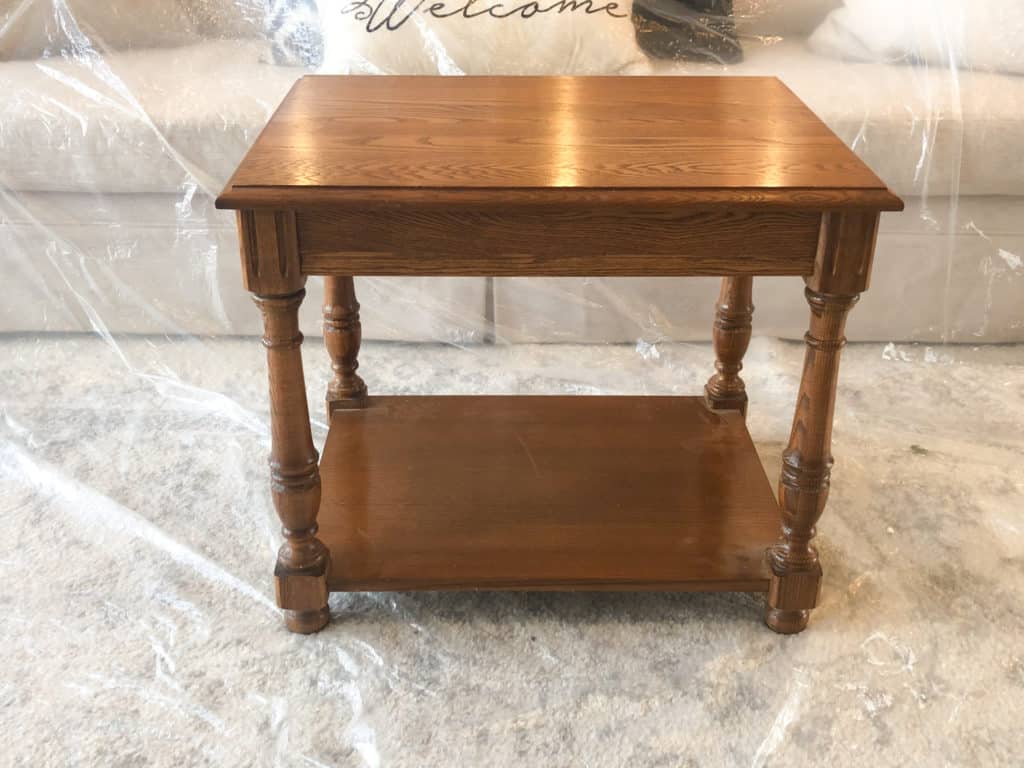
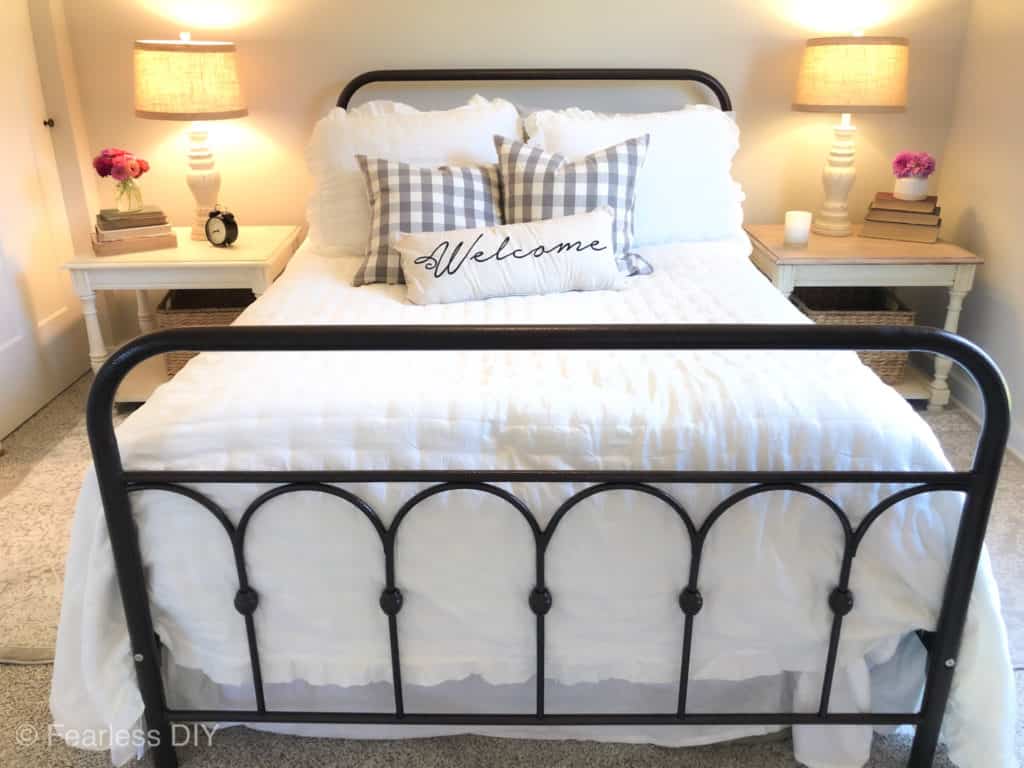
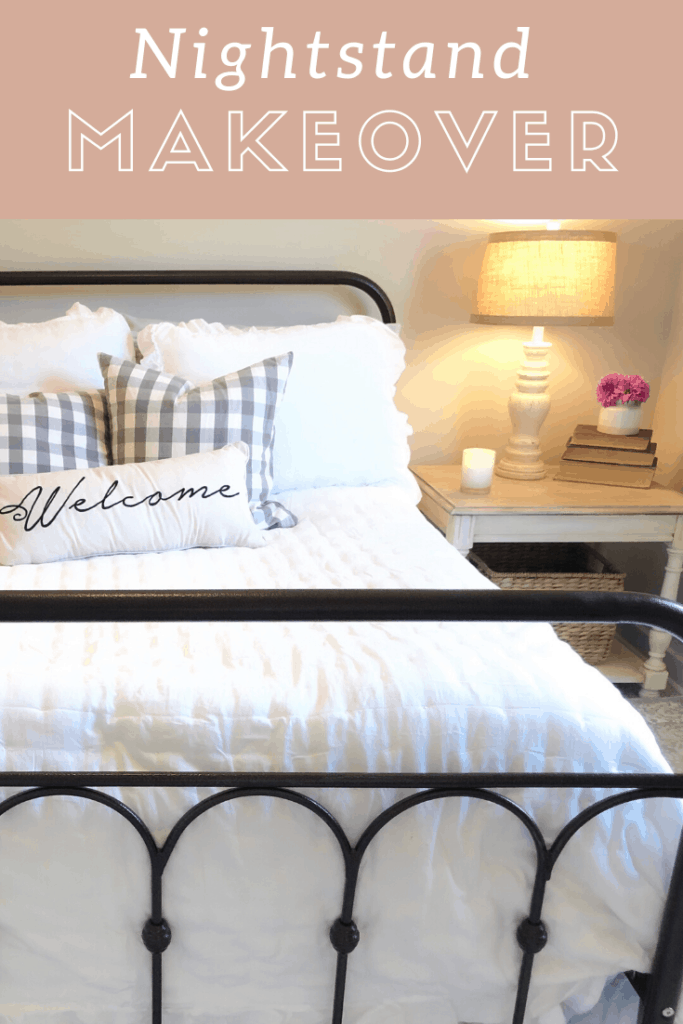
If you have an older piece of furniture that has turned orange with age, then this nightstand makeover tutorial is for you! Liming wax will cool down those amber tones and give you a brand new look for your antique furniture.
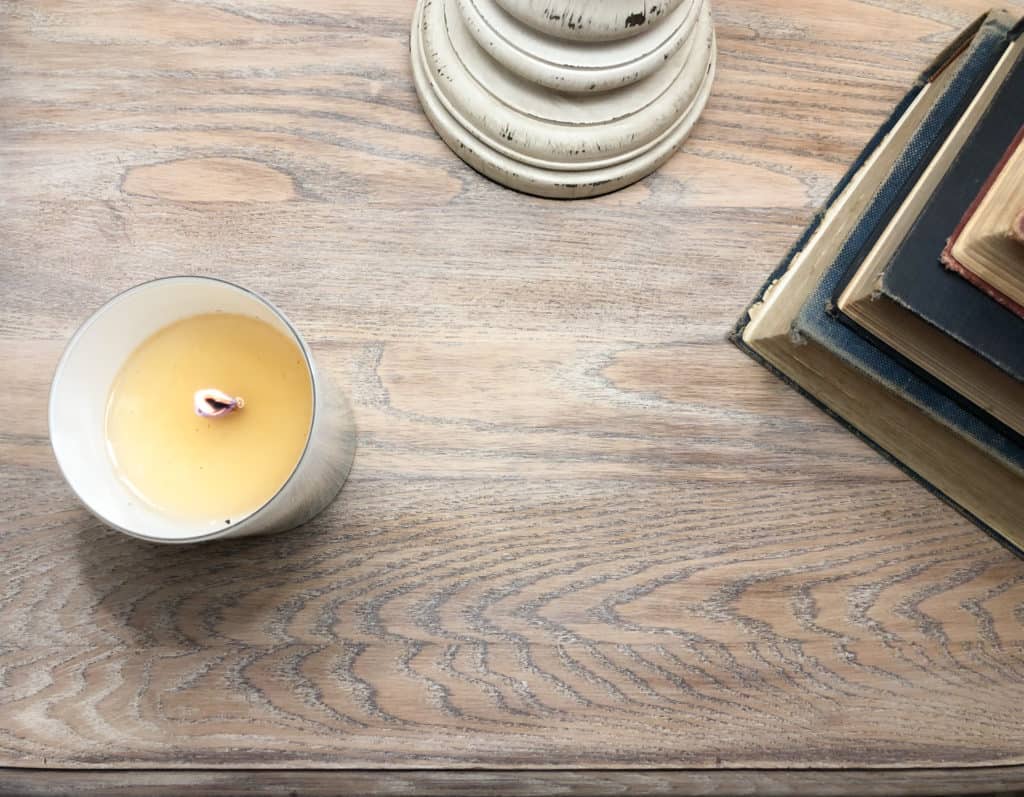
The liming wax is meant to highlight the grain of the wood. It can be used on raw wood for the most cerused look and on stained or painted wood to create more of a whitewashed look.
Liming wax can be used to give more of a Restoration Hardware appearance to your older furniture, giving it a modern update.
These nightstands were purchased at Restore and had cute legs, but the color had turned an orange color which I did not want. I don’t always want my furniture to match, so I refinished one with chalk paint and dark wax completely and the other I wanted to use liming wax on the top of the other one.

Limed Top 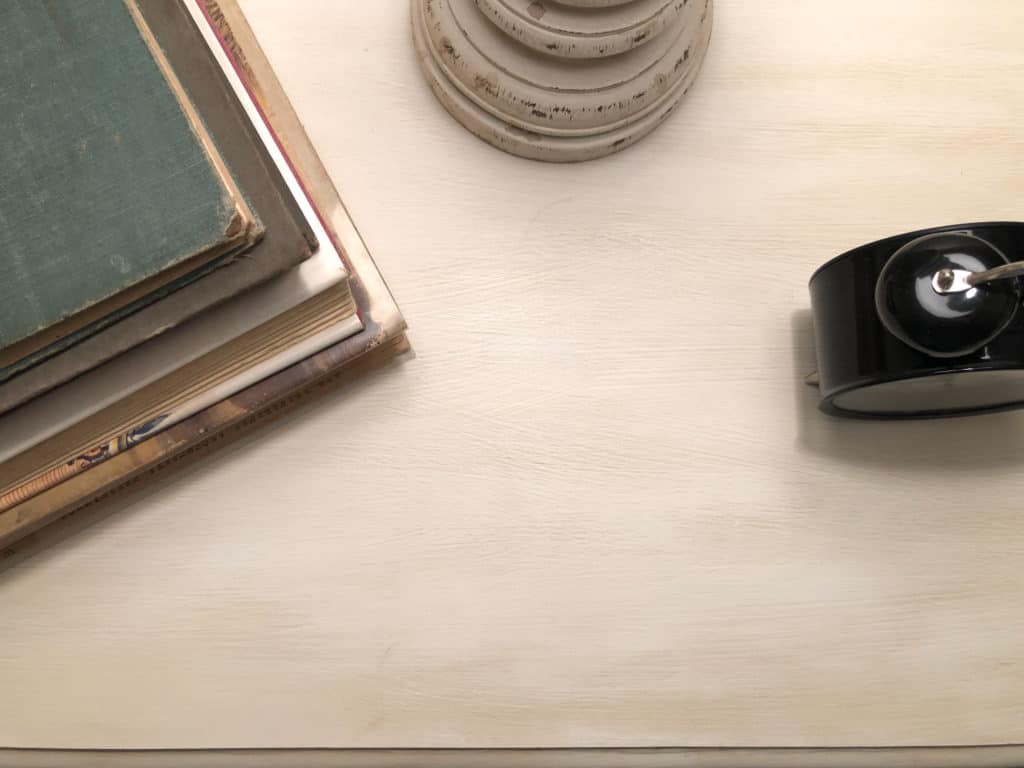
Painted Top
If you want a truly quick makeover, you can skip the sanding portion and just apply the liming wax right onto the other finish. It will lighten up the stain and look beautiful that way as well.
Just a warning, liming wax is smelly!
How to use Liming Wax
- Clean the furniture with a degreaser.
- Lightly sand the piece of furniture, or strip the furniture if you are wanting a cerused final look. This may entail using a wire brush to open the grain to accept the wax. This technique is not demonstrated here.
- Wipe the dust and particles with a tack cloth.
- Apply the liming wax to the surface with a clean cloth, going with the grain.
- Cover the entire surface and let dry.
- Lightly buff the surface.
- Enjoy your new piece!
How to use Kilz Chalk Paint
- Clean the piece of furniture with a degreaser.
- Sand lightly over the whole surface.
- Wipe the dust and particles with a tack cloth.
- Stir the chalk paint until well incorporated.
- Apply one light coat over the piece of furniture.
- Let dry.
- Repeat until the coverage is as desired. For me, this took three coats and it still wasn’t perfect.

Before 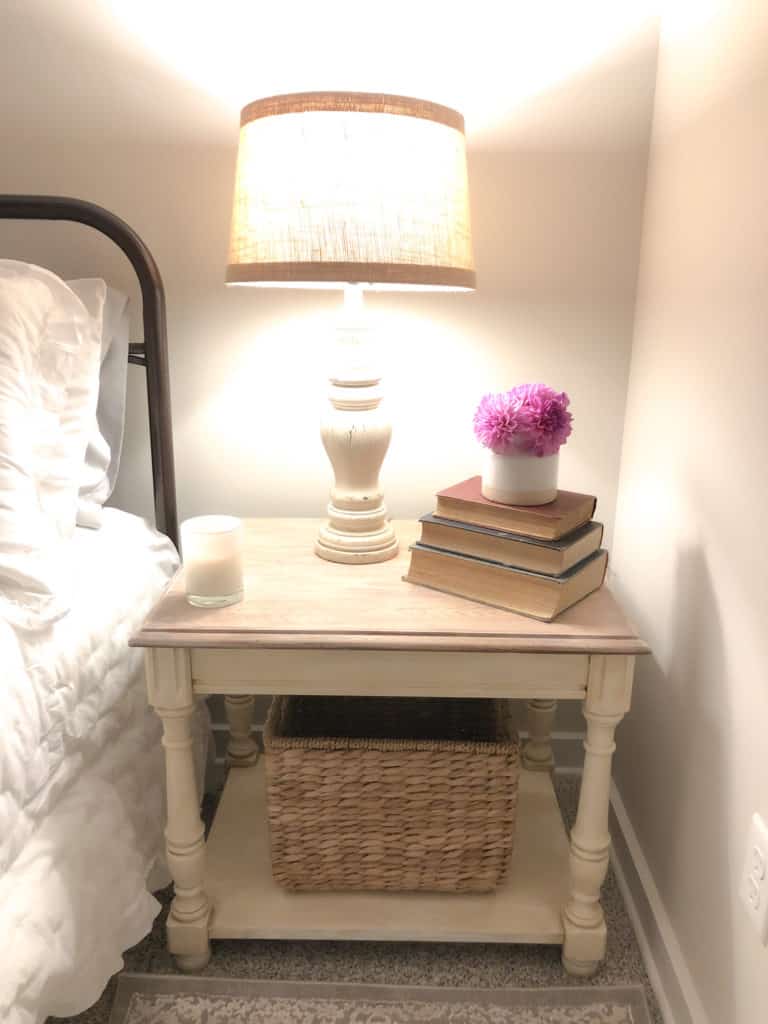
After
How to use Dark Wax
- After the pain has fully cured, apply the dark wax using a clean cloth or a small paintbrush.
- Work in small areas and wipe away the excess wax as you go.
- Let the wax dry and then buff.
- Repeat the process with the Clear Sealing Wax if desired.
Video Tutorial for Nightstand Makeover
Shop this post
Related posts
Pin for Later
Which nightstand is your favorite? The painted top or the limed top?
Emily 🙂
Great post. Pinned to try! I’ve never used a liming wax!
What an interesting post. It looks so good. I’m going to have to try this!
I just love how this turned out, Emily! So so gorgeous!
I am planning on doing something like this to a small table for our living room. I love your tips – so helpful! Thanks!
This turned out so great!! I love this idea!
This was so helpful! I have three orangey oak nesting tables that I started working on a while ago. I want that type of finish, but wasn’t sure exactly what product to use. I have a few stains on hand, but I will definitely try the liming wax and see how they turn out!